Hello, friends!
With graduation season just around the corner, I know so many of you are staring at a growing pile of high school sports jerseys, concert tees, and "Class of" shirts, wondering how on earth you're going to turn them into a masterpiece. Believe me, I’ve been there! There is something so incredibly special about a T-shirt quilt. It’s more than just a blanket; it’s a giant, cozy hug made of memories.
But let’s be real for a second: T-shirts are stretchy. They’re slippery. They have weird logos that don't want to play nice with your sewing machine. In my 30+ years of quilting, I’ve seen these common mistakes show up again and again in my studio, and I want to help you avoid them from the start!
If you’re feeling a little overwhelmed, take a deep breath. We’re going to walk through the seven most common mistakes beginners make when creating T-shirt quilts and, more importantly, exactly how to fix them. Are you ready to turn those tees into treasures? Let’s dive in!
1. Skipping the Stabilizer (The "Wobbly Quilt" Syndrome)
If I could only give you one piece of advice, it would be this: Do not skip the stabilizer.
T-shirts are made of knit fabric, which is designed to stretch so we can wear them comfortably. However, in the quilting world, "stretch" is often a four-letter word! If you try to sew a stretchy T-shirt block to a non-stretchy cotton sashing, your machine will pull the fabric, and you’ll end up with puckers, wavy seams, and a quilt that won't lay flat.
The Fix: Use a lightweight, fusible (iron-on) interfacing. I love a good woven or non-woven featherweight stabilizer. You want something that stops the stretch but doesn't make the quilt feel like a piece of cardboard. Simply iron it onto the back of your T-shirt before you do your final cutting. It turns that tricky knit into a stable fabric that behaves just like regular quilting cotton.
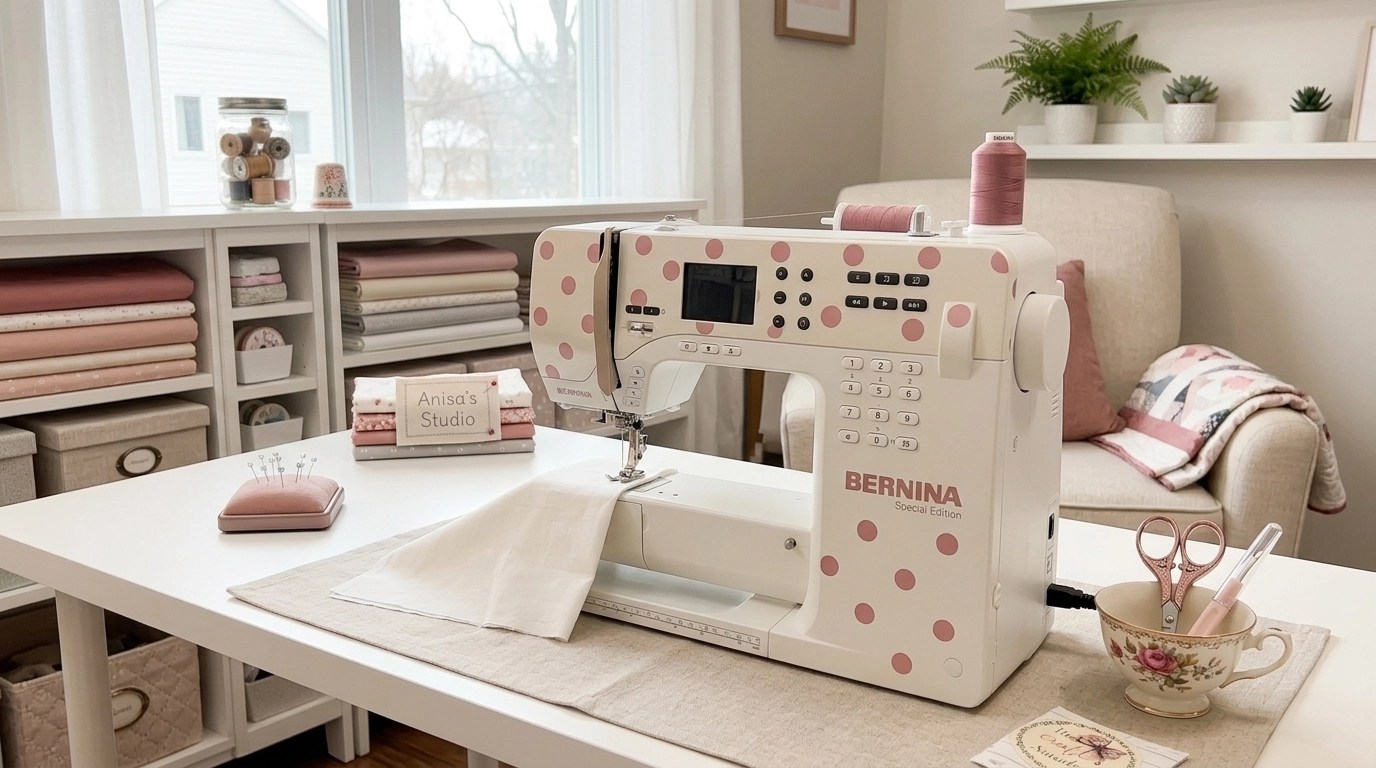
Using your actual sewing machine setup makes this step feel even more familiar and approachable!
2. Cutting Your Blocks Too Small
I see this all the time in my studio: someone gets so excited to start that they grab their scissors and cut right around the logo. But wait! You need to account for seam allowances. If the logo is 12 inches wide and you cut the block at 12 inches, you’re going to lose the edges of that beautiful design when you sew it into the quilt.
The Fix: Always leave at least 1 to 2 inches of "buffer" space around the graphic. If you want a 12-inch finished block, you should be cutting at least a 12.5-inch square. I actually prefer to cut my stabilized blocks slightly larger than I need and then trim them down to the perfect size later. It gives you so much more wiggle room!
3. Not Squaring Up Your Blocks
Precision is your best friend in quilting. If your blocks are even a quarter-inch off, by the time you get to the end of a row, your quilt will be lopsided. Many beginners try to "eyeball" it, but knit fabric is notoriously deceptive.
The Fix: Invest in a large square acrylic ruler (12.5" or 15" are great sizes for T-shirt quilts). After you've applied your stabilizer, use a rotary cutter and your ruler to "square up" every single block. This ensures that every corner is a perfect 90-degree angle. When your blocks are square, they fit together like a dream, and your rows will be straight as an arrow!

4. Forcing a "One Size Fits All" Layout
We’ve all seen those T-shirt quilts that look like a perfect checkerboard. They’re classic! But what happens when you have a tiny pocket logo and a massive "State Championship" graphic that takes up the whole shirt? If you force them all into 12-inch squares, you’re either going to have a ton of empty space on the small ones or you’re going to cut off the big ones.
The Fix: Don't be afraid of a "puzzle" or "variable" layout! You can have different sized blocks in the same quilt. You can even add borders (sashing) around smaller blocks to make them match the size of the larger ones. It adds so much visual interest and ensures every memory is showcased perfectly.
"Your quilt should tell a story, and sometimes stories come in different shapes and sizes. Embrace the variety!"
5. Using the Wrong Needle
If you’ve ever had your machine skip stitches or leave little holes in your fabric, you might be using the wrong needle. A standard "Universal" needle is great for many things, but T-shirts (even stabilized ones) can be picky.
The Fix: Switch to a Ballpoint or Jersey needle. These needles have a slightly rounded tip that pushes the fabric fibers aside rather than piercing and breaking them. This prevents those pesky "runs" in the knit fabric and keeps your stitches looking professional and clean.
6. Quilting Directly Over Thick Logos
This is a heartbreak I want to help you avoid! Some T-shirts have thick, rubbery, or plastic-like screen printing. If you try to run your quilting needle directly through that thick plastic, your thread is likely to snap, or worse, your needle could break.
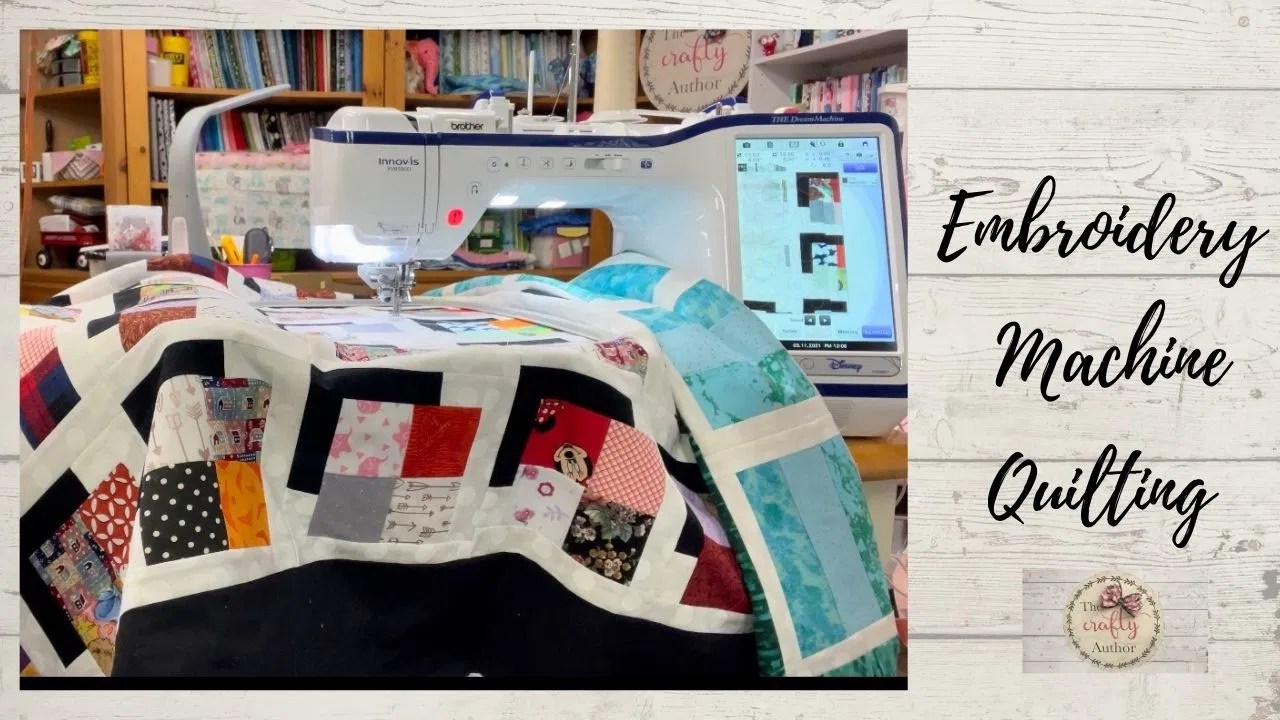
The Fix: Plan your quilting design to go around the logos. If you're doing a simple stipple or meander pattern, just "echo" the shape of the graphic. This leaves the logo flat and prominent while still securing the layers of the quilt together. If you're using a longarm or an embroidery machine, like the ones we use in my studio, you can easily program the path to skip those dense areas.
7. Using Low-Quality Backing and Batting
After all the hard work you put into the front, don't skimp on the back! This is one of those costly mistakes I’ve seen too many times in my studio—beautiful quilts ruined because the backing fabric bled in the wash or the batting wadded up after one trip to the dryer.
The Fix: Always use high-quality, 100% cotton quilting fabric for your backing and sashing. For the batting, I highly recommend an 80/20 cotton-poly blend or 100% cotton. Avoid those thick, high-loft polyester battings: they can be very difficult to quilt through when you’re already dealing with multiple layers of T-shirt and stabilizer.
Ready to take the next step?
Making a T-shirt quilt is such a rewarding journey, and I want you to feel confident every step of the way! If you want more hands-on guidance, come join the waitlist for The Crafty Author Clubhouse™ (COMING SOON!). It’s going to be a wonderful community where we’ll share exclusive tutorials, sew-alongs, and all the tips I’ve gathered over 30 years. We’d love to have you!
You might also find my Strip Quilt Series helpful if you're looking for different ways to piece your projects together.
Are you joining the madness and starting a graduation quilt this week? I want to hear about it! Leave a comment below or tag me on social media with your progress.
Happy stitching, friends!
Keep on craftin',
Anisa
Shop Our Partners
Click the images below to shop.