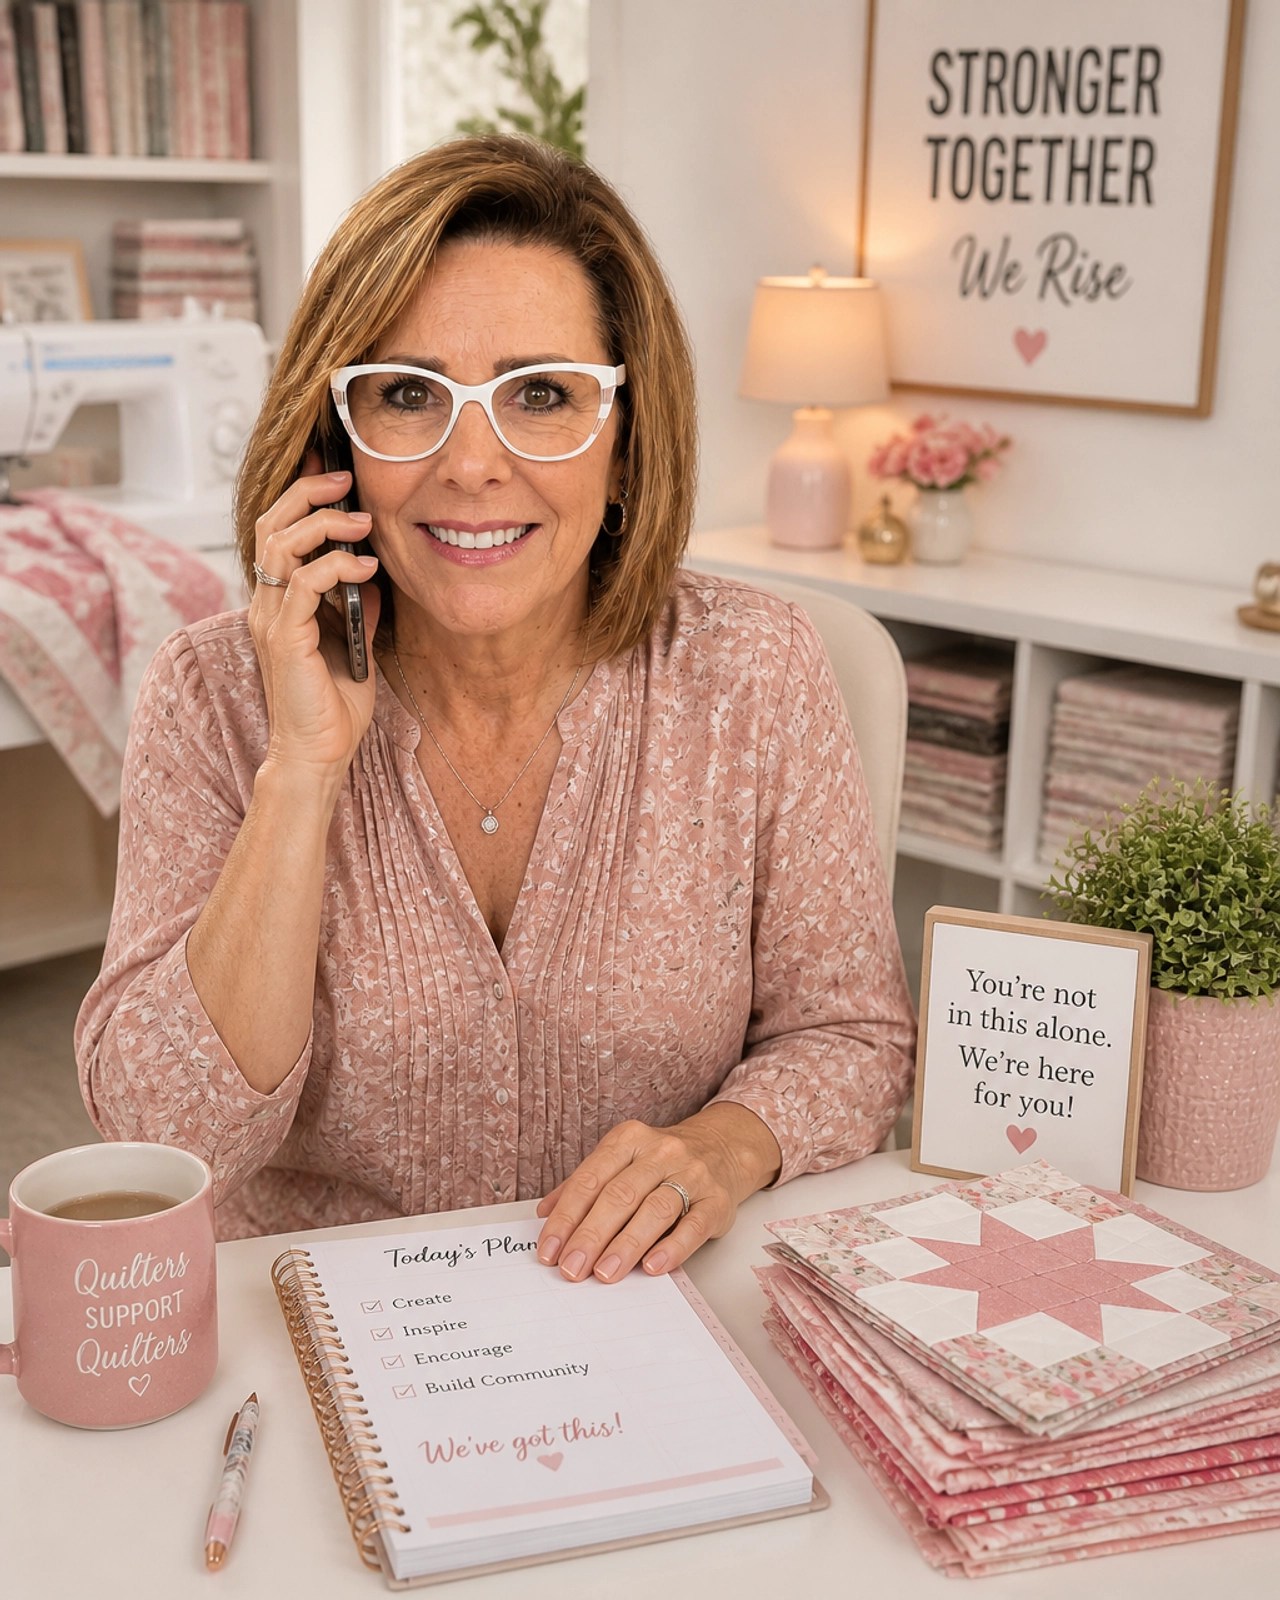
Hello, friends! I am absolutely thrilled, no, I am over the moon: to finally share some incredible news with you. If you’ve been following along with my journey here at The Crafty Author, you know that my heart and soul are poured into every stitch, every tutorial, and every quilt block we create together. Today, I am taking that passion to a whole new level.
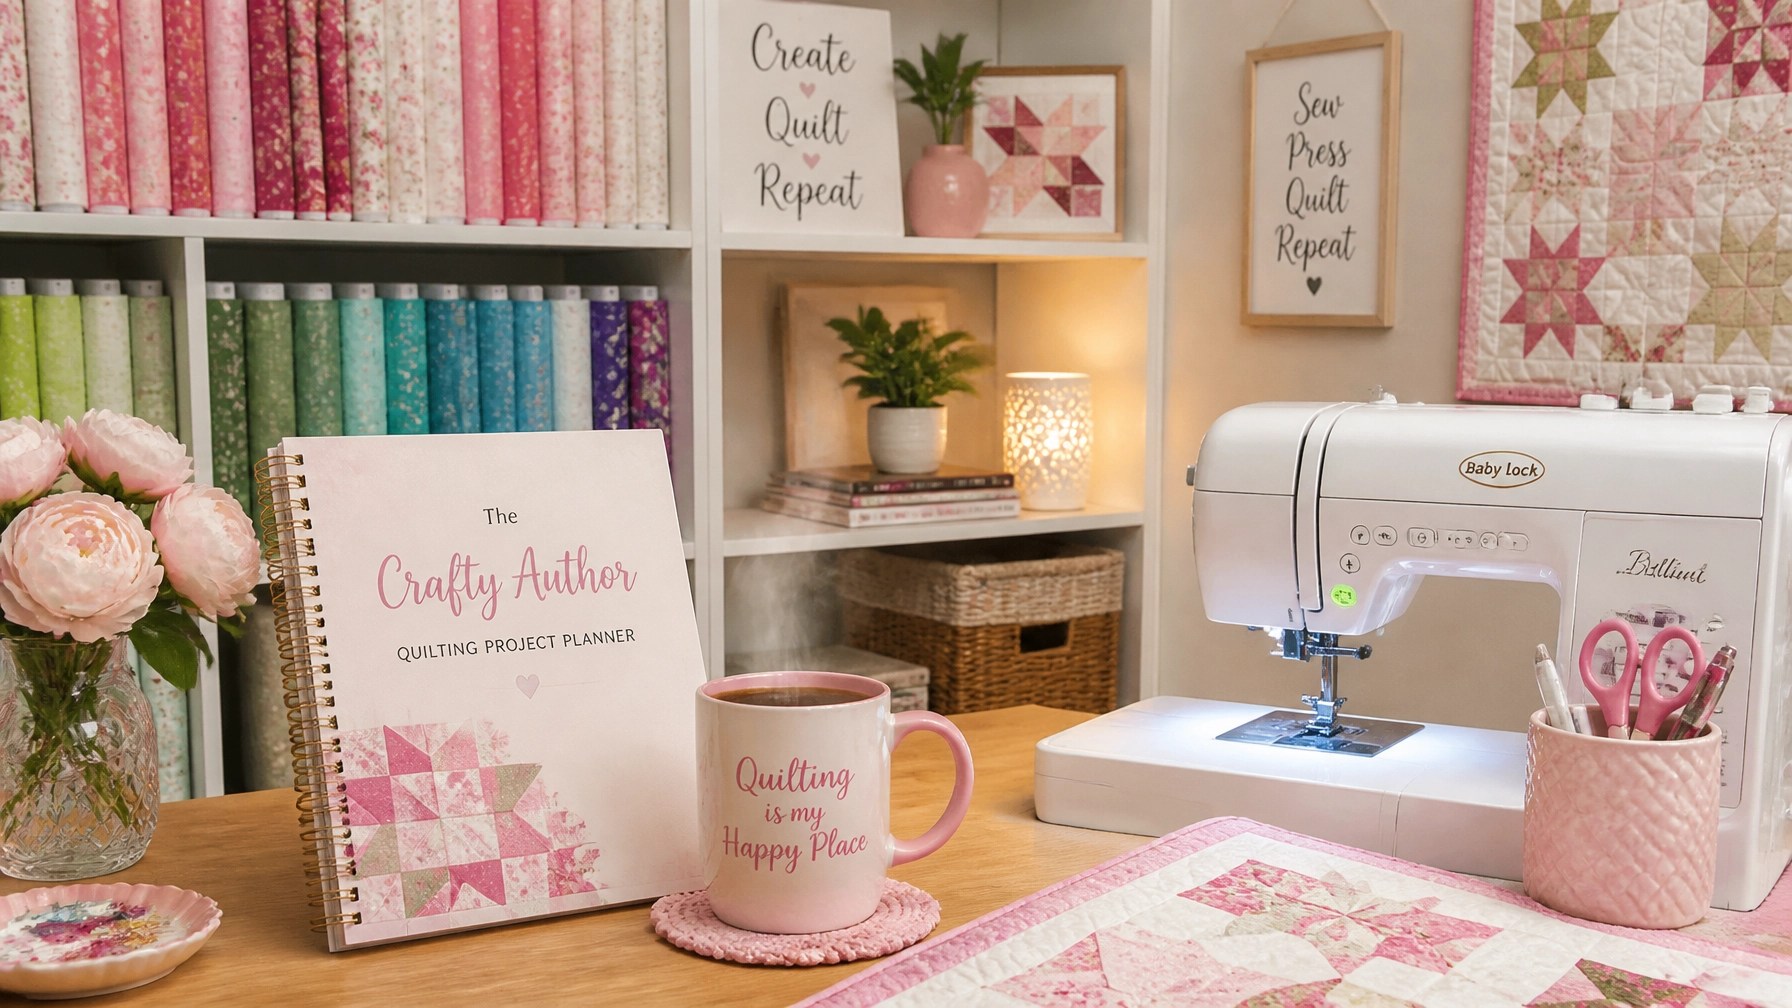
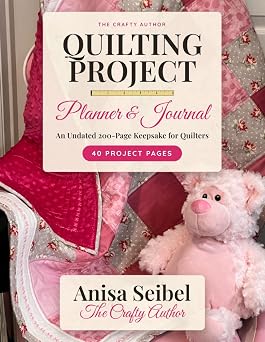
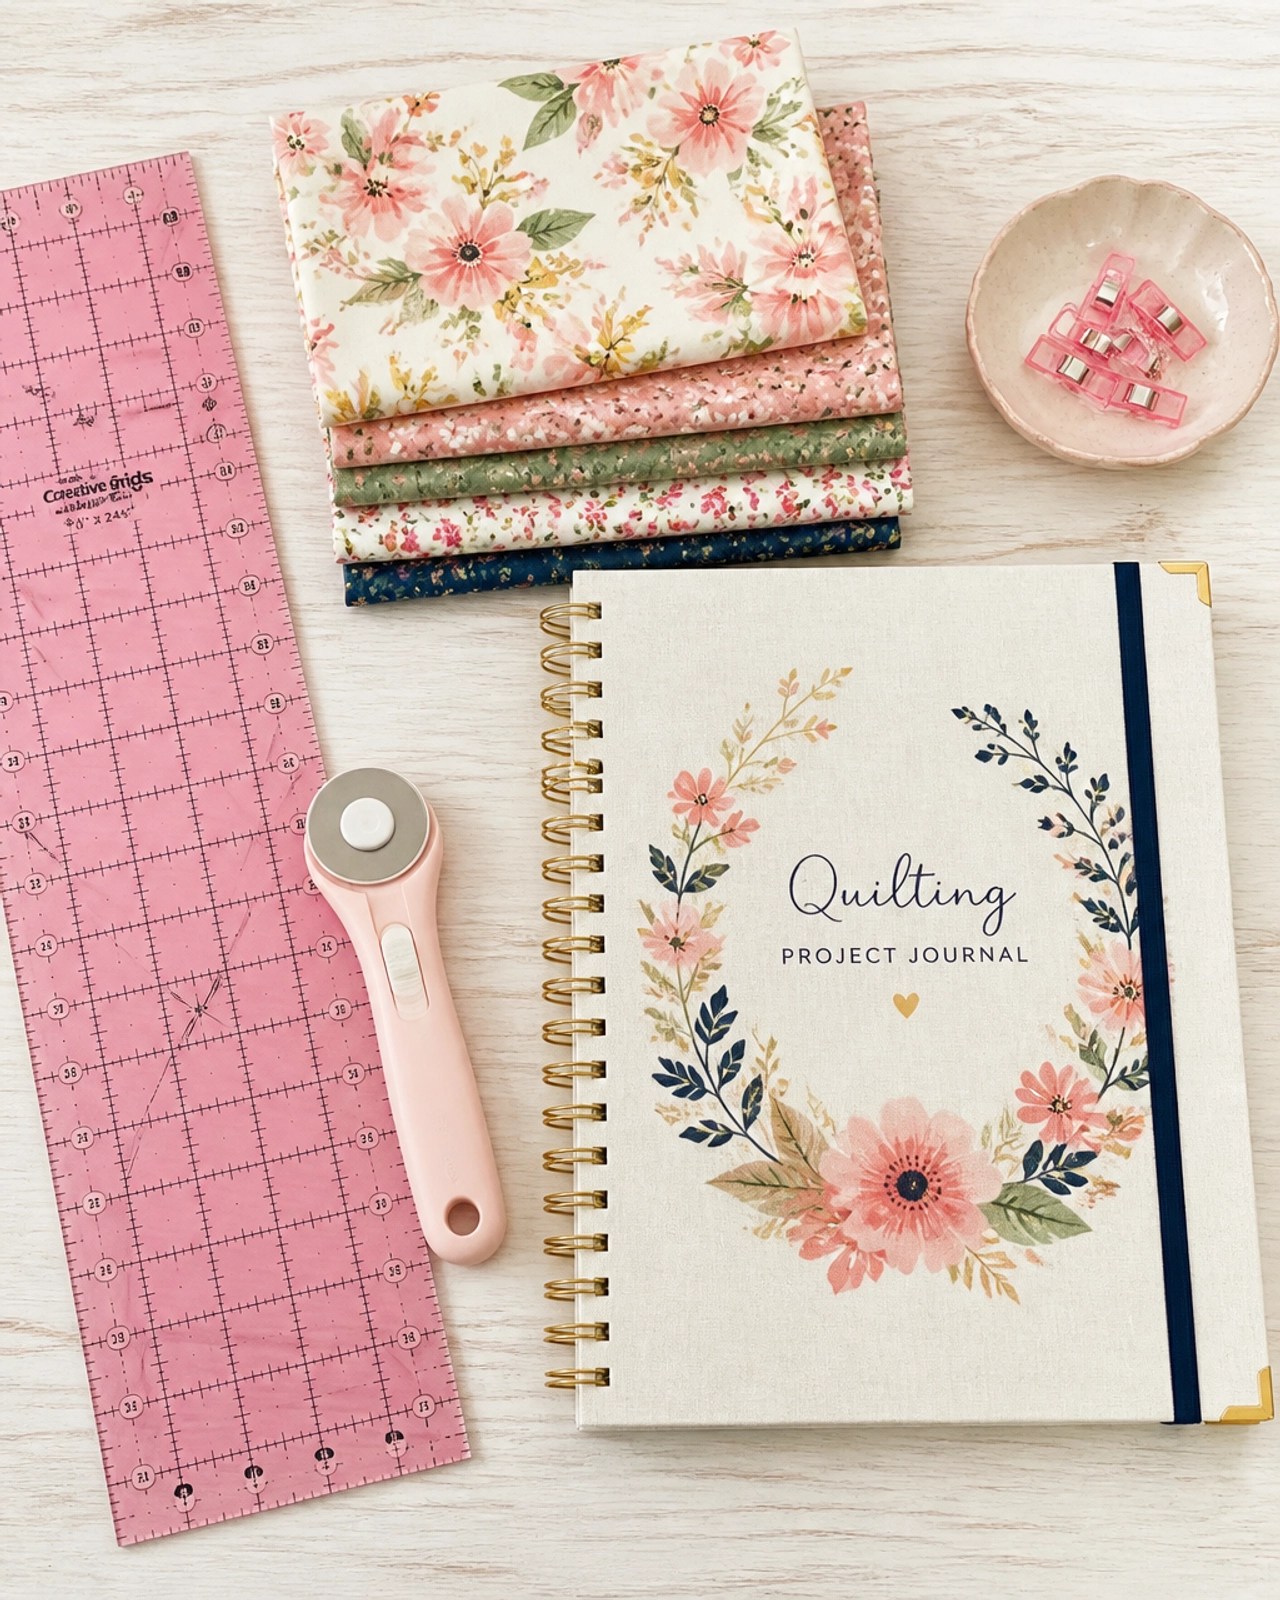
I have officially launched my brand new book, The Crafty Author Quilting Project Planner & Journal, and it is finally available for you to hold in your hands!
This has been a dream of mine for a long time. I wanted to create something that wasn’t just a book, but a companion for your creative journey. Something that would help remove the overwhelm we all feel when we have too many ideas and not enough organization. Are you ready to see what’s inside?
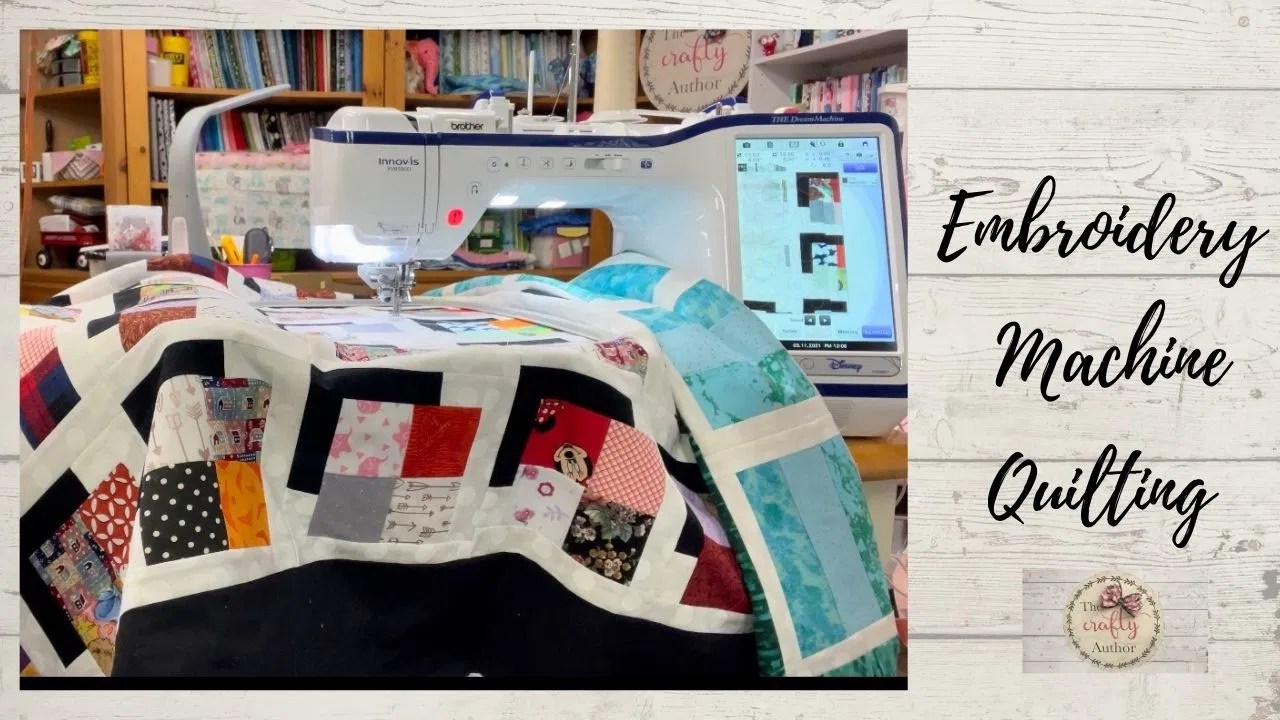
Before we dive into all the juicy details, I’ve put together a special video to celebrate the launch and show you exactly how I use this planner in my own studio.
The Heart Behind the Planner
For over 30 years, I’ve been immersed in the world of quilting. From the very first block I ever pieced to the complex longarm designs I tackle today, quilting has been my therapy, my joy, and my community. But let’s be honest, friends: quilting can get a little messy!
How many of us have scribbled yardage requirements on a scrap of paper, only to lose it at the fabric store? How many times have you started a project, tucked it away for a few months, and then completely forgotten which thread color or needle size you were using? I’ve been there more times than I can count!
I realized that we needed a dedicated space to "catch the wisps of ideas" before they fly away. I wanted a place where the math, the fabric swatches, and the big dreams could live together in one beautiful, organized keepsake. That is exactly why I designed The Crafty Author Quilting Project Planner & Journal.
A Deep Dive Into Your New Favorite Tool
I didn't want this to be just another notebook. I wanted it to be the ultimate resource for makers of all levels. Whether you are just starting your very first quilt-as-you-go table runner or you're a seasoned pro working through a scrap quilt series, this planner is for you.
Here is exactly what you’ll find inside the 200 pages of this keepsake journal:
1. 40 Dedicated Project Planning Pages
This is the meat and potatoes of the planner! You have enough room to plan 40 complete quilt projects. Each page lets you record the project name, the pattern used, the finished size, and the fabric line. I’ve even included a checklist for your binding, batting, and backing so you never show up to a retreat missing a crucial component.
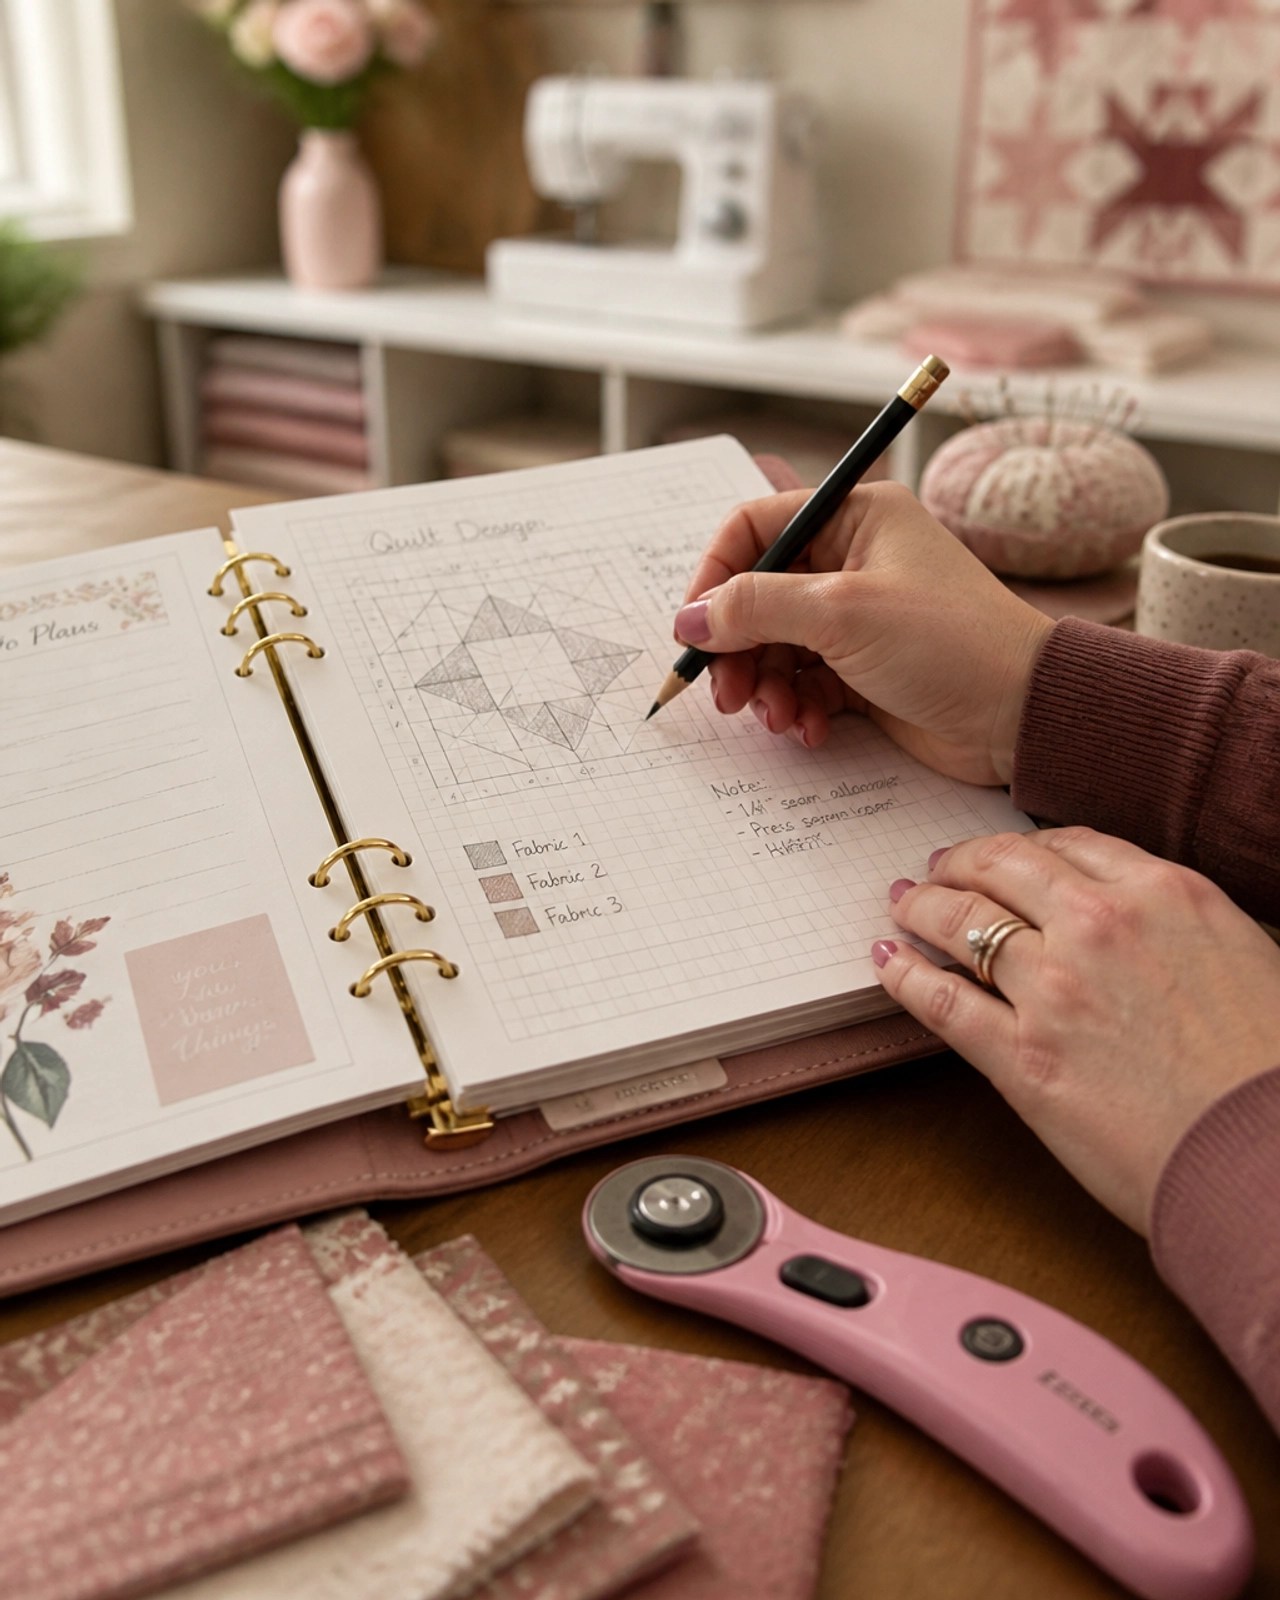
2. 40 Quilt Design Grids
Have you ever had a vision for a block but didn't know where to sketch it? Every project page is paired with a design grid (using both 1/4" and 1" rules). This is perfect for sketching out your blocks, planning your layout, or even auditioning different quilting motifs. It’s your own personal architect’s desk!
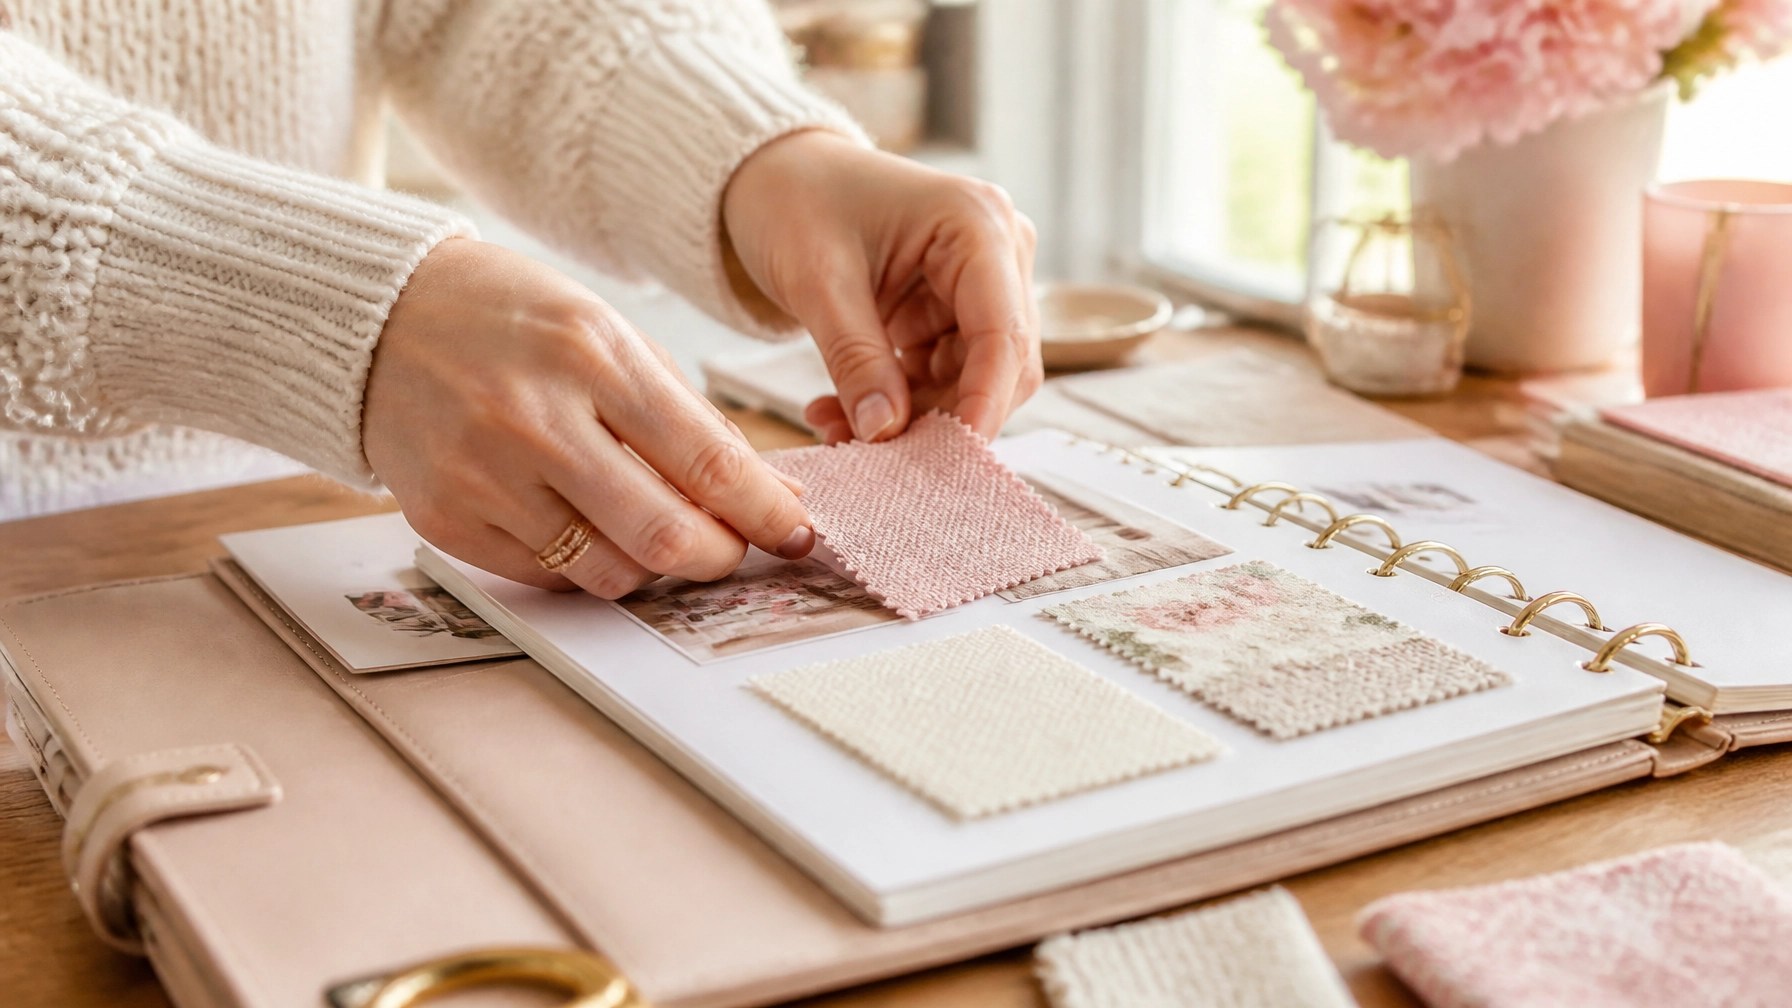
3. Fabric Color-Story & Cut Lists
This might be my favorite part. There is dedicated space to tape in actual fabric swatches! You can build your palette right on the page and write out your cut list. When you're standing in the aisles of the Fat Quarter Shop or your local quilt store, you can just open your planner and know exactly what you need. No more guessing!
4. Stash and Thread Inventory
We all have a "stash," but do we actually know what’s in it? I’ve included four pages for a fabric stash inventory and two pages for your threads. You can track the designer, color, yardage, and where you bought it. This is a total game-changer for avoiding "accidental" double-purchases (though is there really such a thing as too much fabric?).
Why a Physical Planner in a Digital World?
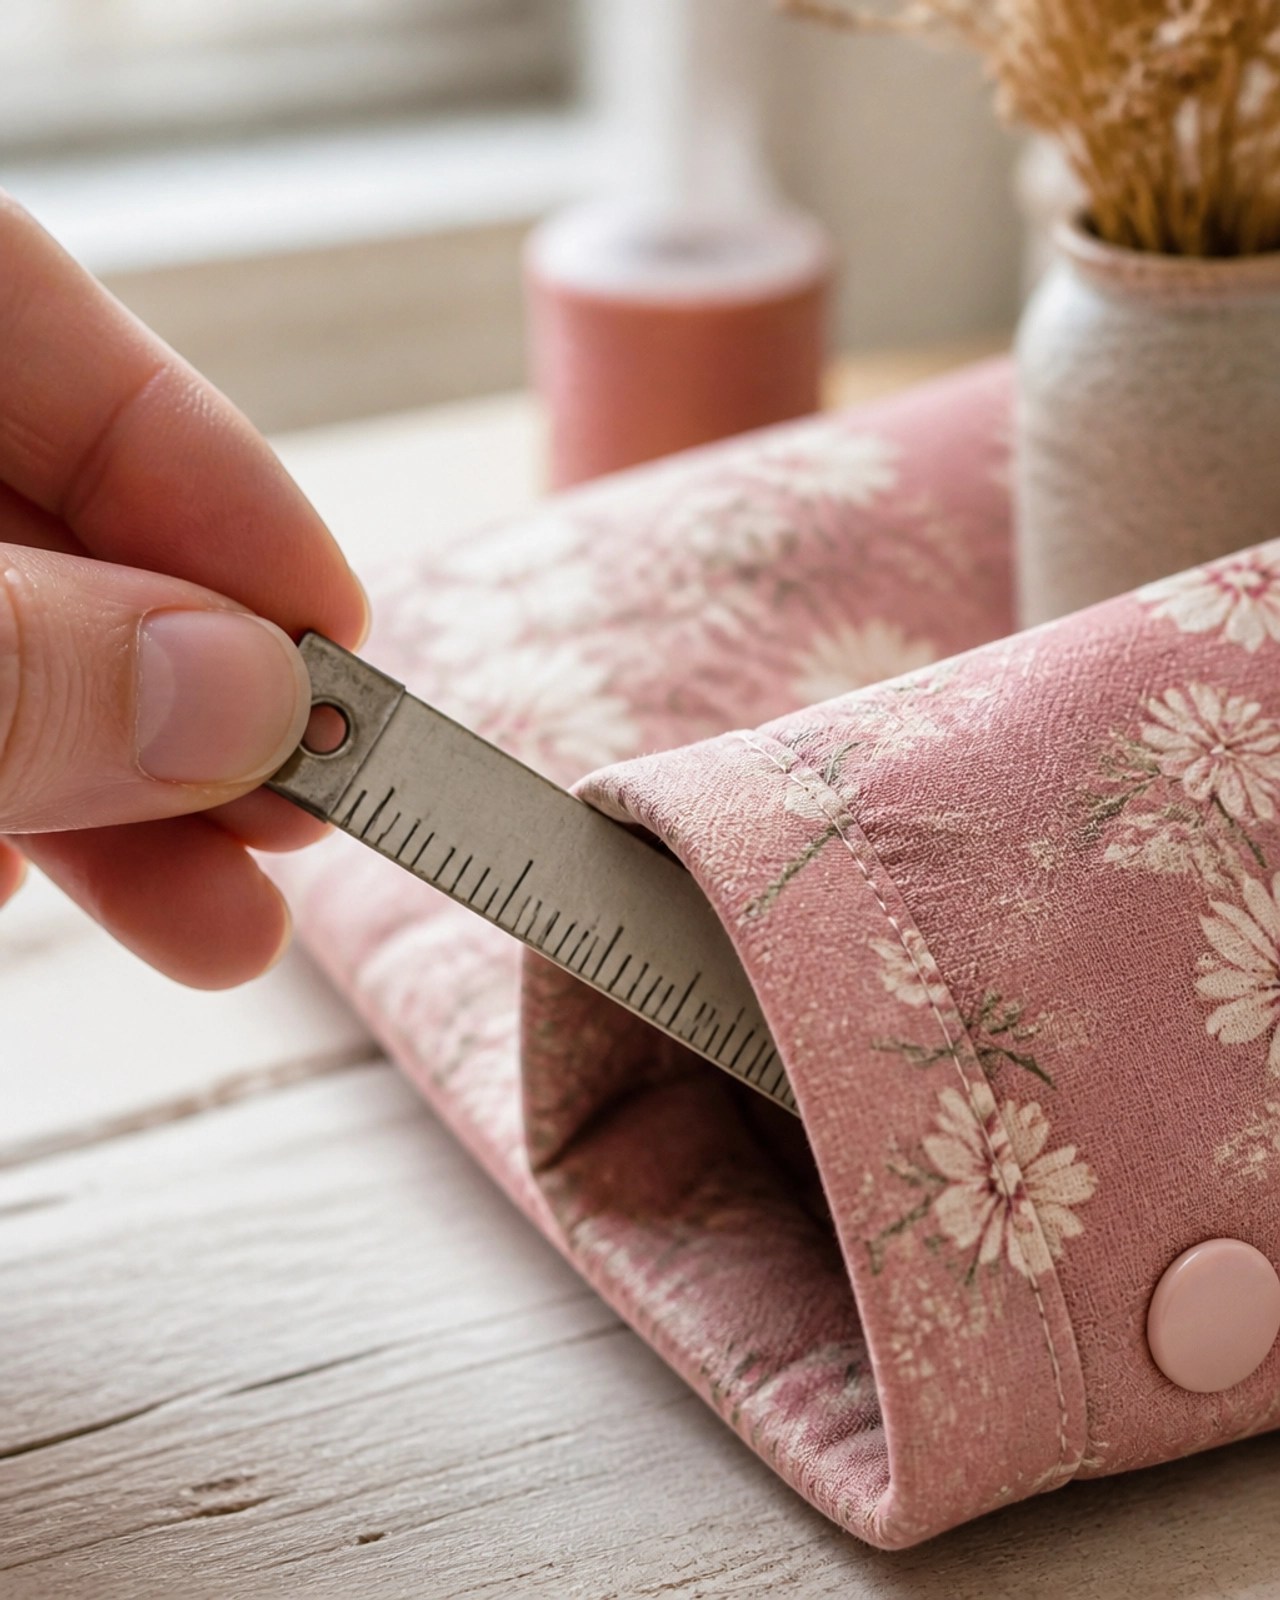
I know we live in an age of apps and digital spreadsheets, but there is something so incredibly satisfying about the tactile experience of paper and pen. Quilting is a tactile craft: we love the feel of the cotton, the weight of the shears, and the texture of the stitches.
Writing down your progress creates a physical history of your life as a maker. Years from now, you’ll be able to look back through this journal and remember exactly why you chose those specific fabrics for your granddaughter’s baby quilt or what inspired that bold modern design. It becomes a heirloom in itself.
Plus, let’s be real: taking a beautiful planner into your sewing room just feels good. It inspires creativity! I made sure to design the interior with a soft, hand-drawn cottage-craft style. It’s easy on the eyes and feels as warm and welcoming as a fresh bolt of flannel.
Join the Celebration!
Friends, this launch is just as much yours as it is mine. The Crafty Author community is the reason I keep creating. Your support, your questions, and your beautiful finished projects are what keep me inspired every single day.
I would be so honored if you joined me in this new chapter. Are you ready to get organized and start planning your best quilts yet?
"Every quilt begins with a wisp of an idea: a fabric you couldn't put back on the bolt, a memory you wanted to wrap around someone you love."
You can grab your copy of the planner right now on Amazon! It comes in both a beautiful softcover and a sturdy hardcover version, depending on how you like to work.
Click here to get your copy on Amazon!
What’s Next for The Crafty Author?
While I am celebrating this book launch today, don't think for a second that I’m slowing down! We have so many exciting things coming up. If you haven't joined The Crafty Author Clubhouse™ yet, now is the perfect time. We are going to be using these planners during our upcoming sew-alongs to keep everyone on track and inspired.
I’m also working on some new digital patterns that will fit perfectly into the project pages of your new journal. I want to help you fill every single one of those 40 project slots with something you love!
Thank you for being part of this journey. Thank you for your kind words, your excitement, and for being the best creative community a girl could ask for. I can’t wait to see your planners filled with sketches, swatches, and stories!
Are you joining the madness? Let me know in the comments what your first project in the new planner is going to be!
Keep on Craftin',
Anisa Seibel
The Crafty Author
Shop Our Partners


Affiliate disclosure: This page contains affiliate links. If you shop through these links, I may earn a small commission at no extra cost to you. Thank you for supporting The Crafty Author!