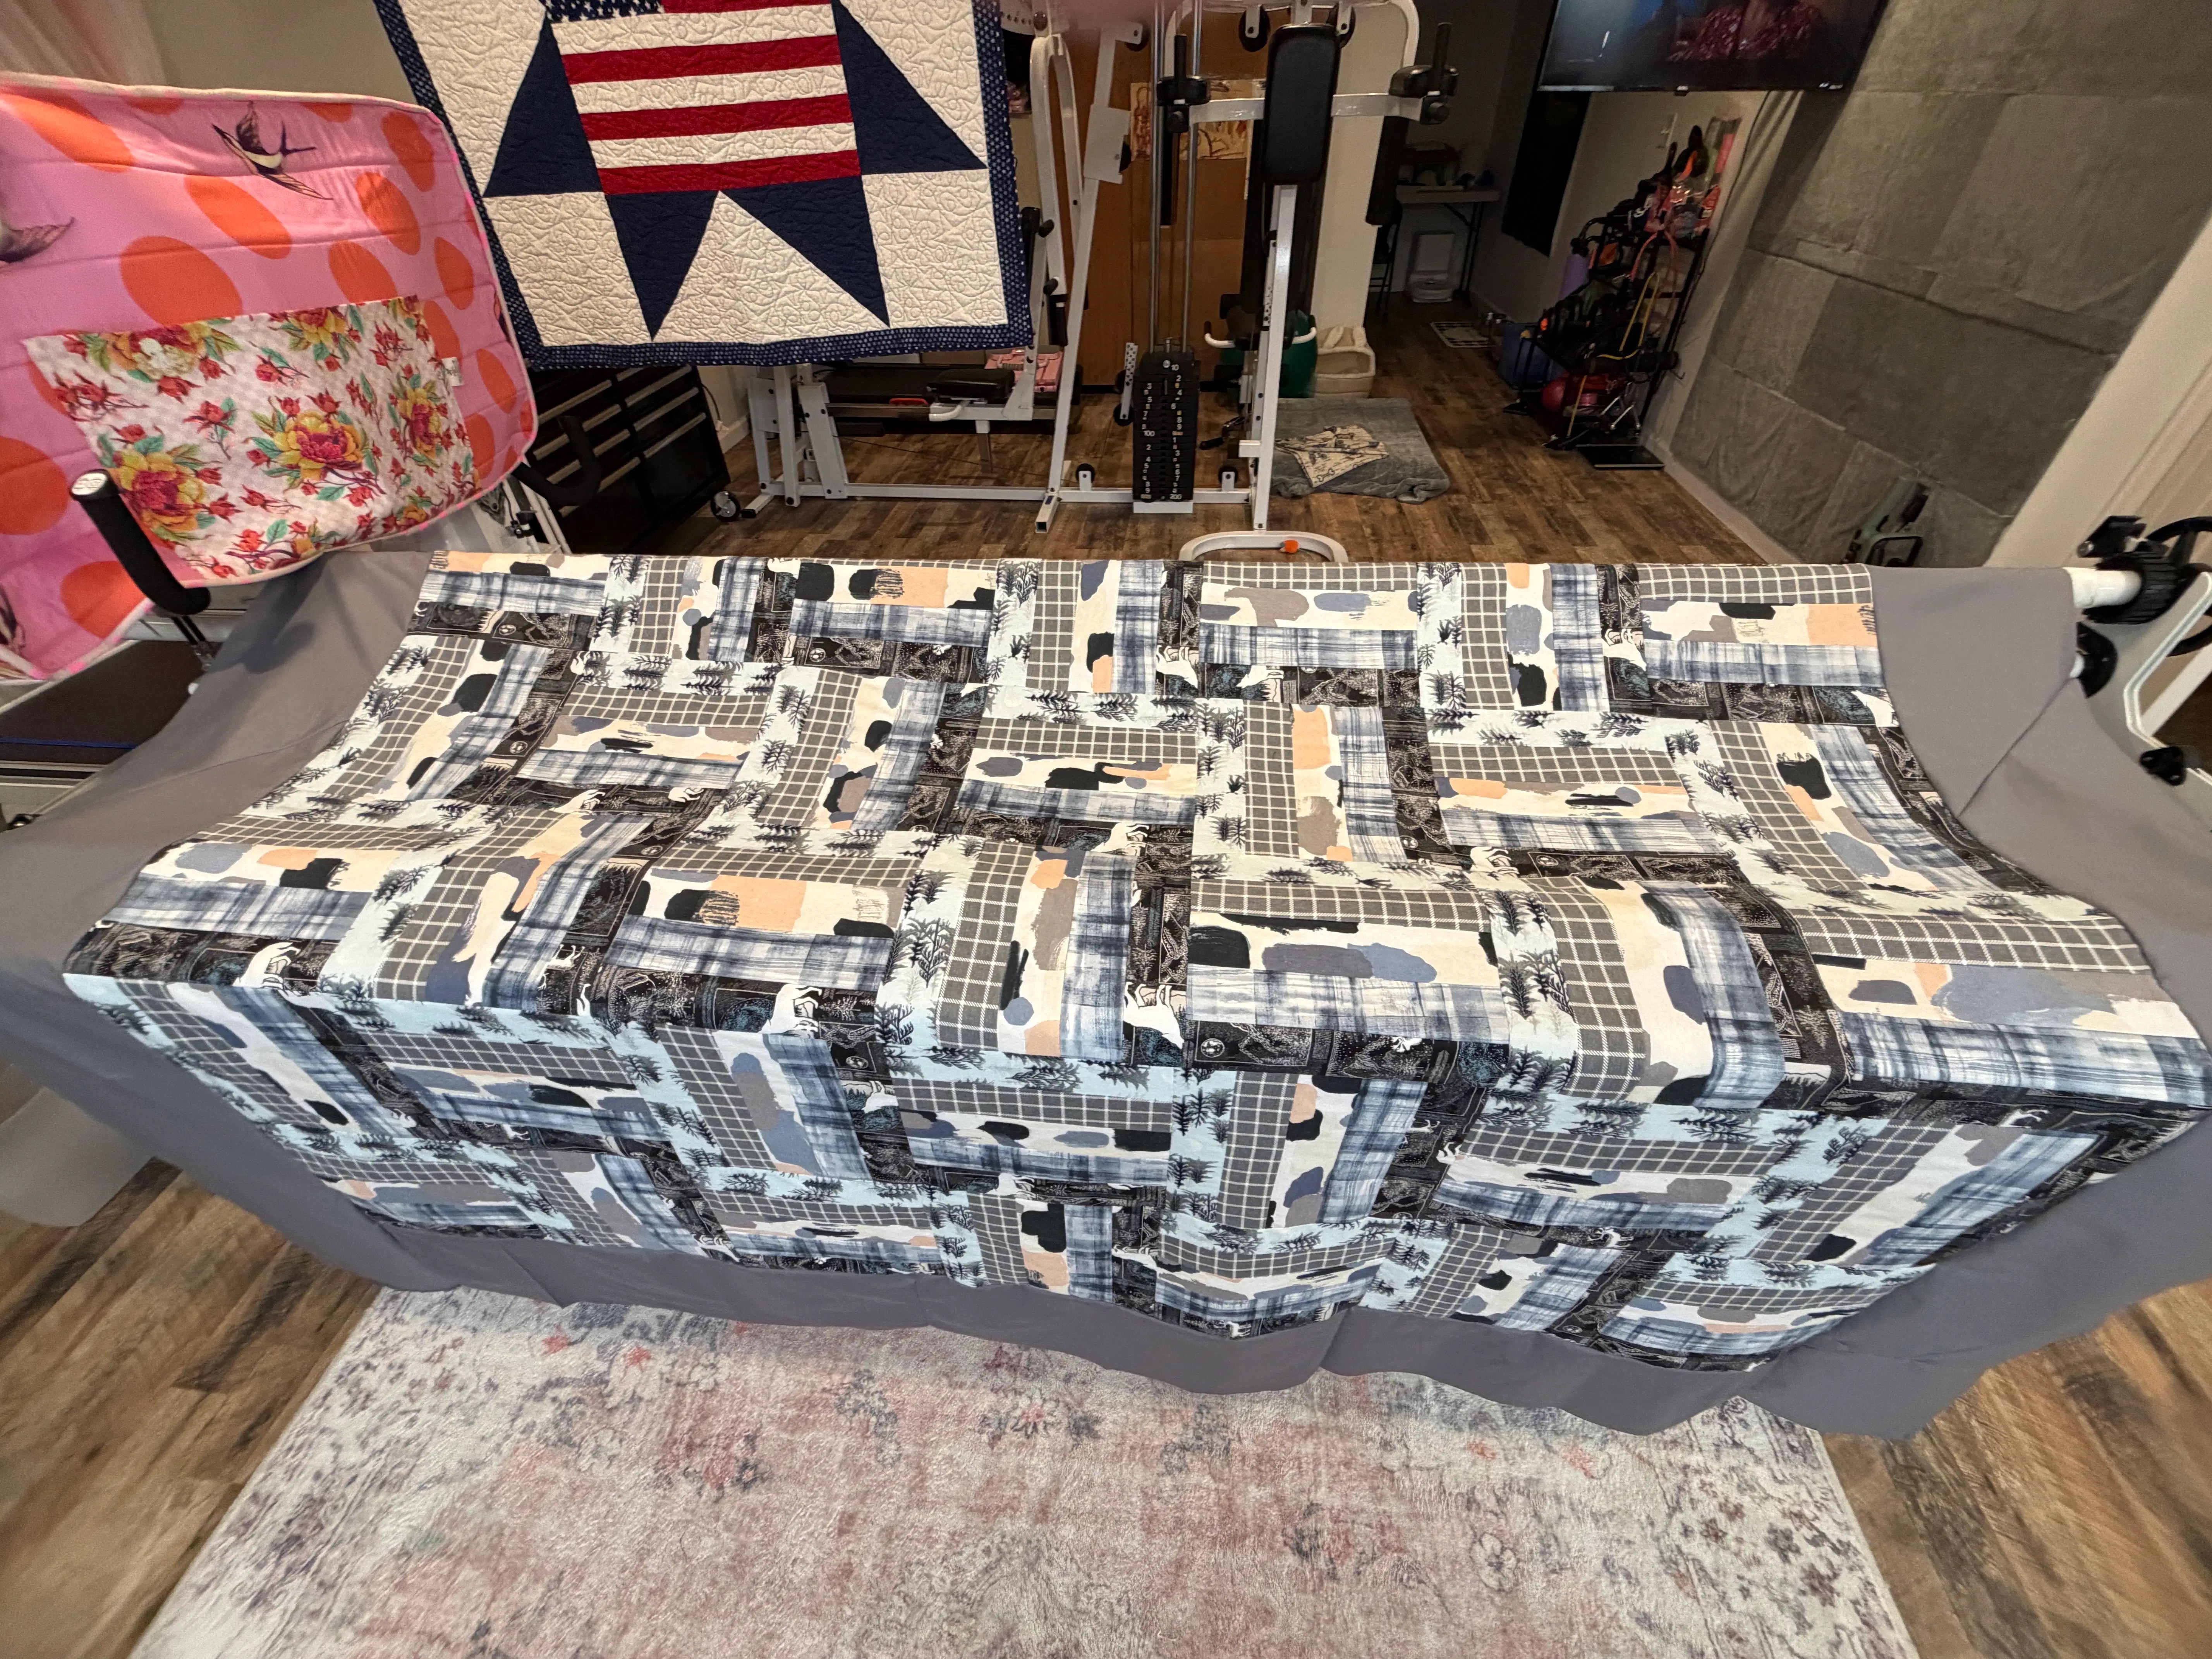
Friends, I am so excited to share this finished flannel quilt with you! There is something especially satisfying about completing a quilt that feels both beautiful and wonderfully practical. This quilt has a cozy, relaxed look, with soft flannel textures, cool blue and gray tones, cream accents, darker prints, and just enough warmth to make the whole design inviting.
The best part? The quilt came together with a simple strip-piecing approach. I cut 2 1/2-inch strips from yardage, sewed the strips together, and alternated the pattern to create the finished look. No complicated individual blocks were required! Sometimes a straightforward construction method is all you need to let beautiful fabric do the work.
“Simple piecing, thoughtfully arranged, can create a quilt with wonderful movement and personality.”
Watch the Strip Quilt Process
Before we talk through the technique, here are a couple of videos from my Strip Quilt Series. These projects use a Quilt As You Go method, so they are not the exact construction of this flannel quilt, but they are helpful for seeing how strip-based quilt designs can grow from simple fabric pieces.


Why Flannel Works So Well for a Strip Quilt
Flannel is one of my favorite fabrics for quilts that are meant to feel warm, soft, and welcoming. Its brushed surface gives the finished quilt a gentle texture that quilting cotton simply does not have. Even when the piecing is uncomplicated, flannel adds dimension and comfort.
This particular quilt also shows how much visual interest can come from alternating fabric placement. The prints do not all have to match perfectly. Plaids, scenic designs, small motifs, and solid-looking textures can work together beautifully when they share a compatible color family.
Strip piecing also saves time. Instead of cutting and sewing many small squares one at a time, you create longer sections first. That means fewer repeated steps and a faster way to see your quilt design take shape. Are you joining the strip-piecing fun yet?
Preparing Flannel Before Cutting
For this quilt, I did not prewash the flannel. Instead, I worked with it as it was and focused on keeping everything smooth, straight, and easy to manage before cutting.
If your yardage feels bulky or a little shifty on the table, take a moment to smooth it out and line up the edges before you begin. You do not need to stretch it into shape. In fact, stretching can make the fabric more difficult to cut accurately. Let the fabric relax naturally while you get it positioned for clean cuts.
A light application of starch can also help stabilize flannel. Starch is especially useful when the fabric feels soft, loose, or difficult to control.
Cutting Accurate 2 1/2-Inch Strips
For this quilt, I used my AccuQuilt Go Big cutter and the 2 1/2-inch die to cut my strips from yardage. Accurate cutting is important because even small differences in strip width can become more noticeable as the strips are sewn together.
Here are a few tips that make the cutting process easier:
- Square the fabric edge first. Begin with a clean, straight edge before measuring your first strip.
- Use a sharp rotary blade. A dull blade can drag the flannel or leave sections uncut.
- Keep your ruler steady. Place your hand firmly on the ruler without pushing the fabric out of alignment.
- Cut with the grain when possible. Strips cut parallel to the selvage generally have less stretch than strips cut across the fabric.
- Re-square as needed. If the fabric shifts or the edge begins to bow, stop and straighten it before continuing.
If your yardage is difficult to manage, work with a smaller folded section rather than trying to control too much fabric at once. Flannel can be bulky, and keeping your cutting area manageable helps prevent distortion.
Sewing the Strips Together
Once the strips were cut, I sewed them together to create strip units. Place two strips right sides together, align the long edges, and sew using the seam allowance required for your project. Many quilters use a consistent 1/4-inch seam allowance for traditional piecing, but the most important rule is consistency. Whatever allowance you choose, keep it steady from beginning to end.
Flannel may shift slightly as it passes beneath the presser foot. Use pins or clips where needed, especially along longer edges. Avoid pulling the fabric from either end while sewing. Let the sewing machine feed the fabric naturally, and guide it gently instead.
A leader scrap at the beginning of your stitching can help prevent thread nests. You can also chain-piece several seams before cutting them apart, which keeps the process moving and reduces thread waste.
Pressing Seams in Flannel
Pressing is an important part of successful strip piecing. After sewing each seam, press it carefully before adding the next strip or arranging the units.
Use a dry iron or very light steam, depending on how your flannel responds. Press straight down and lift the iron rather than sliding it aggressively across the fabric. Sliding can stretch the strip and create a curve.
Because flannel has more body than quilting cotton, seam direction can affect how bulky the finished piece feels. You may press seams to one side, pressing alternating seams in opposite directions to help them nest. You may also prefer pressing seams open to distribute the bulk more evenly. There is no single correct answer here: choose the approach that keeps your strip units flat and manageable.
Take a moment to check the front after pressing. Look for tucks, folds, or seams that have shifted. It is much easier to correct a problem at this stage than after several additional strips have been sewn.
Alternating the Pattern
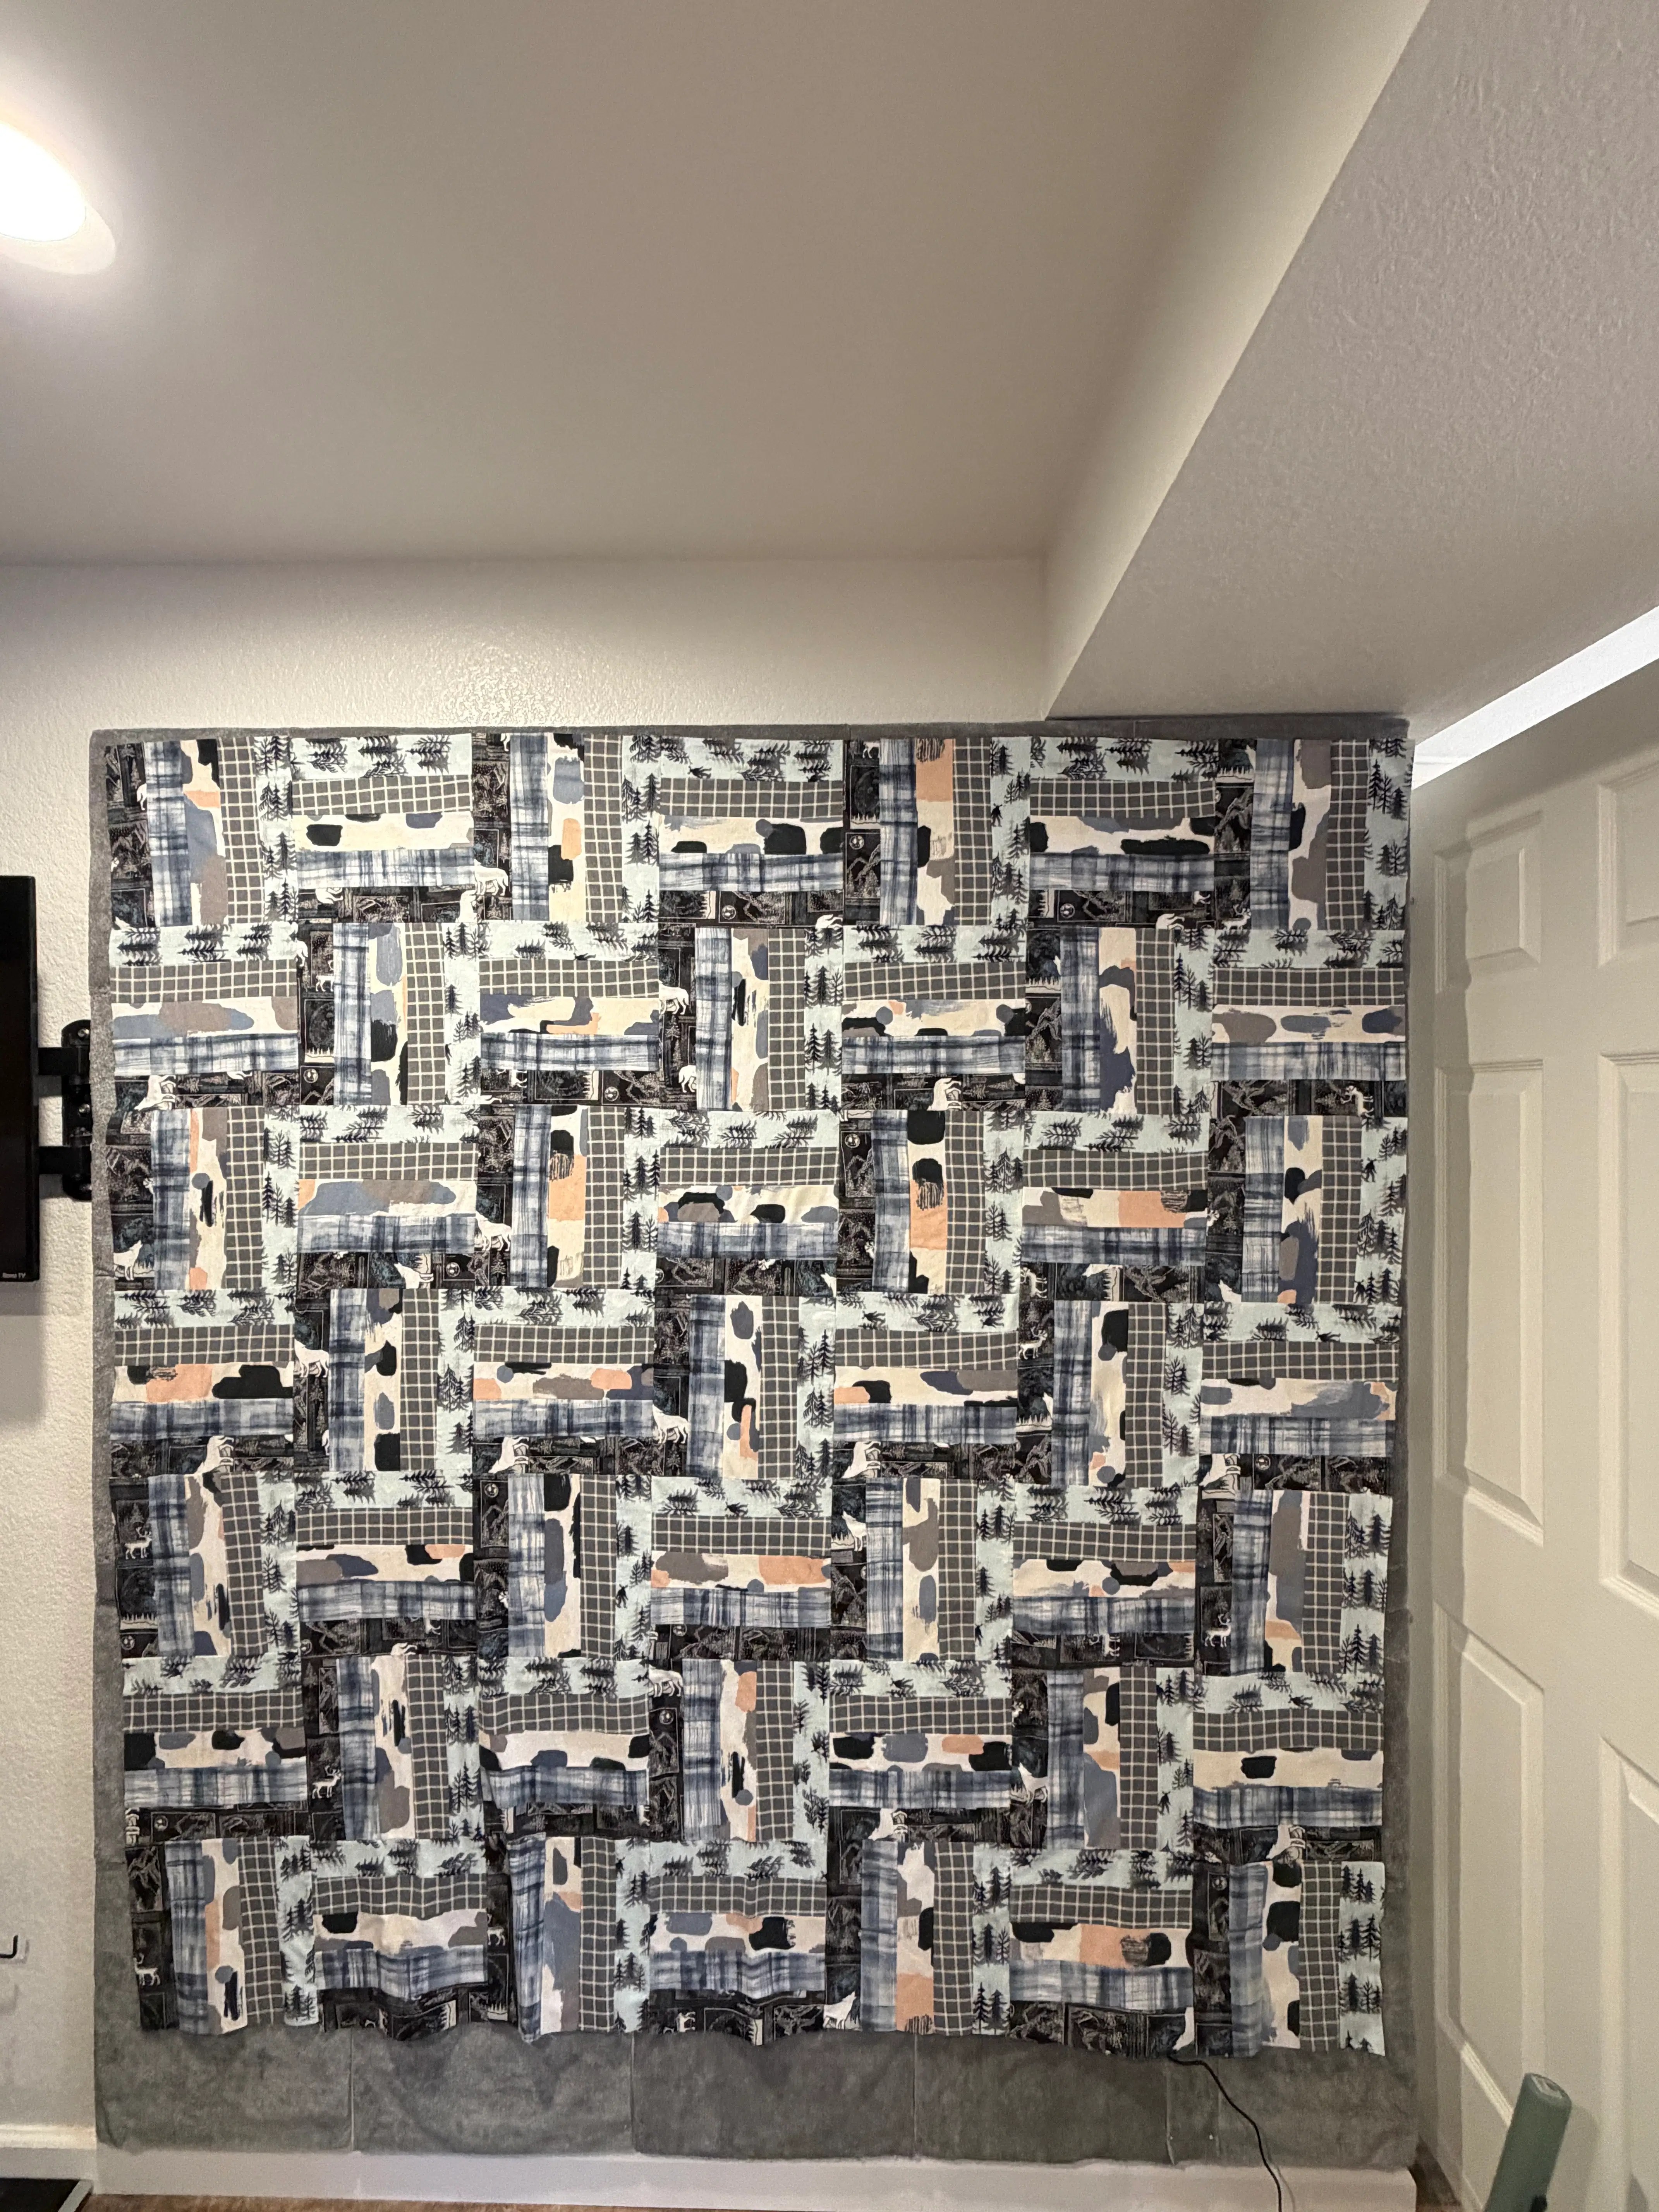
The alternating arrangement is what gives this quilt its lively finished appearance. After sewing the flannel strips together, I alternated the pattern as I assembled the quilt. This simple change in placement keeps the eye moving across the surface instead of allowing the prints to form one uninterrupted repeat.
I also used my quilt wall to lay out the design before I stitched all of the squares together. That step made it so much easier to see the balance of color, print, and movement before everything was committed with seams.
When arranging your strips, lay them out on a design wall, bed, or clean floor. Step back often so you can see the overall balance. Look for areas where one print or color is gathering too heavily, then move pieces around until the arrangement feels pleasing.
If your flannel includes directional prints, pay attention to which way the images are facing. You can intentionally keep some designs oriented in the same direction, or rotate sections for a more relaxed, scrappy effect. The important thing is to make the choice before sewing the final rows together.
Taking a quick photo of your arrangement is another helpful trick. Once pieces are stacked or moved to the sewing machine, it can be surprisingly easy to forget the order!
Let the Fabric Be the Star
One reason I love this type of quilt is that the construction is simple enough to showcase the fabric. The flannel prints create the texture and personality, while the alternating arrangement adds movement without requiring a complicated pattern.
This is also a wonderful project style for beginners. You can practice accurate cutting, straight seams, pressing, fabric organization, and layout decisions: all skills that transfer to more advanced quilts later. At the same time, experienced quilters can enjoy the speed and freedom of working with a simple design.
If your strips are not perfectly identical, do not panic! Small variations are part of learning. Focus on improving your consistency, but remember that a finished quilt made with care is far more valuable than an abandoned project waiting for perfection.
A Cozy Finished Quilt
I am thrilled with how this flannel strip quilt turned out. The combination of soft fabric, graphic prints, and alternating placement creates a quilt that feels both casual and thoughtfully designed. It has that wonderful handmade quality I always hope for: a little bit rustic, a little bit modern, and completely inviting.
I quilted it on my Handi Quilter Simply Sixteen using a tree design that is preloaded on my Pro-Stitcher Premium, and that finishing texture added such a beautiful layer of movement across the quilt.
Would you try this method with your own flannel yardage? You could use a coordinated group of prints, combine plaids with scenic fabrics, or gather a collection of leftovers in similar colors. The method stays simple while the personality of the quilt changes with every fabric choice.
For more strip-piecing inspiration, visit my Strip Quilt Series | Quilt As You Go, and remember that quilting is meant to be creative, useful, and enjoyable. Start with the fabric you love, take your time with the cutting, and let the arrangement develop as you work!
Happy quilting, friends! Keep creating beautiful things, one stitch at a time. 🧵
With warmest crafty wishes,
Anisa
Shop Our Partners








Affiliate disclosure: This page contains affiliate links. If you shop through these links, I may earn a small commission at no extra cost to you. Thank you for supporting The Crafty Author!