Hello, friends! I am so thrilled to welcome you back to my creative corner. Today, we are stepping away from the sewing machine for just a moment to bring a little bit of magic right into our backyards. If you have been following along with my journey, you know I absolutely love projects that combine creativity with a touch of whimsy: and what could be more whimsical than creating your very own miniature fairy or gnome garden?
In the summertime, I especially love tending to the gnome garden I created for my grandkids. There is something so satisfying about shrinking down your perspective and building a tiny world where the only limit is your imagination. Whether you are looking for a beautiful way to spend a sunny afternoon with the grandkids or you need a peaceful solo escape into a land of moss and tiny pebbles, these gardens are the perfect project. I’ve found that gardening with my hands is deeply therapeutic, very much like piecing together a fresh new quilt. And because Colorado is in a drought this year, I’m choosing to use high-quality artificial flowers instead of real ones in these little gardens so I can stay water-wise while still keeping everything beautiful.
Are you ready to create some magic? Let's dive in!

Finding the Perfect Container: Wheelbarrows, Wagons, and Pots
One of the best things about miniature gardens is that they can live almost anywhere. You don’t need a massive plot of land; in fact, some of the most enchanting gardens I’ve seen are tucked into cozy containers. The container you choose really sets the tone for the "story" you’re about to tell.
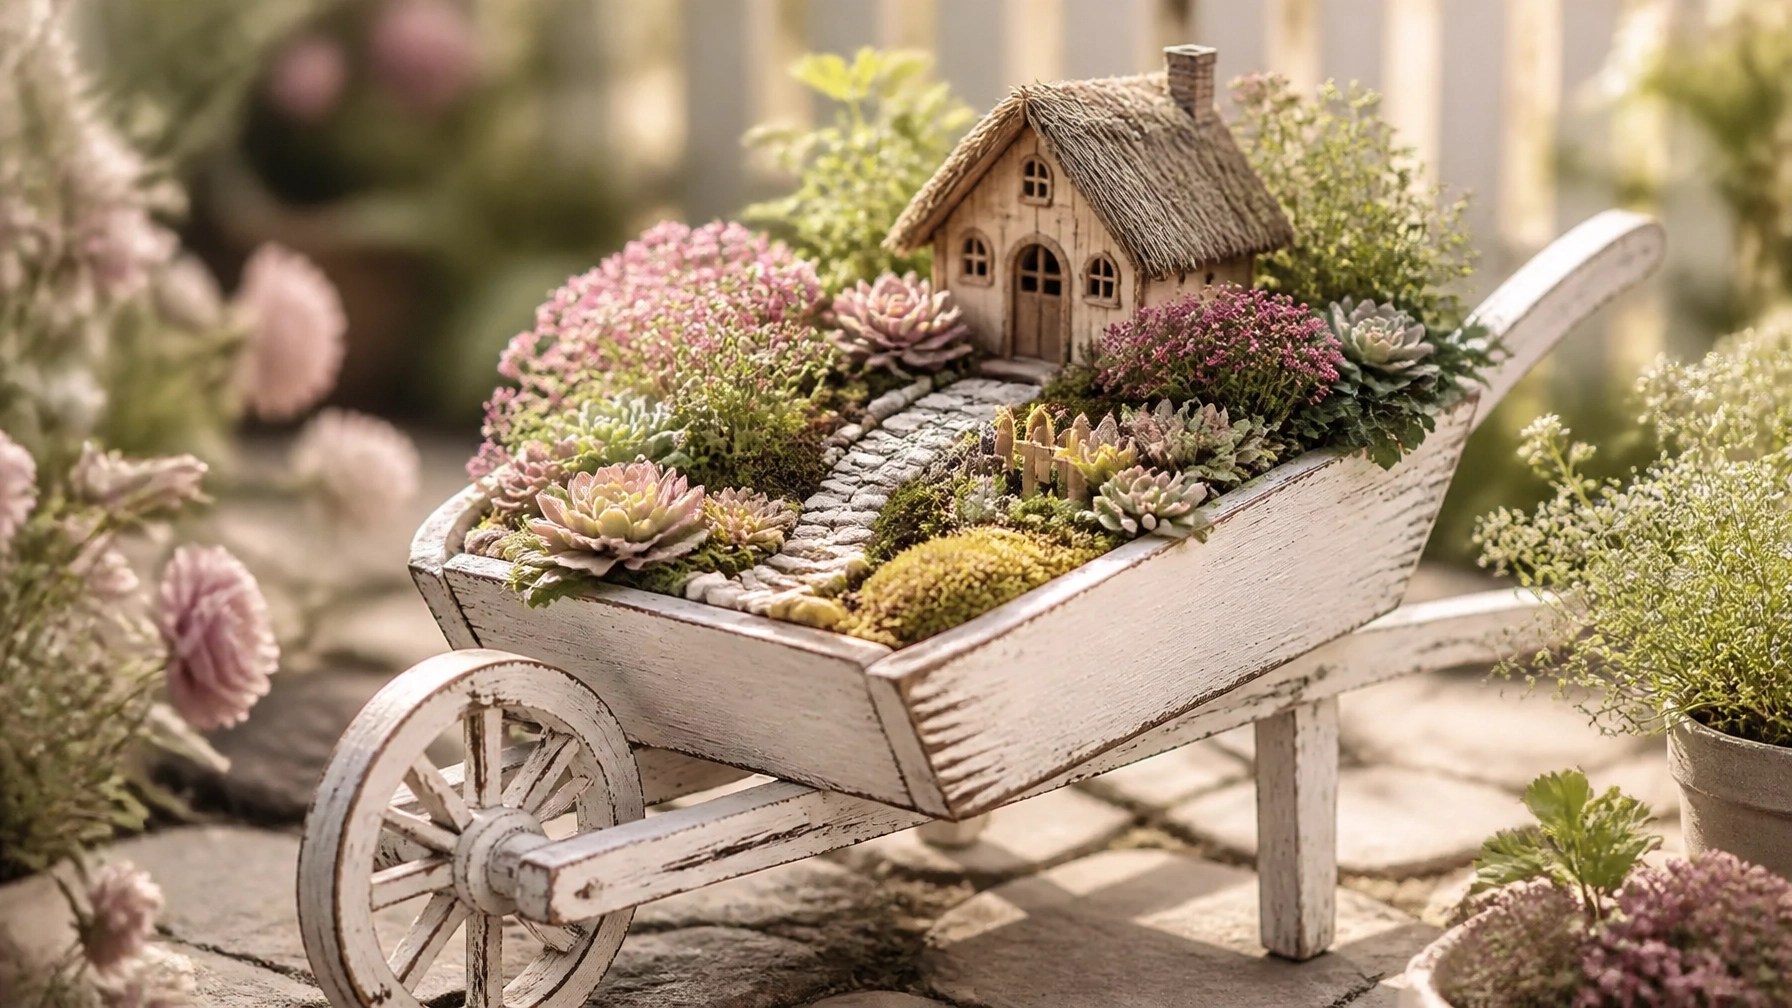
The Farmhouse Wheelbarrow
If you love that rustic, farmhouse aesthetic (much like the vibes in my quilt studio), an old metal or wooden wheelbarrow is the way to go. I love using wheelbarrows because they provide a wonderful sloped surface. You can create a "hillside" village where the fairies live at the top and a little meadow spreads out toward the handles. It’s charming, nostalgic, and makes a beautiful statement piece in any garden bed.
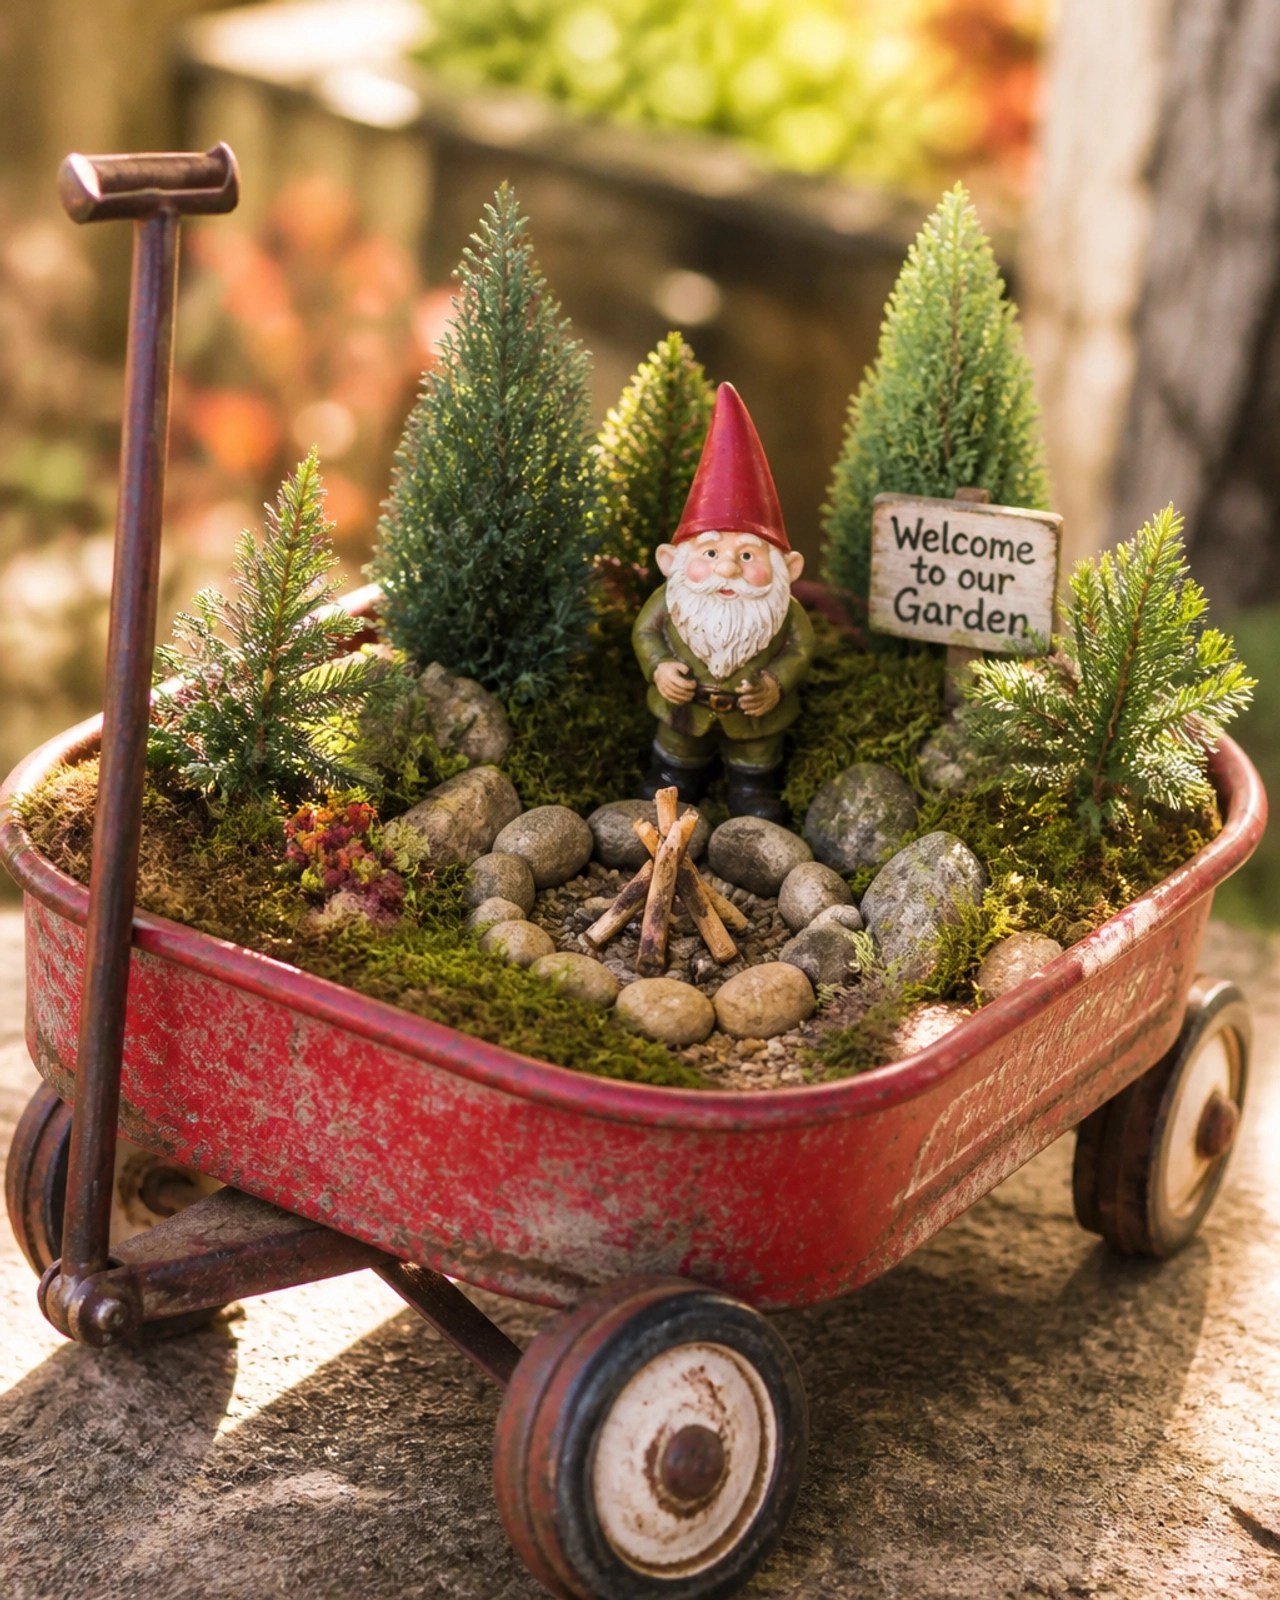
The Whimsical Wagon
For a look that is pure childhood joy, I highly recommend a vintage-style red wagon. Wagons are typically shallower, which makes them perfect for low-growing groundcovers like creeping thyme or Irish moss. A wagon garden feels like it’s ready to roll off on an adventure at any moment! It’s a great choice if you want to create a "camping" scene with tiny tents and a pebble fire ring.
The Classic Flower Pot
If you’re a beginner or have limited space, a classic terra cotta or ceramic flower pot is your best friend. You can even use a "broken" pot to create a tiered staircase effect: turning a gardening mishap into a masterpiece! It’s such a clever way to recycle and looks incredibly professional once it’s finished.
Repurposing Old Wagons and Containers
One of my favorite parts of this project is that your container absolutely does not need to be brand new. In fact, I think old wagons, weathered pots, wooden crates, and quirky found containers often add even more character and charm! You can frequently find vintage wagons or unique containers for a very low cost, or even free, on platforms like Facebook Marketplace or Nextdoor.
Repurposing what already exists makes this project feel even more sustainable and budget-friendly. If you love creating beautiful spaces without spending a fortune, this is such a satisfying way to do it. Keep your eyes open for pieces with good bones, add drainage if needed, and let their age and personality become part of the story you tell in your miniature garden.
Gathering Your Supplies
Before we start planting, we need to gather our tiny treasures. I like to keep my supplies organized, much like I do with my vintage train case for sewing notions. Having everything laid out makes the process so much more enjoyable!
Here is what you’ll need:
- A Container: Your wheelbarrow, wagon, or pot (ensure it has drainage!).
- Potting Mix: A high-quality mix that drains well.
- Tiny Plants: Look for "miniature" varieties (more on this below).
- Moss and Groundcover: To act as your "grass."
- Pebbles and Stones: For paths, patios, and "rivers."
- Miniature Furniture: Tiny chairs, houses, and fences.
- The Residents: Fairies, gnomes, or even tiny farm animals!
"The secret to a magical garden isn't how much you spend, but the tiny details that tell a story."

Choosing Your Plants: The "Trees" and "Grass" of Your Tiny World
When selecting plants, think about scale. You want things that look like full-grown trees or lush meadows when viewed from a few inches away.
- For "Trees": Dwarf conifers are my absolute favorite. They stay small and look exactly like tiny evergreens. You could also use a small rosemary or lavender plant for a Mediterranean-style fairy courtyard.
- For "Grass": Irish moss (Sagina subulata) or Scotch moss is perfect because it is incredibly soft and bright green. Creeping thyme is another great option: plus, it smells heavenly when you brush against it!
- For Texture: Succulents like Hens and Chicks are wonderful because they are hardy and come in beautiful soft pinks and greens that fit right into our Crafty Author color palette.
Step-by-Step: Building Your Magical World
Now for the fun part! Follow these simple steps to bring your garden to life.
1. Prepare Your Container
If you’re using an old metal wagon or wheelbarrow, make sure you drill a few drainage holes in the bottom. I like to line mine with a bit of landscape fabric or burlap to keep the soil from washing out. Fill it with your potting mix, leaving about an inch of space at the top.
2. Plan the Layout
Before you start digging, place your "big" items first. Where will the house go? Where will the main path lead? I like to use a small stick to draw "zones" in the dirt. It helps me visualize the flow of the garden before anything is permanent.
3. Plant Your "Anchor" Plants
Start with your tallest plants (your trees) toward the back or one side. This creates depth. Then, add your medium-sized plants. Gently tuck them into the soil and give them a little pat to make sure they’re cozy.
4. Create the Hardscape
This is where the magic really starts to happen! Lay down your pebble paths or a tiny patio made of flat stones. If you have an HTVRONT iEngrave, you can even engrave tiny wooden signs or "welcome" mats for your gnome friends!
5. Add the Details and Residents
Finally, place your furniture and figurines. I love adding a tiny bench under a "tree" or a little watering can near the house. These small touches make the garden feel lived-in and real.
Let It Glow: Adding Solar Lighting
If you really want to make your fairy or gnome garden feel magical, try illuminating it with solar lighting! Tiny solar-powered stakes or delicate string lights can completely transform your little world once the sun goes down.
I love how this simple touch turns the garden into a beautiful evening display without adding much fuss. Tuck a few miniature solar lights along the paths, around the house, or behind plants to create a soft glow that feels cozy, whimsical, and full of charm.

Maintenance: Keeping the Magic Alive
Caring for a miniature garden is surprisingly easy, but it does require a gentle touch.
- Watering: Containers can dry out quickly, so check the soil daily. Use a spray bottle or a small watering can so you don't wash away your tiny paths!
- Pruning: Just like a real garden, your tiny plants will grow. Don't be afraid to give them a "haircut" with some small snips to keep them in scale with your fairies.
- Seasonal Changes: One of the joys of this project is updating it for the seasons. In the fall, I love adding tiny pumpkins, and in the winter, you can add a dusting of "snow" (white glitter or sand) and some tiny ornaments.

Why I Love This Project
Creating these gardens is such a beautiful way to slow down. It reminds me of the patience required for a complex quilt pattern: it's about the journey, not just the finished result. It's a wonderful way to connect with nature and express your creativity in a three-dimensional way.
Whether you're building a "Fairy Farm" or a "Gnome Woodland," I hope this project brings as much joy to your heart as it does to mine. Are you joining the madness? I would love to see what you create! Be sure to share your photos in our community: it's always so inspiring to see how everyone puts their own unique spin on a project.
Keep on craftin', friends!
Warmly,
Anisa
Affiliate disclosure: This page contains affiliate links. If you shop through these links, I may earn a small commission at no extra cost to you. Thank you for supporting The Crafty Author!