Affiliate disclosure: This page contains affiliate links. If you shop through these links, I may earn a small commission at no extra cost to you. Thank you for supporting The Crafty Author!
Hello, friends! I am so thrilled you’re here.
If you’ve ever looked at a sewing machine and felt a little bit of “machine-timidness,” believe me, I have been right where you are. Even after 30 years of quilting and sewing, I still remember that first time I sat down in front of a machine. It looked like a giant, complicated puzzle, didn’t it? But here is the secret: once you learn the basics, that machine becomes your best friend and the key to unlocking so much creativity!
My goal today is to remove all that overwhelm. We’re going to take it slow, keep it simple, and get you stitching with confidence. Whether you want to make your very first scrap quilt or just learn how to hem a pair of curtains, this guide is for you. Are you ready to join the madness and start your sewing journey? Let’s dive in!
Meet Your New Best Friend: Understanding the Parts
Before we ever turn the power on, let’s get acquainted with the machine itself. Think of this like meeting a new neighbor: once you know their name and a little bit about them, things feel much more comfortable!
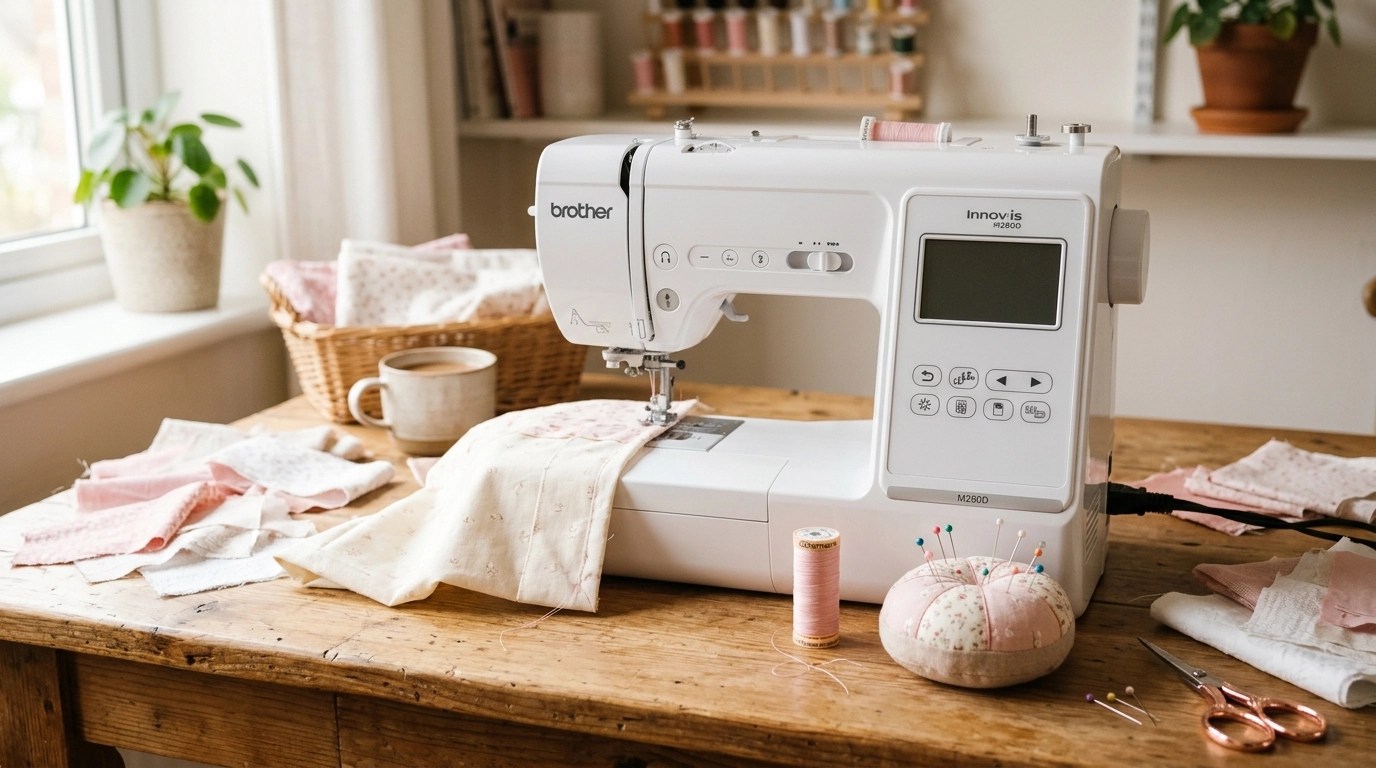
Most modern sewing machines, whether they are a high-end Bernina or a trusty entry-level model, have the same core parts:
- The Spool Pin: This is where your thread lives. It’s usually at the top or the side.
- The Hand Wheel: This is the large knob on the right side. Pro-tip: Always turn this toward you, never away! It moves the needle manually when you need extra precision.
- The Presser Foot: This is the little “ski” that holds your fabric flat against the machine. It is crucial to have this down when you are sewing!
- The Feed Dogs: These are the little metal teeth under the presser foot that pull your fabric through as you stitch.
- The Stitch Selector: This is where the magic happens! You can choose from a straight stitch, a zigzag, and more.
The Threading Dance: No Tears Required!
I know, I know: threading the machine can feel like trying to thread a needle in the dark while riding a roller coaster. But I promise, it’s just a sequence of steps! Most machines even have little numbers and arrows printed right on them to guide you.
Threading the Top
Start by placing your spool on the pin. You’ll lead the thread through a series of “nooks and crannies” (that’s the technical term, right? 😉) following the arrows down, around the tension disc, and back up through the take-up lever. Finally, you’ll thread it through the eye of the needle.
The Bobbin Mystery
The bobbin is that little spool that lives under the needle. It provides the bottom thread that interlocks with the top thread to create a stitch. To get started, you’ll need to “wind” the bobbin using your machine’s winding spindle. Once it’s full, you’ll pop it into the bobbin case.
“Don’t rush the threading process. If your stitches look wonky later, 90% of the time it’s because a thread slipped out of its path. Just re-thread and breathe!”

Your Very First Stitches
Now for the fun part! Let’s get some fabric under that needle. I recommend starting with two pieces of scrap cotton fabric.
- Position your fabric: Place it under the presser foot and line up the edge with one of the lines on the metal plate (your seam guide).
- Lower the presser foot: This is the most common mistake for beginners! If the foot is up, your fabric won’t move and your thread will turn into a “bird’s nest.”
- The Gentle Touch: Place your foot on the pedal and press lightly. You don’t need to push or pull the fabric; the feed dogs will do the work for you! Just use your hands to gently guide it.
- The Backstitch: When you start and end a seam, sew forward a few stitches, hit the reverse button for two or three stitches, then go forward again. This locks your thread so your hard work doesn’t unravel!
If you’re feeling adventurous, why not try a simple project like a quilt-as-you-go table runner? It’s a wonderful way to practice straight lines while making something beautiful for your home!
Essential Tools to Keep Handy
You don’t need a thousand gadgets to start, but a few key items will make your life so much easier (and more enjoyable!). Here is what I keep at my workstation:
- A Sharp Seam Ripper: We all make mistakes, friends! A seam ripper is your “undo” button.
- High-Quality Thread: Don’t buy the cheap stuff from the bargain bin; it creates lint and breaks easily. Your machine will thank you for using the good stuff!
- Precision Cutting Tools: While scissors are great, a fabric cutting system like the AccuQuilt can save you so much time and hand-cramp when you’re ready to start larger projects.
- A Reliable Place to Shop: When you need fabric, notions, or machine supplies, having trusted quilting partners bookmarked makes project planning so much easier.
- A Pincushion or Clips: I personally love clips for keeping my layers together without the finger-pricks!
Shop Our Partners
When you’re ready to stock your sewing space or treat yourself to fresh fabric, these are a few of my favorite places to browse. I’ve linked them here to make it easy for you to shop trusted favorites all in one spot!

Troubleshooting: When Things Go “Clunk”
First of all, take a deep breath. Even after three decades, my machine still acts up sometimes! Here are the most common “oopsies” and how to fix them:
- Thread Bunching (Bird’s Nesting): This usually happens because the top thread isn’t seated correctly in the tension discs. Rethread the top of the machine with the presser foot up.
- Broken Needles: If you hit a pin or sew over something too thick, your needle might snap. Don’t worry! Just change it out for a fresh one. Needles should actually be changed every 8 hours of sewing time anyway!
- Skipped Stitches: This is often a sign that your needle is dull or you’re using the wrong type of needle for your fabric.
Remember, I am always here to help you navigate these little bumps in the road. I want you to feel empowered, not frustrated! You can learn more about my philosophy and how I started my journey over on the About Me page.
Building Your Creative Community
Sewing is so much more than just a hobby; it’s a way to connect with others and share our love for handmade treasures. I’ve spent years building a space where makers of all levels can feel supported.
If you’re looking for more guidance, project kits, or just a group of wonderful people to sew along with, keep an eye out for The Crafty Author Clubhouse™ — Coming Soon! It’s where we turn “I can’t” into “Look what I made!”
Ready to Start?
I am so proud of you for taking this first step. Learning a new skill is an act of courage, and I can’t wait to see what you create. Start small, be kind to yourself, and remember: every expert was once a beginner who didn’t give up.
Are you planning to start your first project this weekend? Tell me all about it in the comments! I’d love to cheer you on.
Happy sewing!
Warmly,
Anisa
Owner, The Crafty Author