
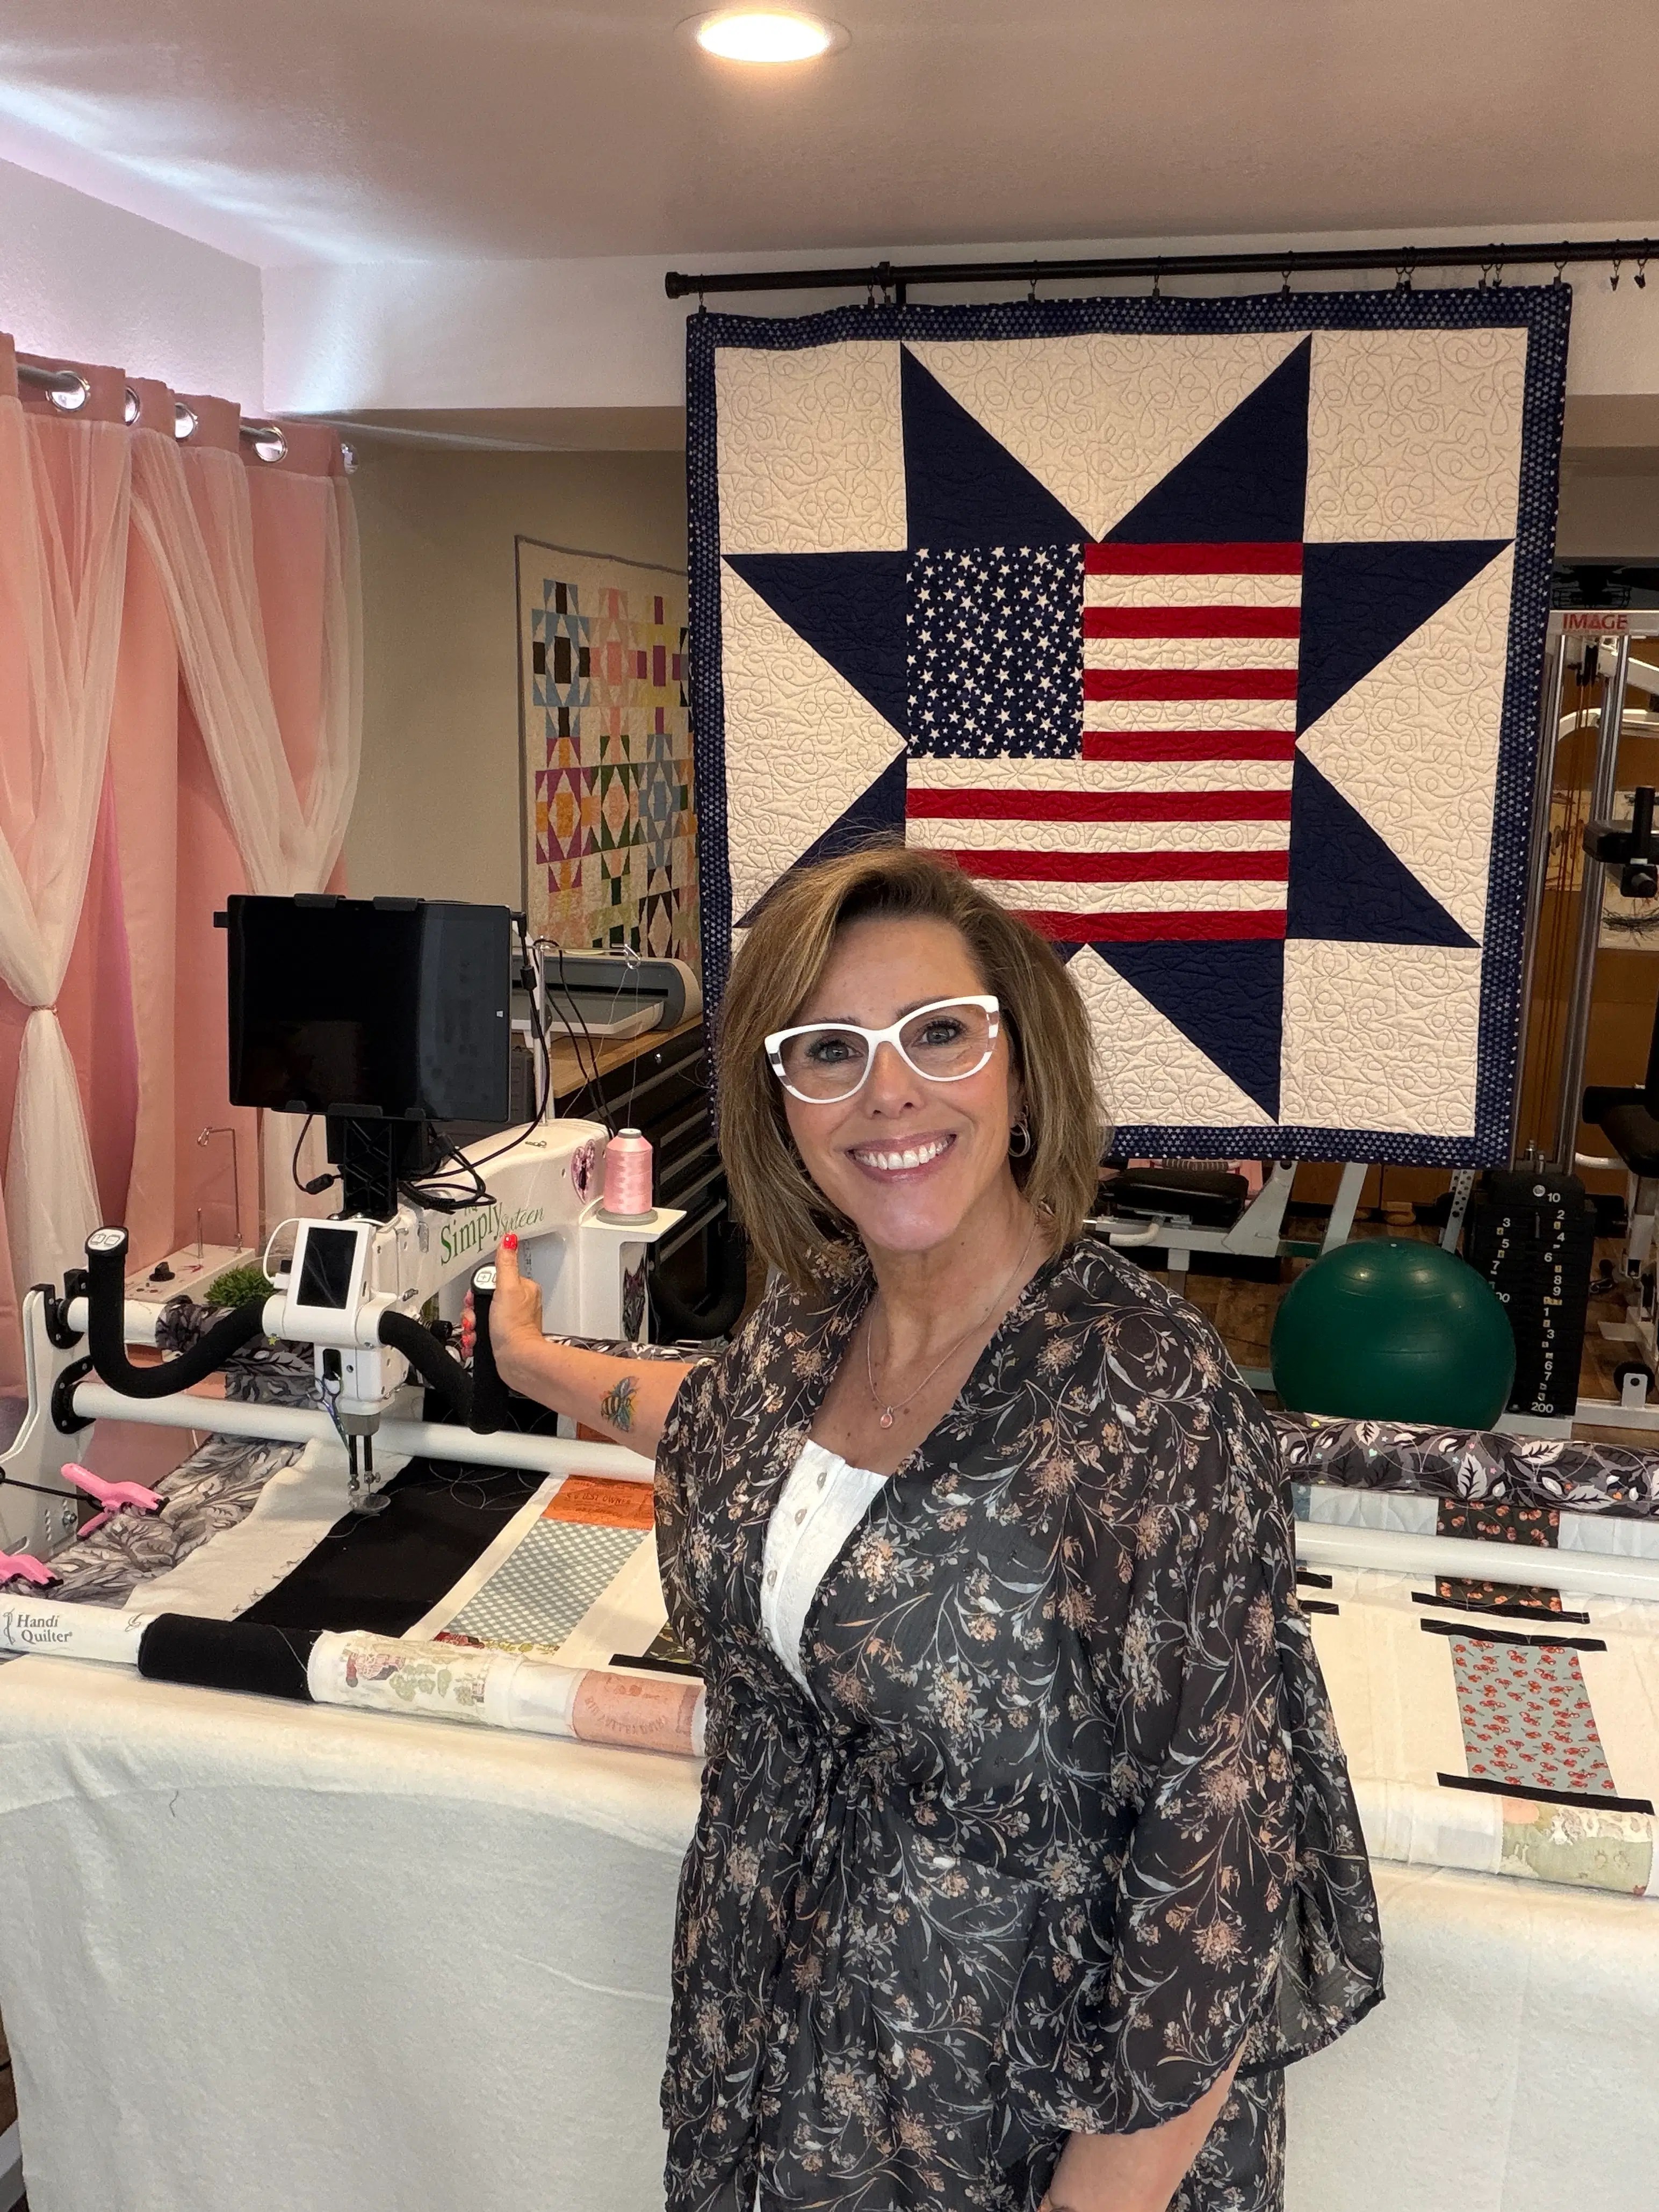
Hello friends!
I am so thrilled you’re here today because we are going to talk about something that often gets pushed to the bottom of the "to-do" list: the quilt backing.
Now, I have an unpopular opinion to share with you all. I believe the back of your quilt deserves just as much love, if not more, than the front! I know, I know. We spend dozens (sometimes hundreds!) of hours meticulously piecing together the perfect quilt top. We obsess over the seam allowances, the points, and the color values. But then, when it comes time to finish it, many of us treat the backing like an afterthought.
But think about it this way: a stunning quilt with a boring, uninspired backing is like wrapping a spectacular birthday gift in old newspaper. Sure, the gift inside is amazing, but the presentation feels just a little bit… "meh."
Are you ready to stop settling for "good enough" and start creating quilts that are beautiful from front to back? Let’s dive into why the quilt backing is the hidden hero of your project and how you can choose the perfect one every time!

Why the Backing is Actually the Star of the Show
When we talk about quilting for beginners, we usually focus on the "pretty" side. But the back of the quilt is actually the part that touches you! Whether you’re snuggling up on the couch or gifting a baby quilt to a new mom, that backing fabric is providing the texture, the warmth, and the comfort.
Choosing a high-quality backing isn't just about aesthetics; it's about the feel of the finished product. As someone who has been quilting for over 30 years, I’ve learned that a thoughtful backing can take a project from "nice" to "heirloom-quality."
Plus, let’s be honest: sometimes the back is where we get to have the most fun! Since the back is one large canvas (or a few large pieces), you can play with scale and pattern in ways that might overwhelm a quilt top.
Creative Choices: To Match or to Contrast?
One of the most frequent questions I get in The Crafty Author Clubhouse™ is: "Should my backing match my front?"
The answer is: it’s totally up to you! But here are my two favorite ways to approach it:
1. The Seamless Blend
If you want the quilting itself to be the star, choose a backing that coordinates closely with the front. This creates a cohesive, sophisticated look where the texture of your stitches really pops. This is a classic choice for modern quilt patterns where minimalism is the goal.
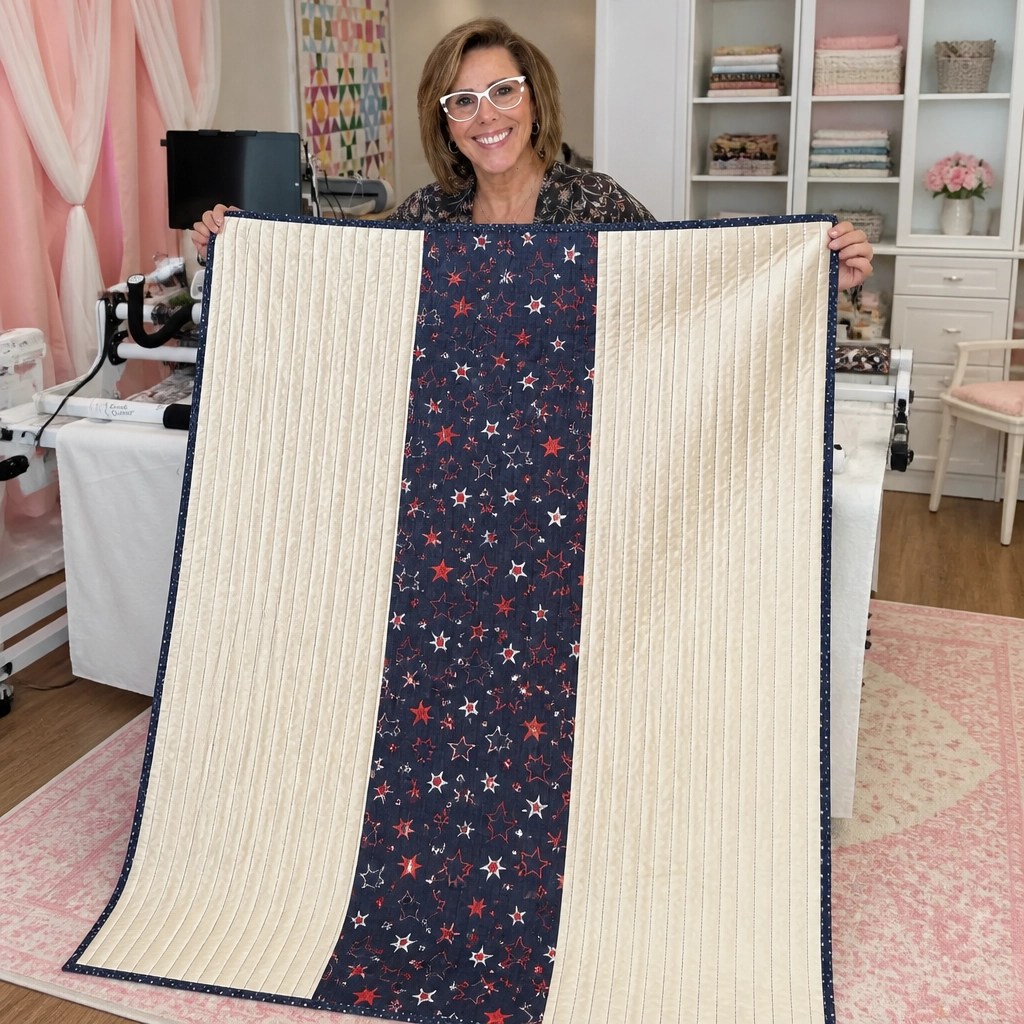
2. The Wild Contrast
This is where I like to get a little adventurous! Why not use a bold, bright floral on the back of a monochromatic quilt? Or a fun, whimsical print on the back of a traditional pattern? It’s like a secret surprise every time you turn the quilt over.
"Your quilt back is the secret garden of your project, a place where you can be as bold and whimsical as you want without worrying about matching every single seam."
Choosing Your Fabric: The Big Three
When you're learning how to quilt, the fabric aisle can feel a bit overwhelming. Let’s break down the three most popular options for quilt backings so you can choose the one that’s right for your next project.
1. Wide-Back Cotton (The Easy Path)
If you want to save time and avoid the headache of piecing, wide-back cotton is your best friend. These fabrics come in widths of 108 inches or more, meaning you can often cover your entire quilt with one solid piece of fabric.
- Pros: No seams, no pattern matching, and it looks incredibly professional.
- Cons: Fewer design options than standard 44-inch fabric.
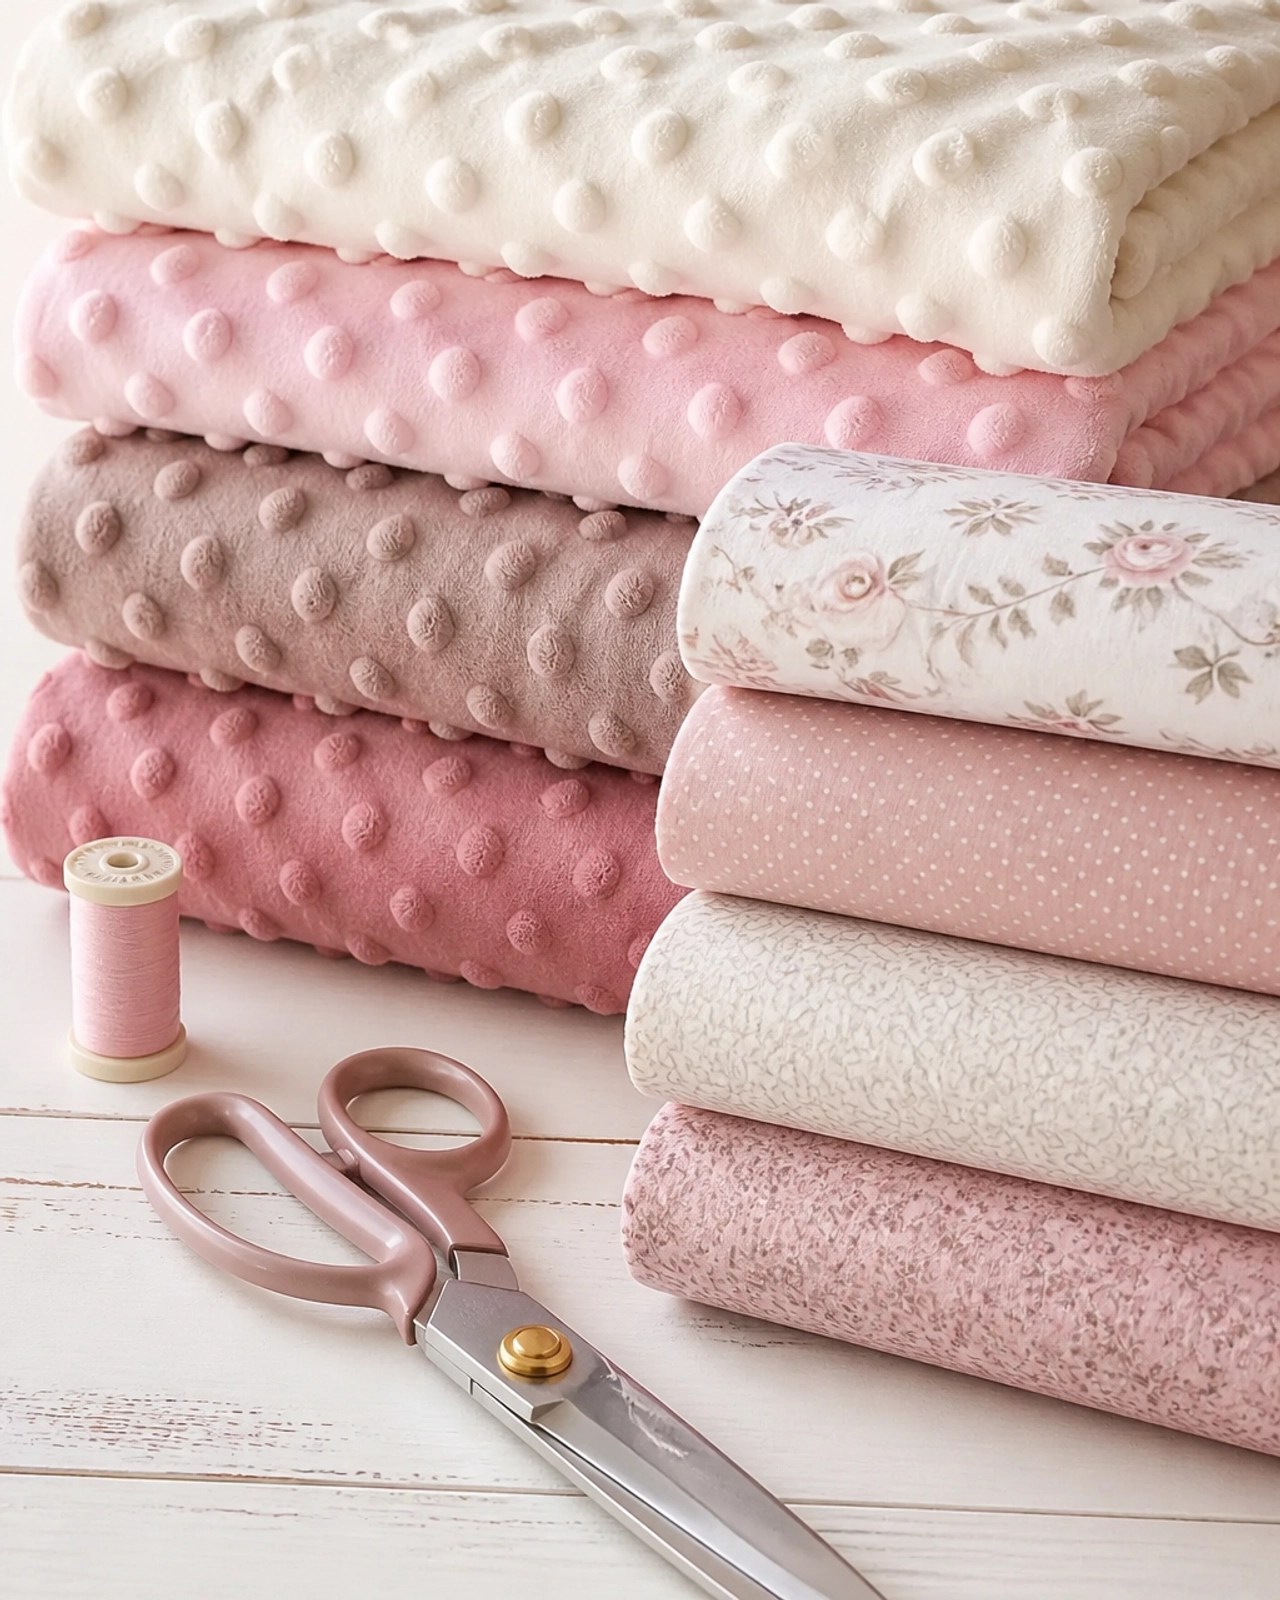
2. Minky and Cuddle Fabrics (The Snuggle Factor)
Oh, how I love a minky back! If you want your quilt to be the softest thing in the house, this is the way to go. It’s perfect for baby quilts and lap blankets.
- Pros: Unbelievably soft and very forgiving of minor quilting imperfections.
- Cons: It can be slippery and stretchy. Use plenty of pins (or spray baste!) to keep it in place while you work.
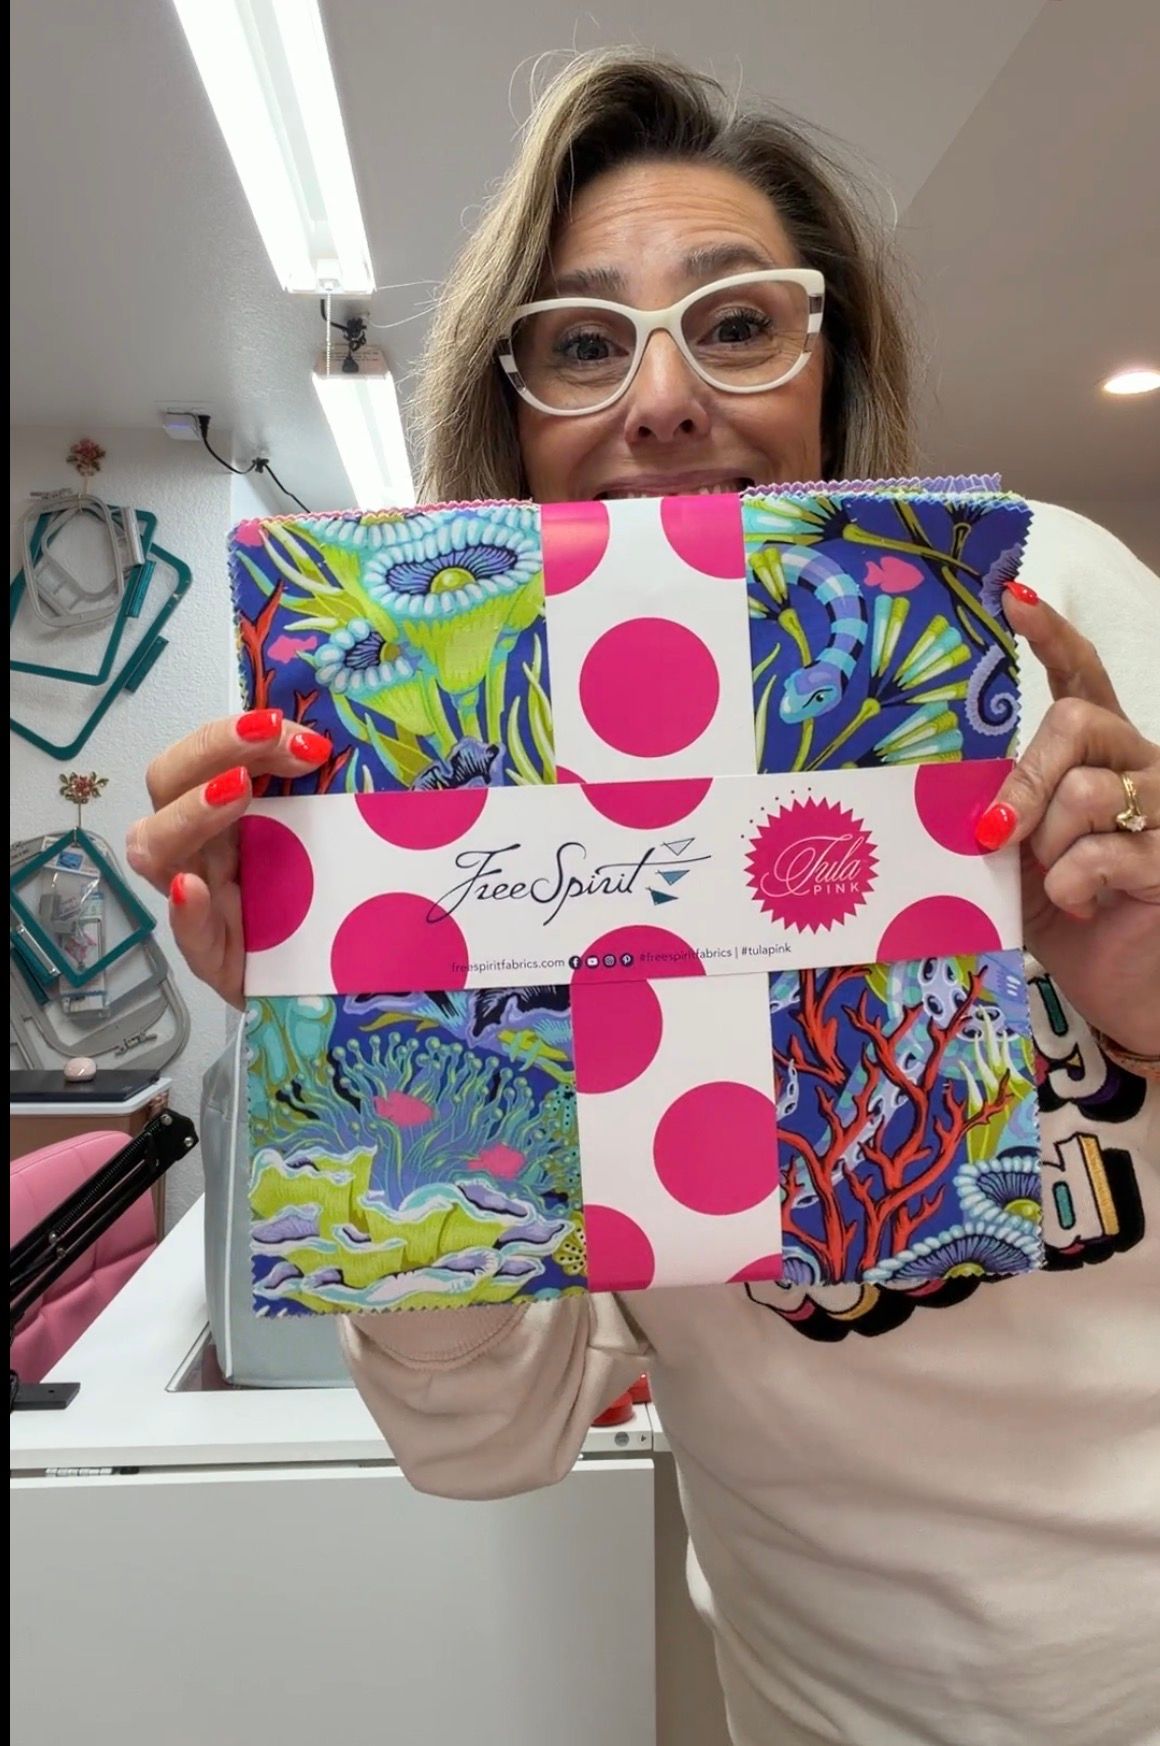
3. Pieced Backs (The Creative Choice)
Got a lot of scraps left over from your quilt top? Use them! A pieced back is a wonderful way to use up your "fabric crumbs" and create a "two-sided" quilt. I love using my scrap quilt series techniques to make the back just as interesting as the front.
- Pros: Budget-friendly, sustainable, and totally unique.
- Cons: Takes more time and requires careful measuring to make sure everything stays square.
Tips for a Perfect Finish
Are you joining the madness and trying a creative backing for the first time? Here are a few "pro-tips" to keep in mind:
- The 4-Inch Rule: Always, always make sure your backing is at least 4 inches larger than your quilt top on all sides. If your quilt is 60" x 60", your backing should be at least 68" x 68". This gives you a safety margin for shifting and is essential if you're sending your quilt to a longarmer.
- Square It Up: Before you start basting, make sure your backing is square. If the edges are wonky, you’re much more likely to end up with puckers on the back.
- Press Your Seams Open: If you are piecing your back, press those long seams open to reduce bulk. Your sewing machine (and your longarmer!) will thank you.
Let's Get Creative Together!
Friends, I hope this encourages you to look at your next quilt backing with fresh eyes. It’s not just a "cover" for the batting: it’s an opportunity to add more personality, more comfort, and more "you" to your work.
I’d love to hear from you! Do you prefer the convenience of a wide-back, or are you a fan of the "scrap-busting" pieced back? Tell me in the comments, or come share your latest finish with us in our community!
Quilting is such a beautiful journey, and I’m so glad we’re on it together. Until next time, happy stitching!
Warmly,
Anisa
Shop Our Partners


Affiliate disclosure: This page contains affiliate links. If you shop through these links, I may earn a small commission at no extra cost to you. Thank you for supporting The Crafty Author!