• Skip to primary navigation
  • Skip to main content
  • Skip to primary sidebar

The Crafty Author™

Crafting & Quilting Made Fun and Easy!

  • HOME
  • BLOG
  • QUILT SERIES
    • BLOCK OF THE MONTH
      • BLOCK OF THE MONTH- JANUARY
      • BLOCK OF THE MONTH- FEBRUARY
      • BLOCK OF THE MONTH- MARCH
      • BLOCK OF THE MONTH- APRIL
      • QUILT BLOCK OF THE MONTH- MAY
      • BLOCK OF THE MONTH – JUNE
      • BLOCK OF THE MONTH – JULY
      • BLOCK OF THE MONTH – AUGUST
      • BLOCK OF THE MONTH: SEPTEMBER
      • BLOCK OF THE MONTH: SEPTEMBER MODIFIED QUILT BLOCK
      • BLOCK OF THE MONTH – OCTOBER
      • BLOCK OF THE MONTH- NOVEMBER
      • BLOCK OF THE MONTH- DECEMBER
    • SCRAPTASTIC SCRAP QUILT
      • What is Scrap Quilting?
      • SCRAPTASTIC SCRAP QUILT 1
      • SCRAPTASTIC SCRAP QUILT 2
      • SCRAPTASTIC SCRAP QUILT 3
      • SCRAPTASTIC SCRAP QUILT 4
      • SCRAPTASTIC SCRAP QUILT 5
      • SCRAPTASTIC SCRAP QUILT 6
      • SCRAPTASTIC SCRAP QUILT 7
      • SCRAPTASTIC SCRAP QUILT 8
      • SCRAPTASTIC SCRAP QUILT #9
      • QUILTING EDGE TO EDGE ON YOUR EMBROIDERY MACHINE PART 1
  • THE CRAFTY AUTHOR™ CLUBHOUSE
  • SHOP THE QUILTED TEE

BLOG

Memorial Day Maker’s Round-Up: Best Sales from Our Favorite Crafty Partners!

May 22, 2026 By The Crafty Author

Memorial Day Crafting

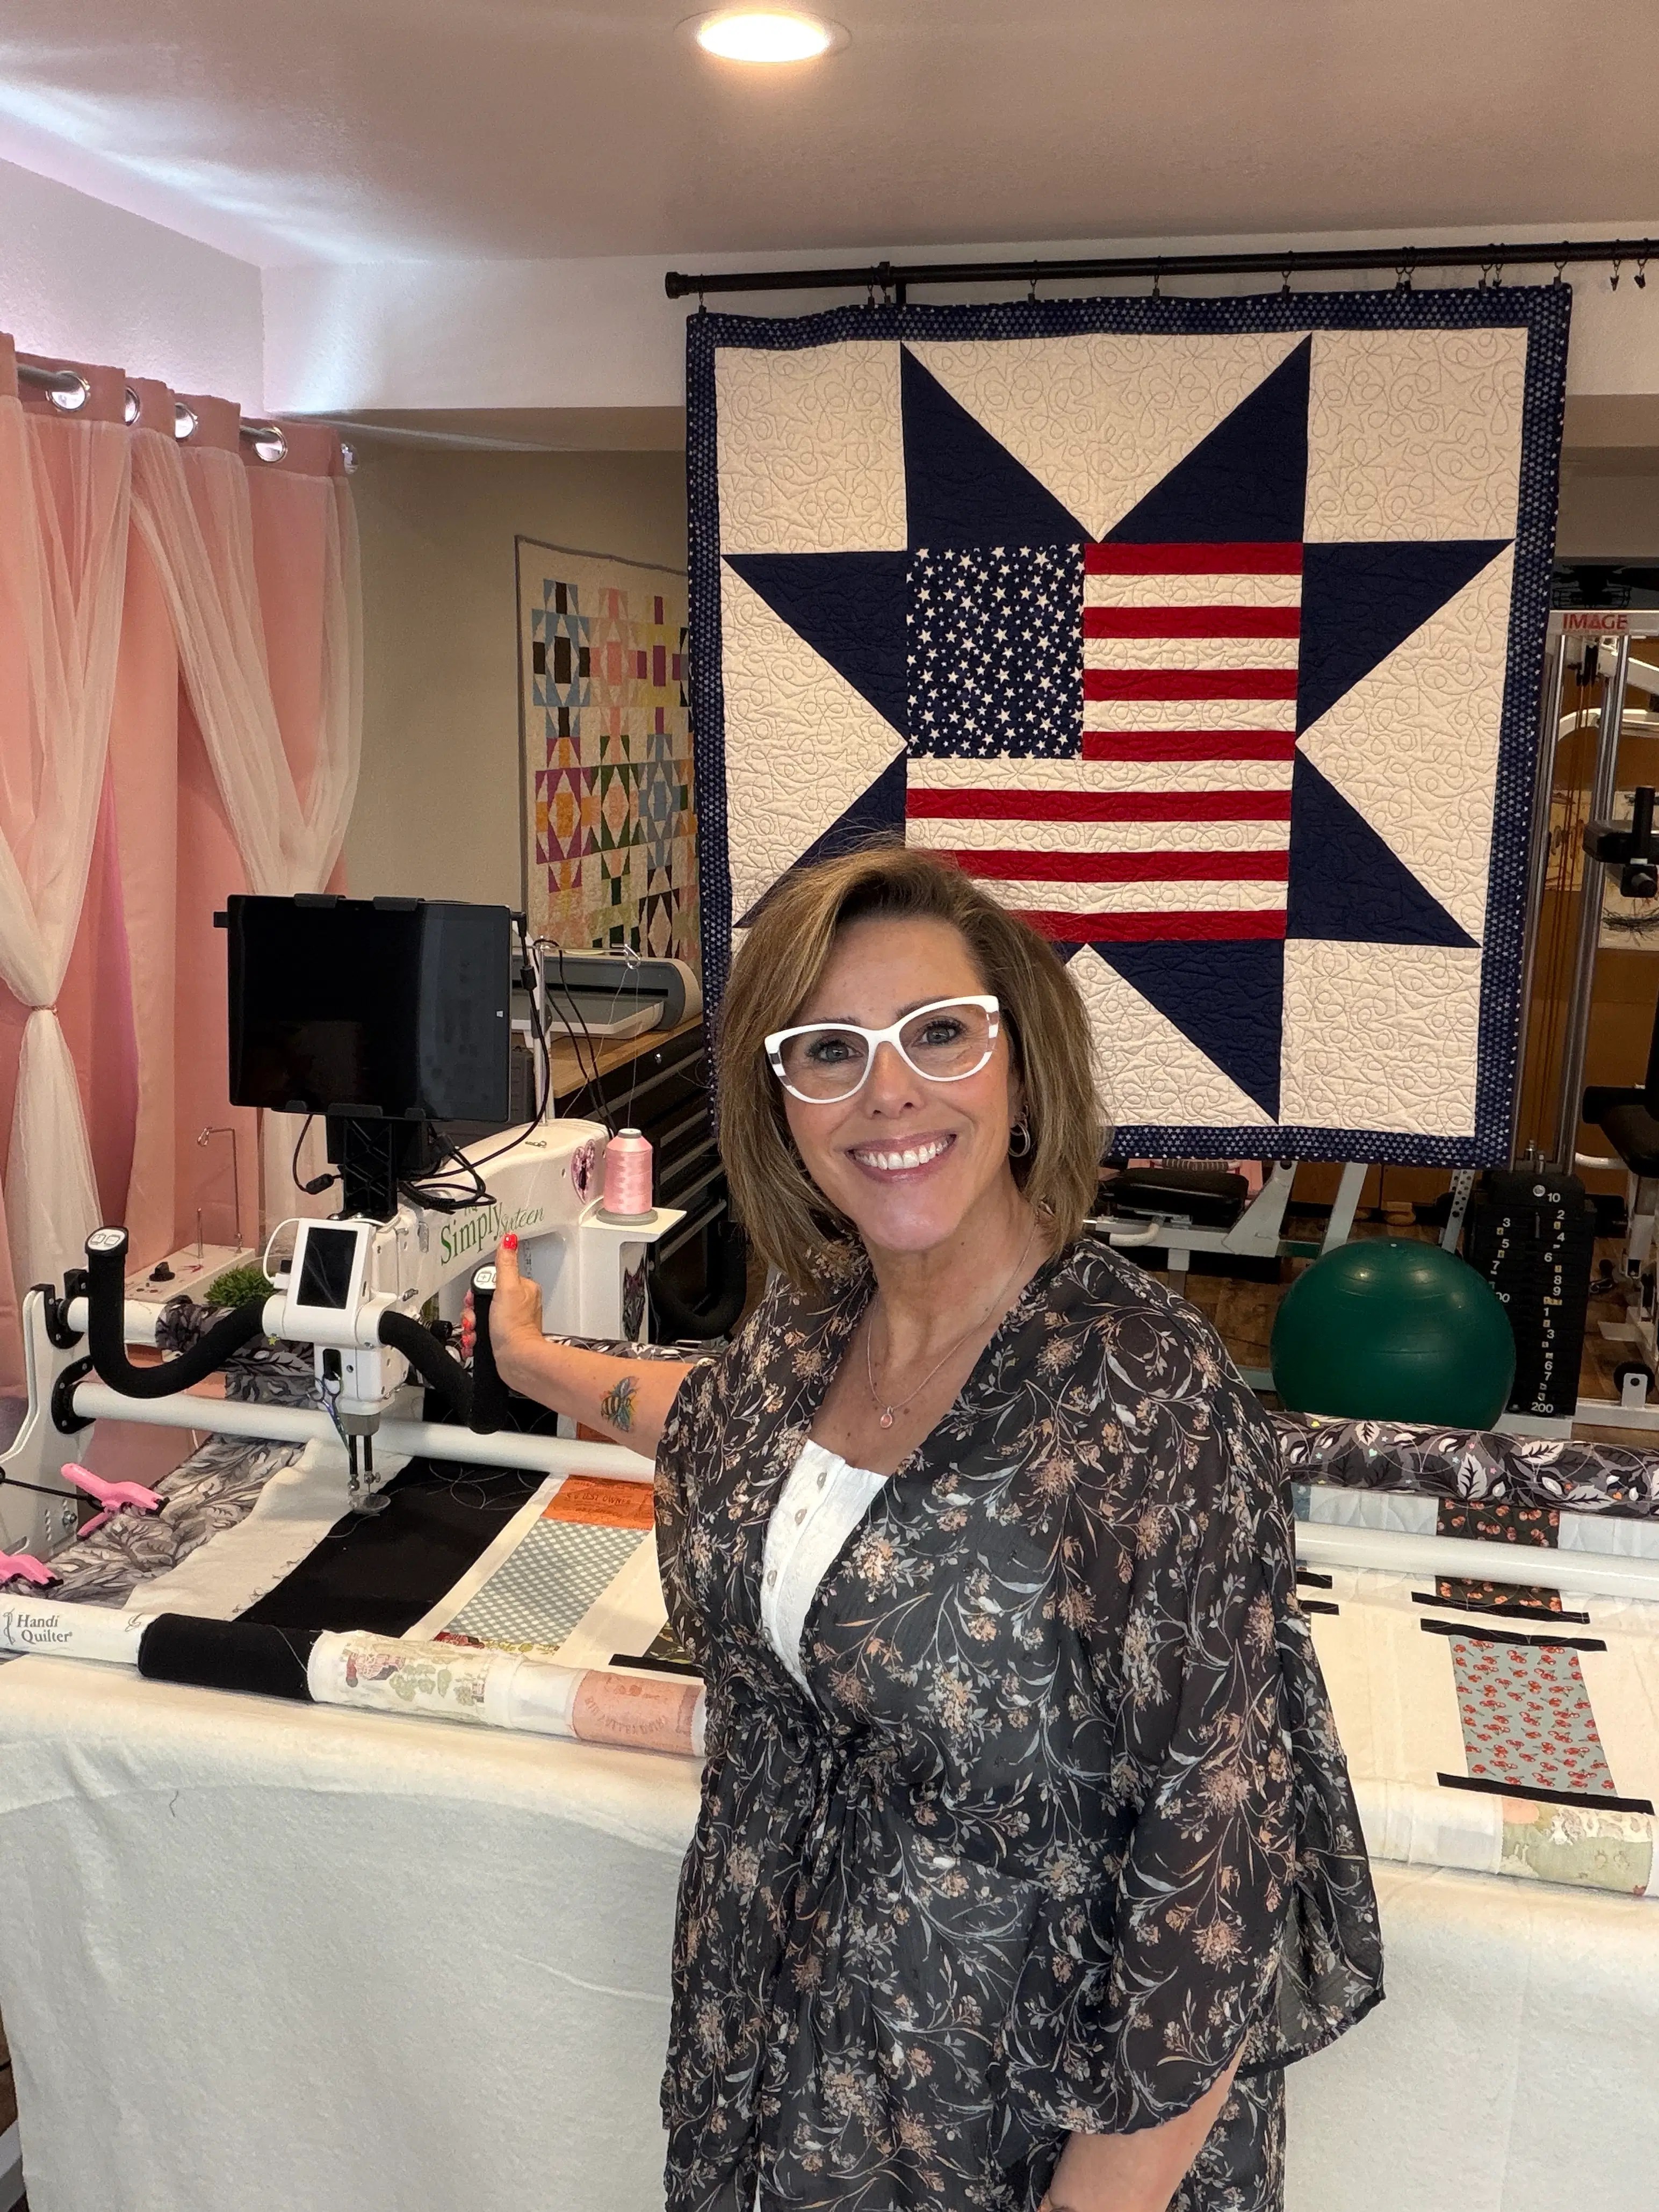
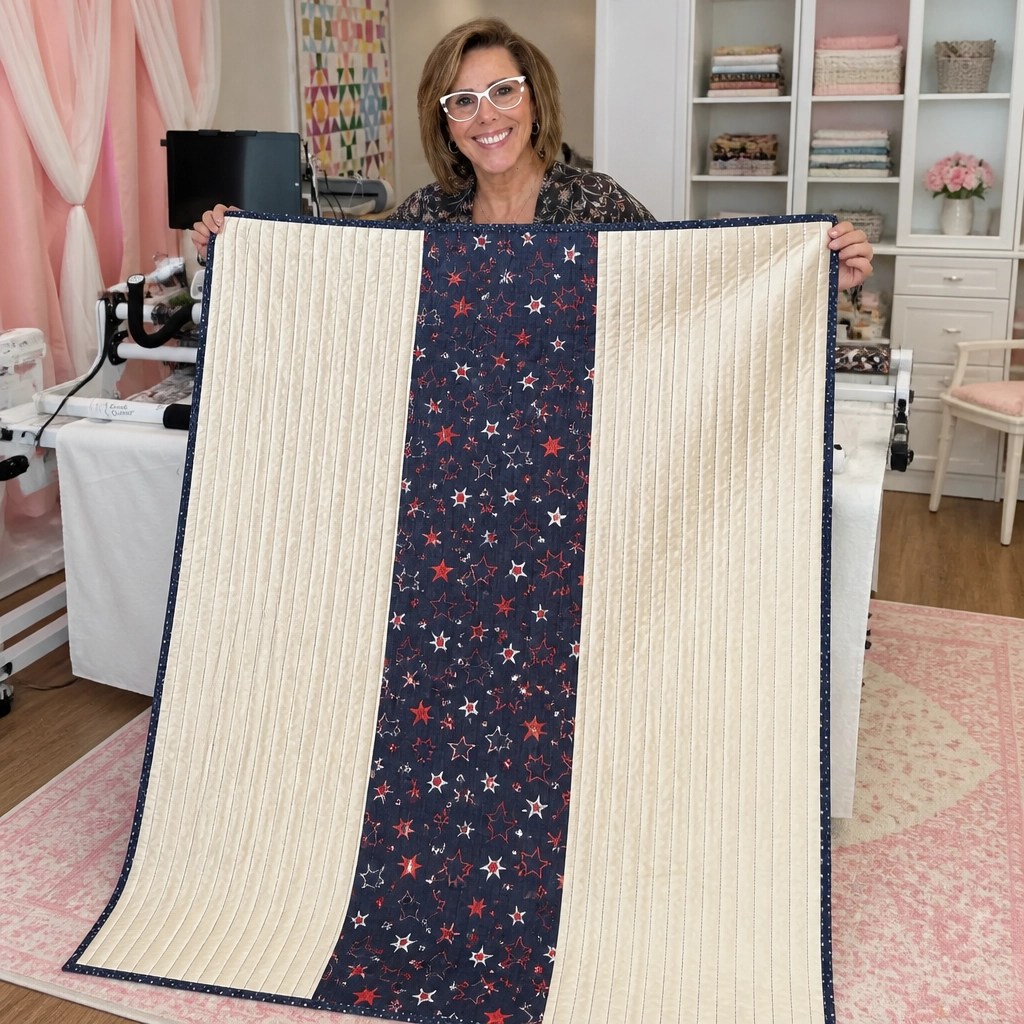
Hello there, friends! I am so thrilled to be sitting down with you today as we head into a beautiful Memorial Day weekend. It is such a special time of year, isn't it? Not only do we get to honor those who have served and sacrificed for our freedom, but it also marks that fresh, official start to summer.

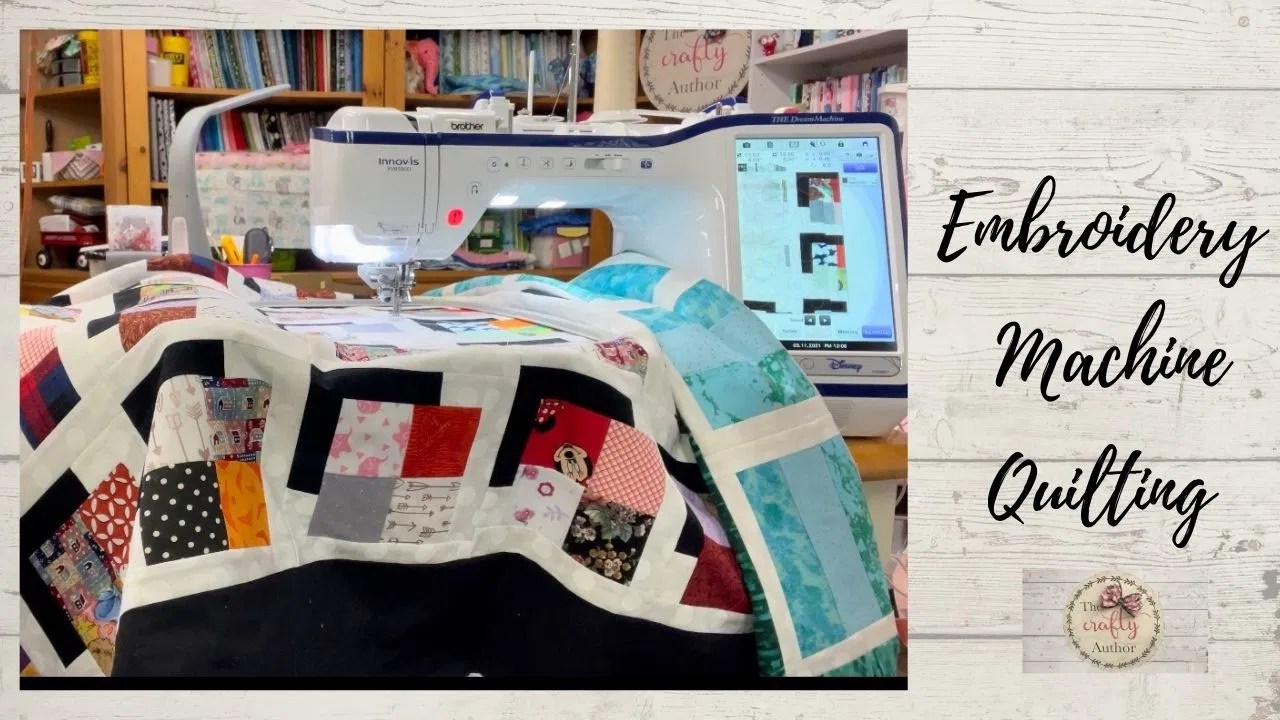
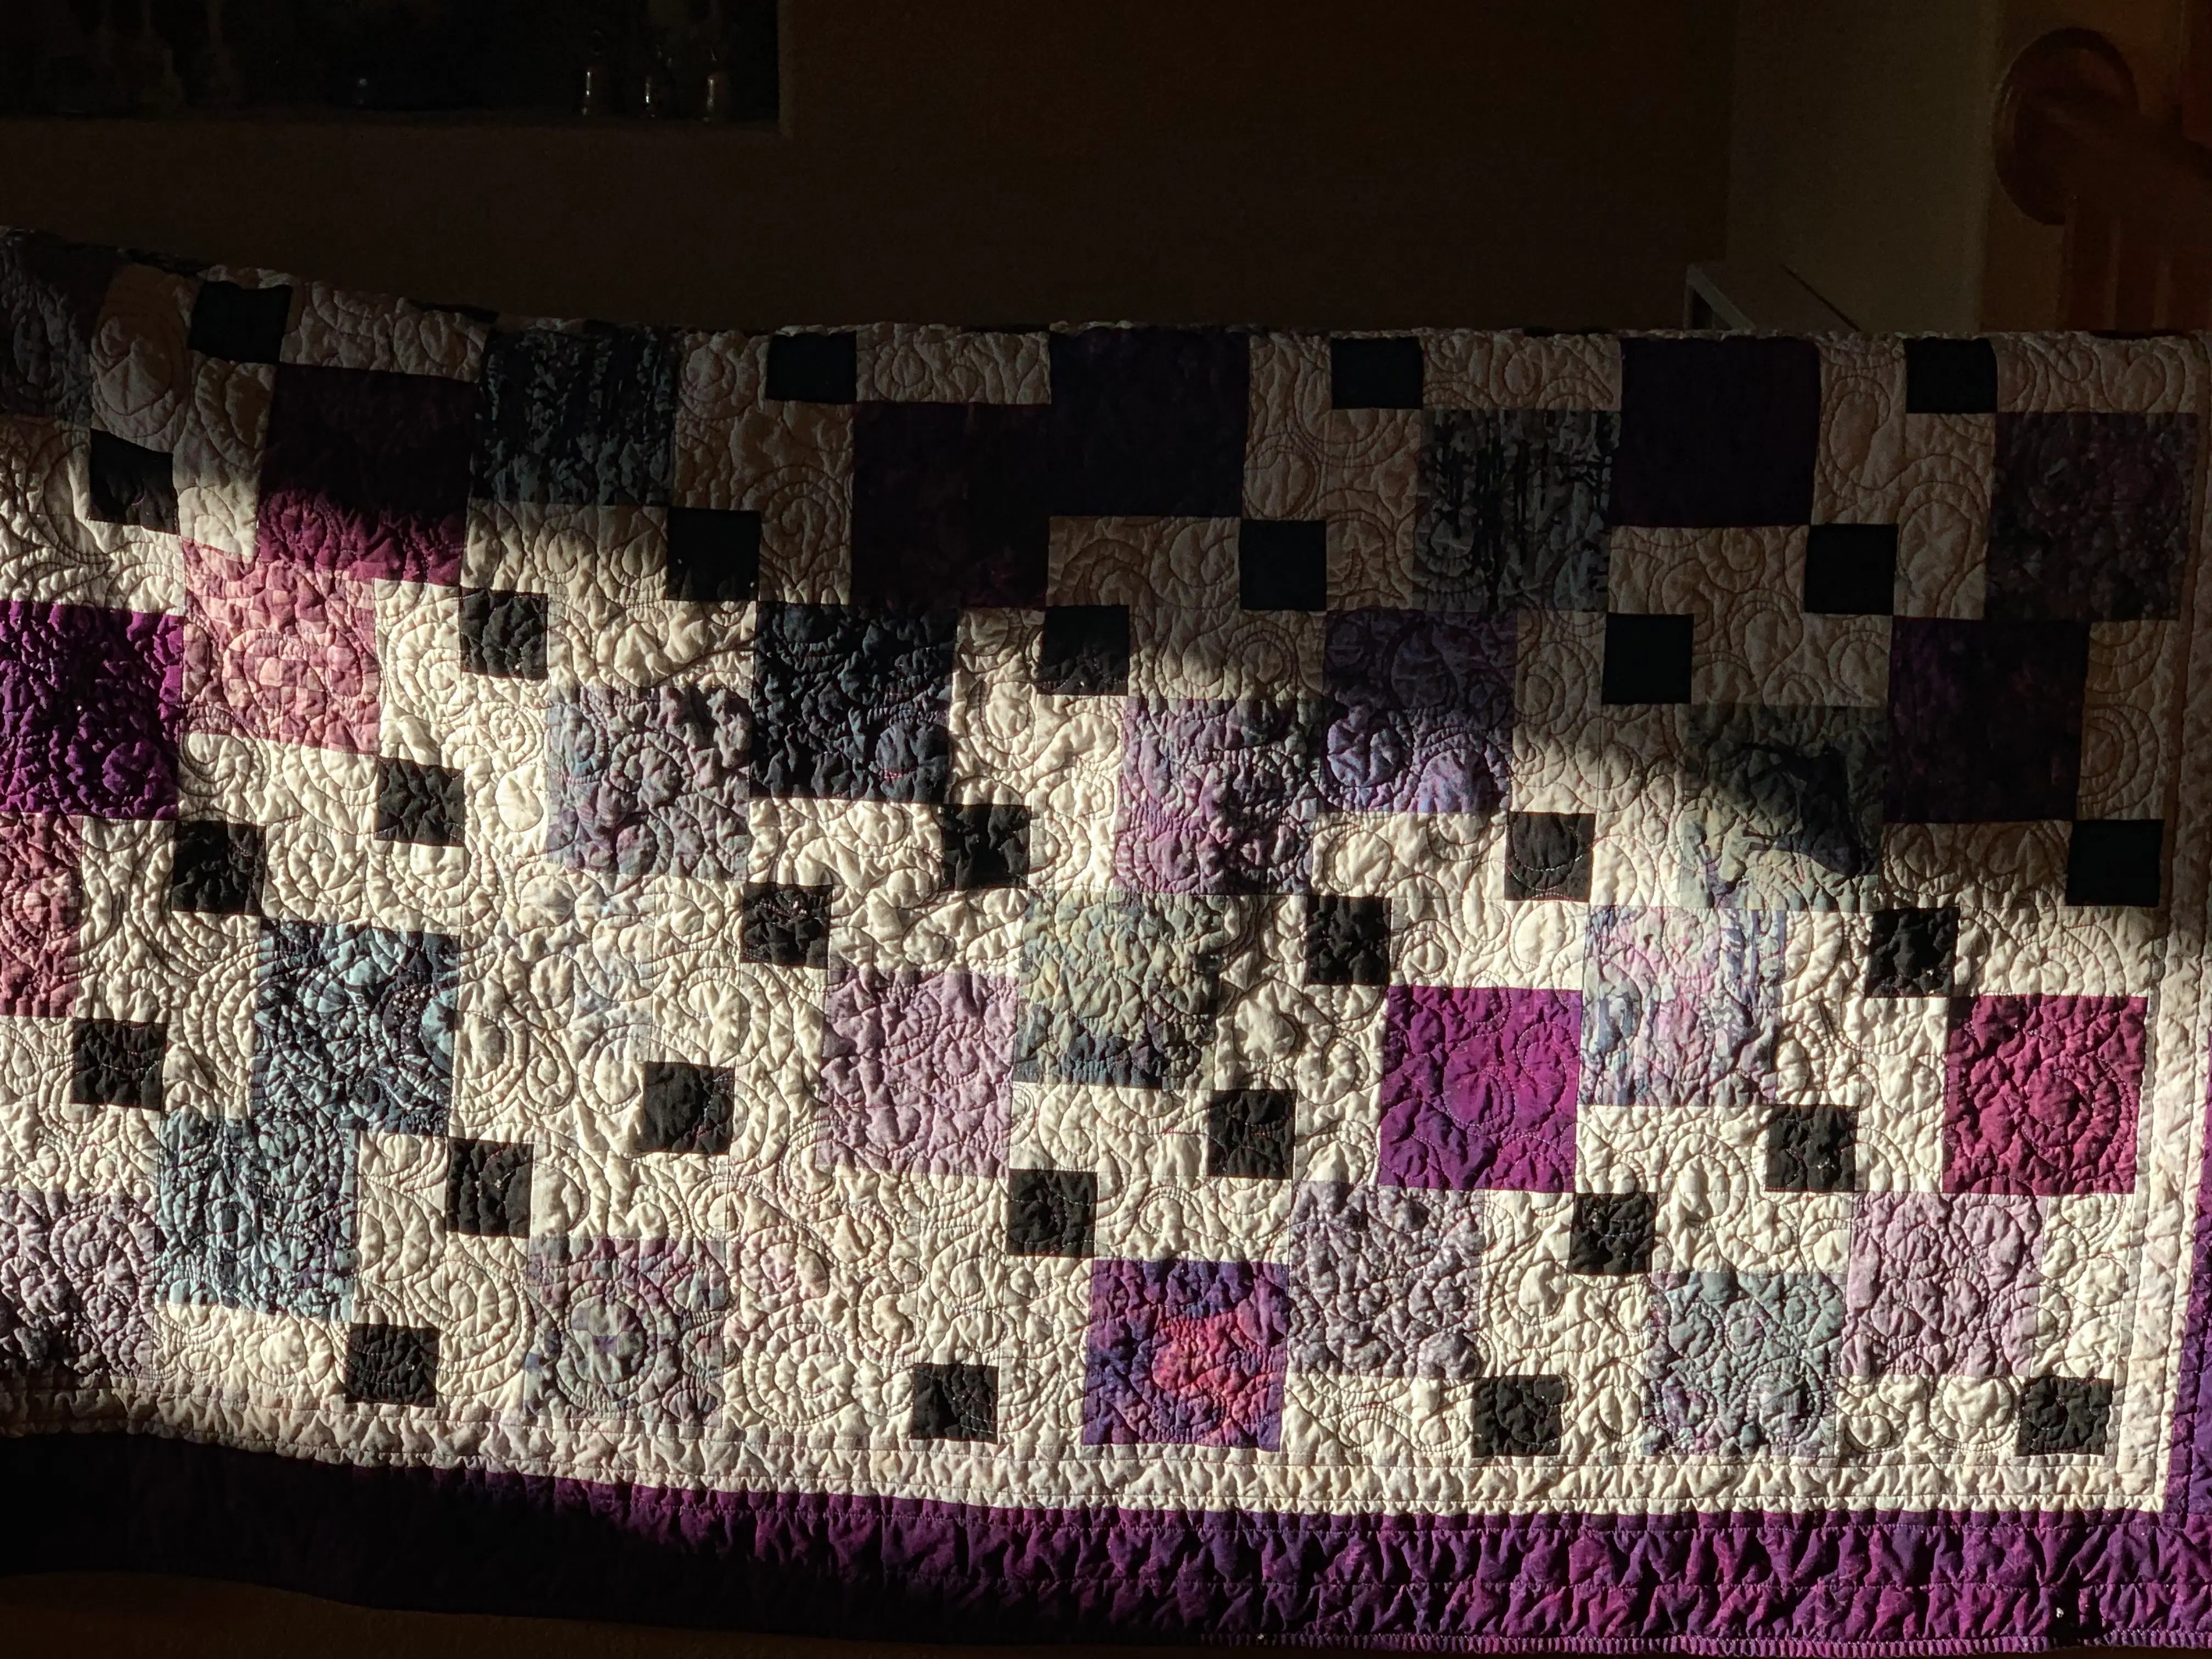
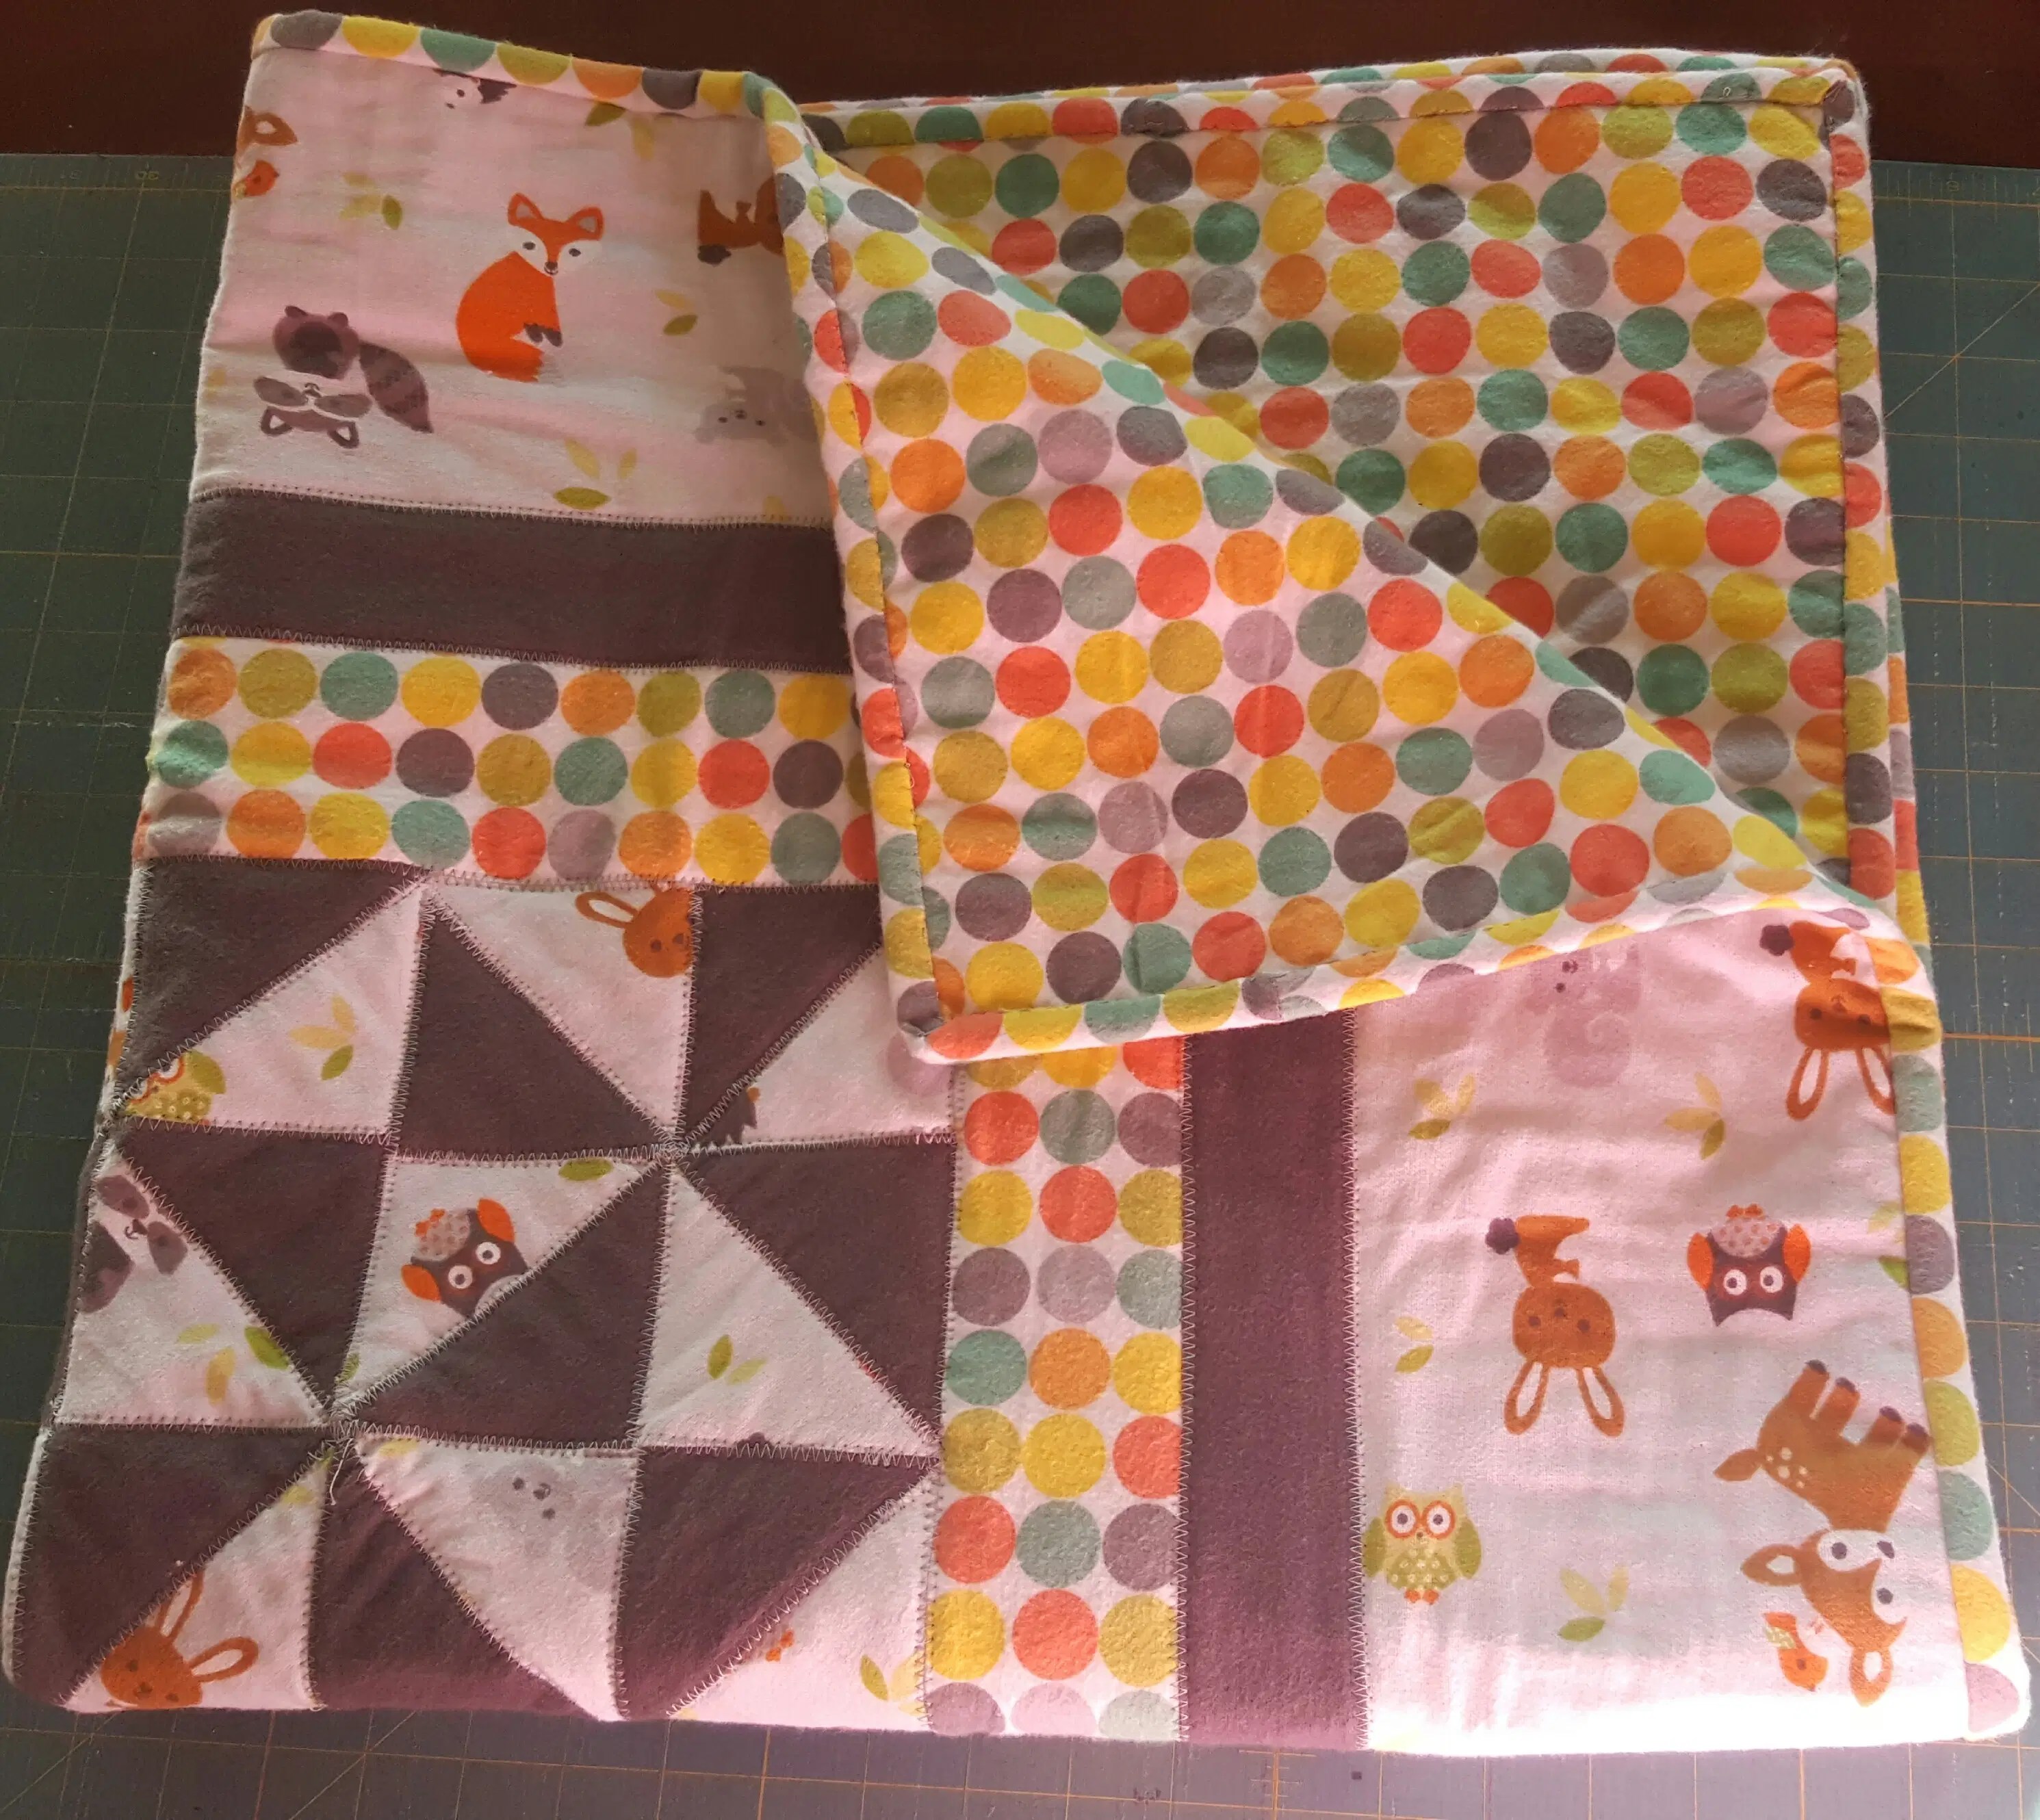
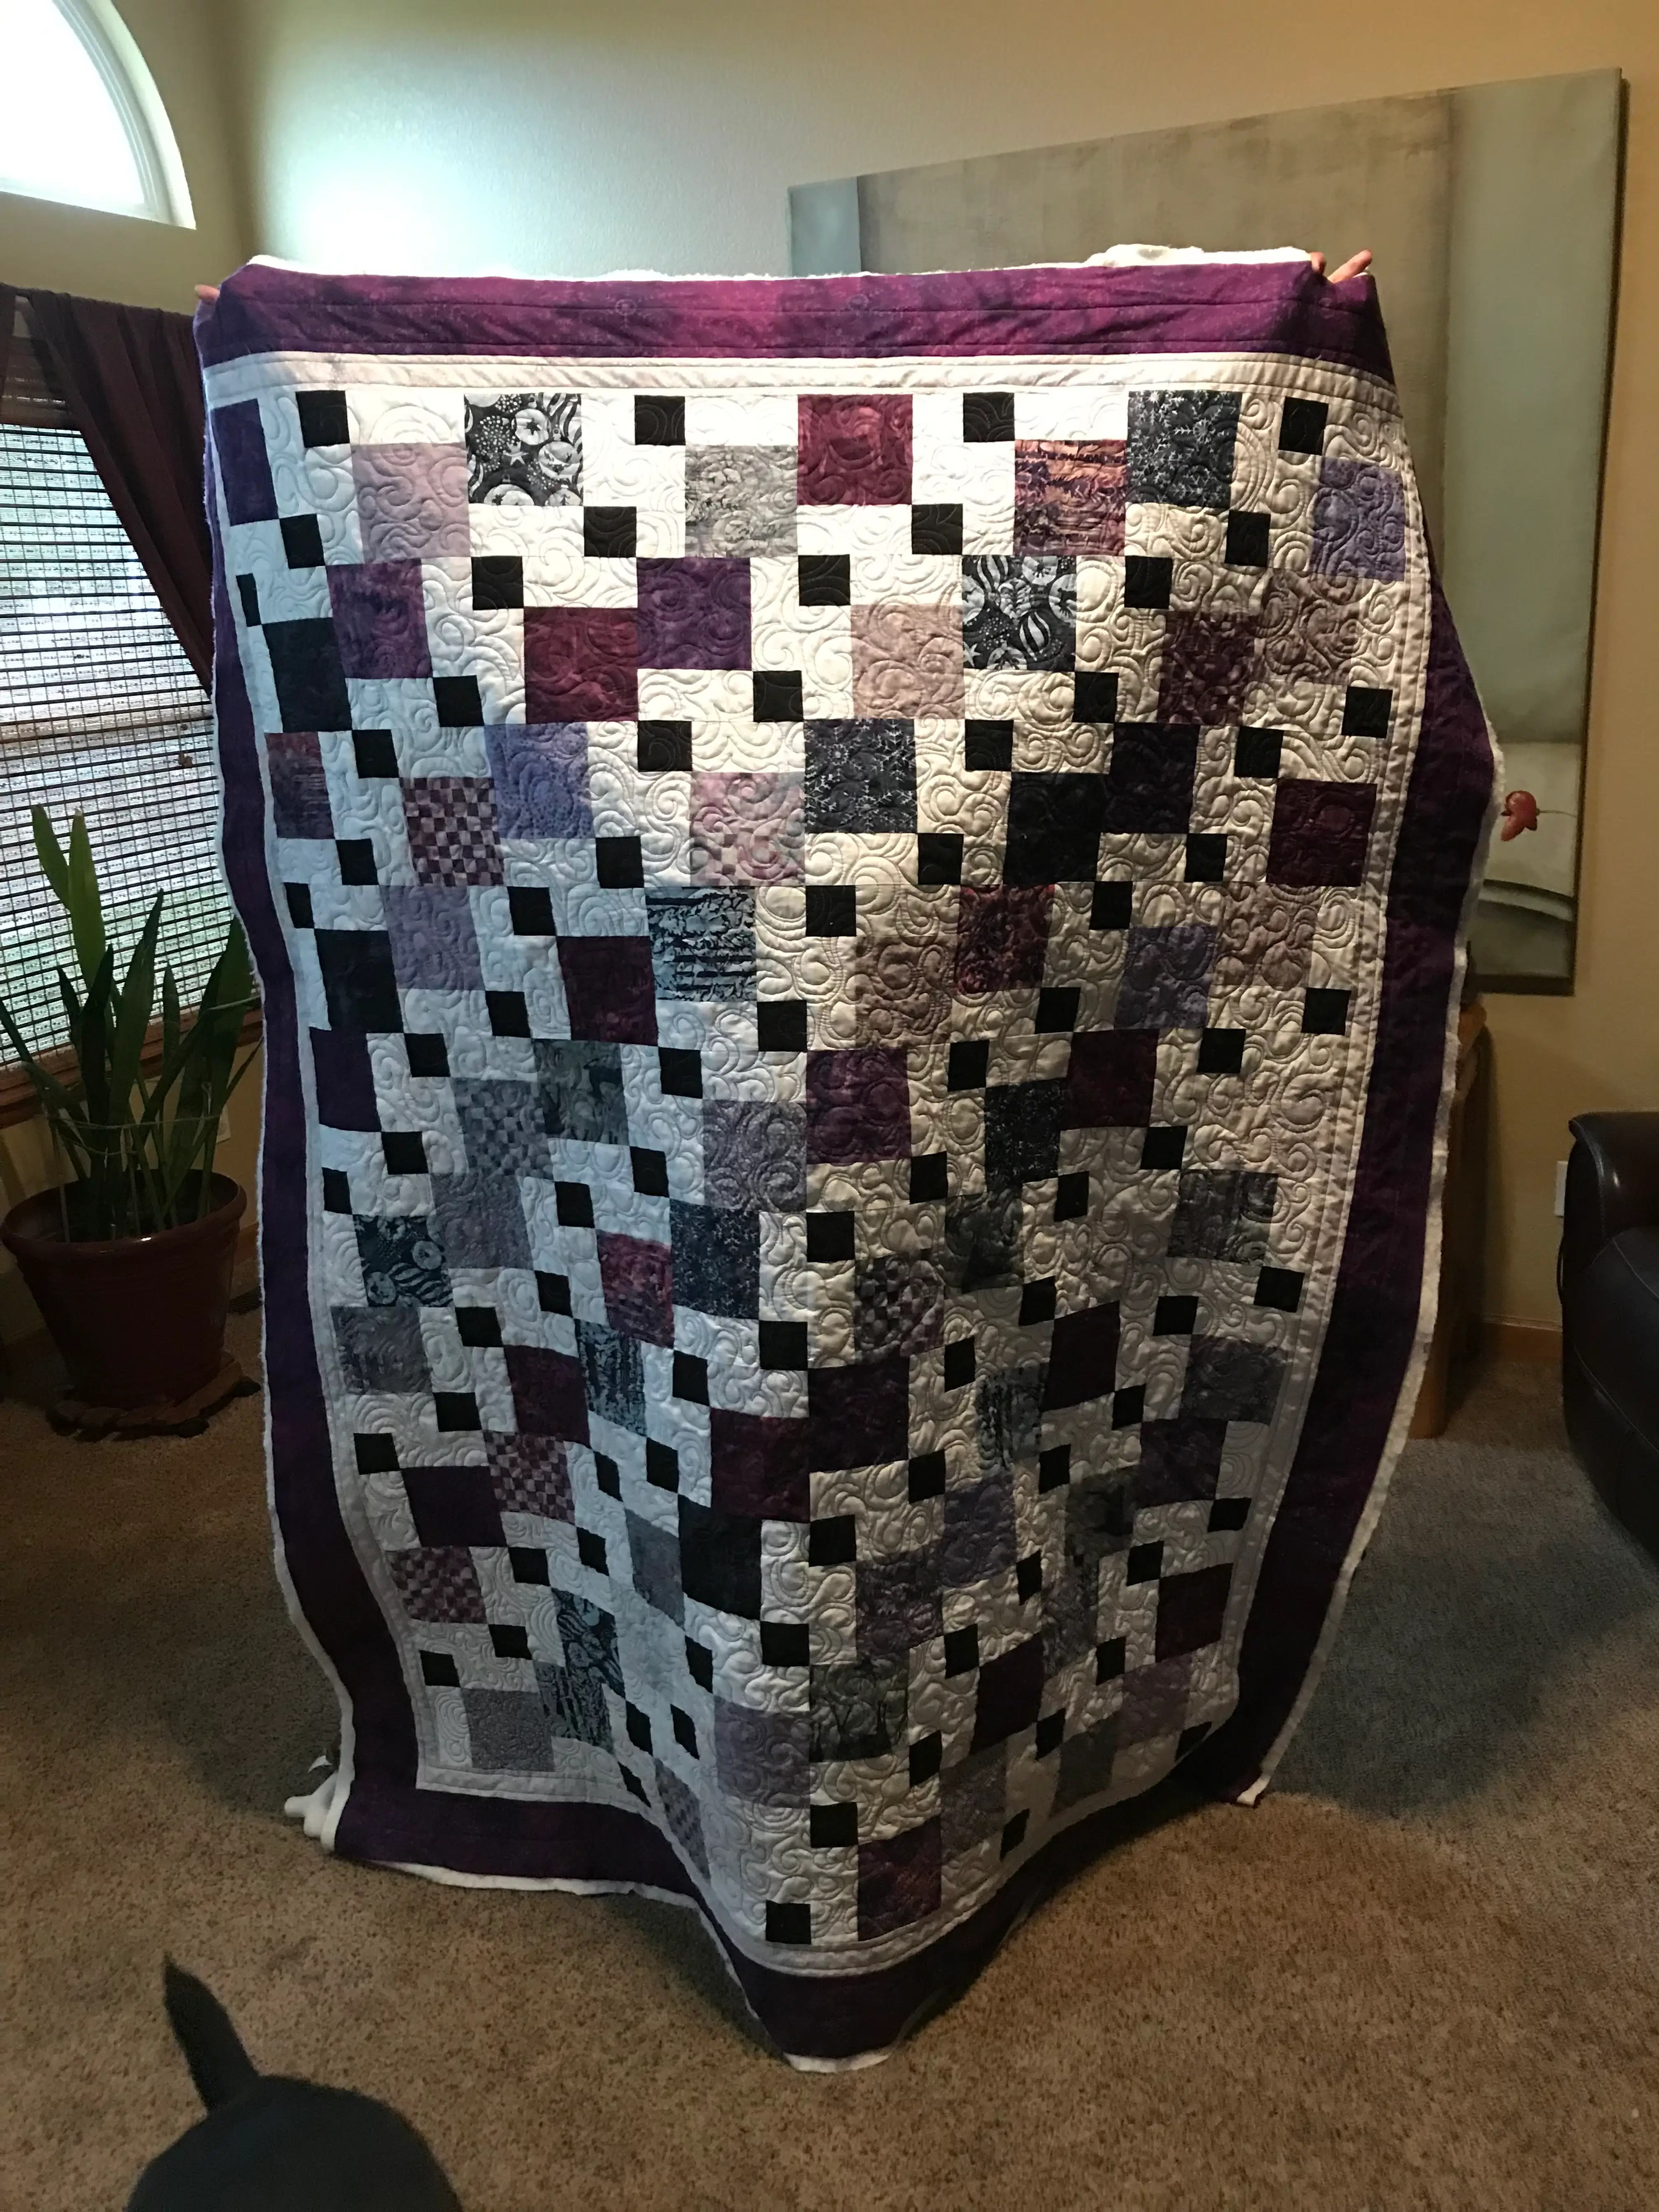
For many of us, a holiday weekend means a little extra "me time" in the sewing room or at the craft table. There is nothing quite as satisfying as a long weekend spent surrounded by beautiful fabrics, the hum of a sewing machine, and the joy of creating something by hand. Whether you are working on a Scrap Quilt Series or finally finishing up a Quilt-As-You-Go project, having the right tools makes all the difference!

I know how much we all love a good bargain, and I’ve been scouring the web to find the absolute best deals from my favorite partners. I want to make sure you have everything you need to feel confident and inspired without breaking the bank. So, grab a cup of tea (or maybe an iced coffee since the weather is warming up!), and let’s dive into these incredible Memorial Day sales together!

Are you ready to stock up and save?

https://www.youtube.com/embed/McW8bf2GuX0


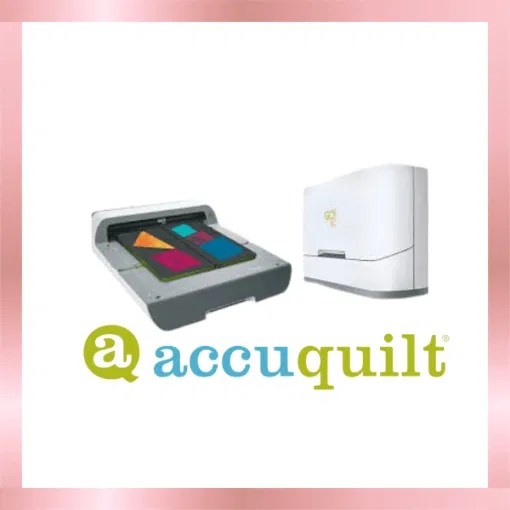
Precision Cutting with AccuQuilt

If you’ve been following me for a while, you know that I am a huge fan of accuracy in quilting. There is nothing more frustrating than having your points not match up! That is why I absolutely love my AccuQuilt system. It takes all the guesswork (and the hand strain!) out of cutting.

For Memorial Day, AccuQuilt is offering some truly fantastic sitewide discounts of 20% or more. From May 23-25, you can also use code SHIP50 for free shipping on orders over $50! This is the perfect time to grab those dies you’ve had your eye on.

"The right tools don't just save time; they save your creative energy for the fun part: the sewing!"

If you are looking for a recommendation, the "Die to Try" for May is the GO! Small Strip Cutter 1½” Die. It’s currently on sale for $69.99 (regularly $84.99). The AccuQuilt GO! Big Fabric Cutter Starter Pack is now $699.99 and includes a free die catcher, which is such a nice bonus if you’ve been ready to level up your cutting setup. AccuQuilt GO! Dies are also a wonderful deal right now with 15% off when you buy 1 die, or 20% off when you buy 2 or more. And if you’ve been dreaming about a studio upgrade, the beautiful AccuQuilt Laverne & Shirley Sewing Cabinet is on sale for $1,699.99. Plus, if you check out their clearance section, you can find deals up to 77% off!

Shop the AccuQuilt Sale Here!

AccuQuilt System


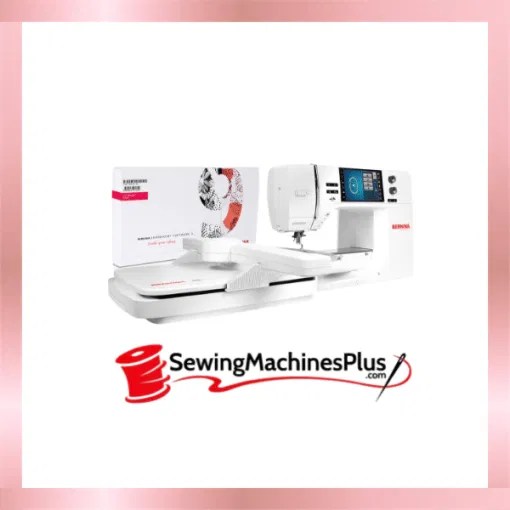
Upgrade Your Space with SewingMachinesPlus.com

Is your current machine acting up? Maybe you’re feeling like it’s finally time for that upgrade you’ve been dreaming of. I always tell my students that while you can sew on almost anything, a reliable, high-quality machine makes the process so much smoother and more enjoyable.

SewingMachinesPlus.com is having a massive Memorial Day event with up to 75% off through various coupons and holiday discounts. Their Memorial Day sale has had an early launch, which means you can start grabbing those incredible doorbuster deals right now! Whether you are looking for a new embroidery machine or a sturdy longarm, this is the weekend to make it happen!

Check out the SewingMachinesPlus.com Deals!

Bernina Sewing Machine


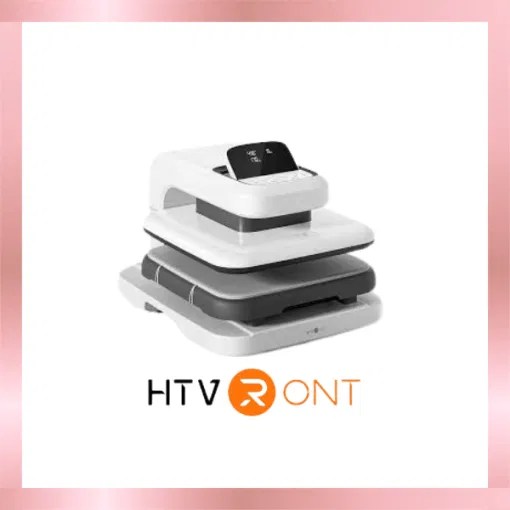
Get Creative with HTVRONT

I know many of you aren’t just quilters: you’re all-around makers! I love adding custom touches to my projects, like adding vinyl labels to canvas bags or creating personalized gifts.

HTVRONT is one of my go-to partners for heat presses and vinyl because their quality is top-notch and their prices are already so friendly. This weekend, they are offering even better sitewide discounts and bundle deals. You can snag $30 off orders of $279 or even $60 off orders of $499. It’s a great time to stock up on rolls of vinyl or finally get that auto heat press!

Shop HTVRONT Sales!

HTVRONT Tools


Fabric Finds at Fat Quarter Shop

What is a holiday weekend without a little fabric shopping? I always find myself browsing the Fat Quarter Shop when I need a little inspiration boost. Their "May Monthly Specials" are still going strong, and they have been running daily 24-hour flash sales that are just amazing.

For Memorial Day, keep an eye out for select items up to 50% off! Whether you need a fresh charm pack for an Ingrid's Wildflowers Table Runner or a full quilt kit, they have you covered.

Browse the Fat Quarter Shop Specials!

Fat Quarter Shop Fabric


Community Classics at Missouri Star Quilt Company

Last but certainly not least, we have our friends at Missouri Star Quilt Company. They are such a pillar of our quilting community, and their sales never disappoint.

This weekend, you can find Daily Deals ranging from 30% to 60% off, and their clearance section is absolutely packed with treasures at up to 60% off. One thing I love about Missouri Star is that they also offer military-specific discounts: a wonderful way to honor the spirit of Memorial Day!

Shop Missouri Star Quilt Co. Here!

Missouri Star Quilt Company


Amazon Memorial Day Savings

Friends, if you are looking for machine deals this Memorial Day, I wanted to share a few top-rated picks that are worth a look while the Amazon savings are live through May 26. These are great options if you want dependable features and solid value without feeling overwhelmed by all the choices.

  • Brother XR9550
  • Singer Stylist 7258
  • Janome 2212

What Are You Making This Weekend?

I am so excited to see what you all create with these new finds! I’m planning on spending some time in my studio working on a new memory keepsake project. There is just something so special about using our hands to make something that will be cherished for years to come.

Are you joining the madness and grabbing some new supplies this weekend? I’d love to hear what project is currently on your cutting table! Drop a comment and let me know.

Remember, friends, the goal isn't perfection: it's the joy of the process. I hope these sales help you feel inspired and ready to tackle your next creative adventure!

Happy Crafting!

Anisa


Shop Our Partners

Missouri Star Quilt Company AccuQuilt HTVRONT Sewing Machines Plus Fat Quarter Shop Amazon

Affiliate disclosure: This page contains affiliate links. If you shop through these links, I may earn a small commission at no extra cost to you. Thank you for supporting The Crafty Author!

Magical Miniature Worlds: How to Create Enchanting Fairy and Gnome Gardens in Your Own Backyard

May 18, 2026 By The Crafty Author

A beautiful fairy garden in a vintage wheelbarrow

Hello, friends! I am so thrilled to welcome you back to my creative corner. Today, we are stepping away from the sewing machine for just a moment to bring a little bit of magic right into our backyards. If you have been following along with my journey, you know I absolutely love projects that combine creativity with a touch of whimsy: and what could be more whimsical than creating your very own miniature fairy or gnome garden?

In the summertime, I especially love tending to the gnome garden I created for my grandkids. There is something so satisfying about shrinking down your perspective and building a tiny world where the only limit is your imagination. Whether you are looking for a beautiful way to spend a sunny afternoon with the grandkids or you need a peaceful solo escape into a land of moss and tiny pebbles, these gardens are the perfect project. I’ve found that gardening with my hands is deeply therapeutic, very much like piecing together a fresh new quilt. And because Colorado is in a drought this year, I’m choosing to use high-quality artificial flowers instead of real ones in these little gardens so I can stay water-wise while still keeping everything beautiful.

Are you ready to create some magic? Let's dive in!

Watch the Tutorial

Finding the Perfect Container: Wheelbarrows, Wagons, and Pots

One of the best things about miniature gardens is that they can live almost anywhere. You don’t need a massive plot of land; in fact, some of the most enchanting gardens I’ve seen are tucked into cozy containers. The container you choose really sets the tone for the "story" you’re about to tell.

The Farmhouse Wheelbarrow

If you love that rustic, farmhouse aesthetic (much like the vibes in my quilt studio), an old metal or wooden wheelbarrow is the way to go. I love using wheelbarrows because they provide a wonderful sloped surface. You can create a "hillside" village where the fairies live at the top and a little meadow spreads out toward the handles. It’s charming, nostalgic, and makes a beautiful statement piece in any garden bed.

The Whimsical Wagon

For a look that is pure childhood joy, I highly recommend a vintage-style red wagon. Wagons are typically shallower, which makes them perfect for low-growing groundcovers like creeping thyme or Irish moss. A wagon garden feels like it’s ready to roll off on an adventure at any moment! It’s a great choice if you want to create a "camping" scene with tiny tents and a pebble fire ring.

The Classic Flower Pot

If you’re a beginner or have limited space, a classic terra cotta or ceramic flower pot is your best friend. You can even use a "broken" pot to create a tiered staircase effect: turning a gardening mishap into a masterpiece! It’s such a clever way to recycle and looks incredibly professional once it’s finished.

Repurposing Old Wagons and Containers

One of my favorite parts of this project is that your container absolutely does not need to be brand new. In fact, I think old wagons, weathered pots, wooden crates, and quirky found containers often add even more character and charm! You can frequently find vintage wagons or unique containers for a very low cost, or even free, on platforms like Facebook Marketplace or Nextdoor.

Repurposing what already exists makes this project feel even more sustainable and budget-friendly. If you love creating beautiful spaces without spending a fortune, this is such a satisfying way to do it. Keep your eyes open for pieces with good bones, add drainage if needed, and let their age and personality become part of the story you tell in your miniature garden.

Whimsical gnome garden in a red wagon

Gathering Your Supplies

Before we start planting, we need to gather our tiny treasures. I like to keep my supplies organized, much like I do with my vintage train case for sewing notions. Having everything laid out makes the process so much more enjoyable!

Here is what you’ll need:

  • A Container: Your wheelbarrow, wagon, or pot (ensure it has drainage!).
  • Potting Mix: A high-quality mix that drains well.
  • Tiny Plants: Look for "miniature" varieties (more on this below).
  • Moss and Groundcover: To act as your "grass."
  • Pebbles and Stones: For paths, patios, and "rivers."
  • Miniature Furniture: Tiny chairs, houses, and fences.
  • The Residents: Fairies, gnomes, or even tiny farm animals!

"The secret to a magical garden isn't how much you spend, but the tiny details that tell a story."

Miniature garden supplies and moss

Choosing Your Plants: The "Trees" and "Grass" of Your Tiny World

When selecting plants, think about scale. You want things that look like full-grown trees or lush meadows when viewed from a few inches away.

  • For "Trees": Dwarf conifers are my absolute favorite. They stay small and look exactly like tiny evergreens. You could also use a small rosemary or lavender plant for a Mediterranean-style fairy courtyard.
  • For "Grass": Irish moss (Sagina subulata) or Scotch moss is perfect because it is incredibly soft and bright green. Creeping thyme is another great option: plus, it smells heavenly when you brush against it!
  • For Texture: Succulents like Hens and Chicks are wonderful because they are hardy and come in beautiful soft pinks and greens that fit right into our Crafty Author color palette.

Step-by-Step: Building Your Magical World

Now for the fun part! Follow these simple steps to bring your garden to life.

1. Prepare Your Container

If you’re using an old metal wagon or wheelbarrow, make sure you drill a few drainage holes in the bottom. I like to line mine with a bit of landscape fabric or burlap to keep the soil from washing out. Fill it with your potting mix, leaving about an inch of space at the top.

2. Plan the Layout

Before you start digging, place your "big" items first. Where will the house go? Where will the main path lead? I like to use a small stick to draw "zones" in the dirt. It helps me visualize the flow of the garden before anything is permanent.

3. Plant Your "Anchor" Plants

Start with your tallest plants (your trees) toward the back or one side. This creates depth. Then, add your medium-sized plants. Gently tuck them into the soil and give them a little pat to make sure they’re cozy.

4. Create the Hardscape

This is where the magic really starts to happen! Lay down your pebble paths or a tiny patio made of flat stones. If you have an HTVRONT iEngrave, you can even engrave tiny wooden signs or "welcome" mats for your gnome friends!

5. Add the Details and Residents

Finally, place your furniture and figurines. I love adding a tiny bench under a "tree" or a little watering can near the house. These small touches make the garden feel lived-in and real.

Let It Glow: Adding Solar Lighting

If you really want to make your fairy or gnome garden feel magical, try illuminating it with solar lighting! Tiny solar-powered stakes or delicate string lights can completely transform your little world once the sun goes down.

I love how this simple touch turns the garden into a beautiful evening display without adding much fuss. Tuck a few miniature solar lights along the paths, around the house, or behind plants to create a soft glow that feels cozy, whimsical, and full of charm.

Arranging the tiny details with care

Maintenance: Keeping the Magic Alive

Caring for a miniature garden is surprisingly easy, but it does require a gentle touch.

  • Watering: Containers can dry out quickly, so check the soil daily. Use a spray bottle or a small watering can so you don't wash away your tiny paths!
  • Pruning: Just like a real garden, your tiny plants will grow. Don't be afraid to give them a "haircut" with some small snips to keep them in scale with your fairies.
  • Seasonal Changes: One of the joys of this project is updating it for the seasons. In the fall, I love adding tiny pumpkins, and in the winter, you can add a dusting of "snow" (white glitter or sand) and some tiny ornaments.

A classic broken pot fairy garden

Why I Love This Project

Creating these gardens is such a beautiful way to slow down. It reminds me of the patience required for a complex quilt pattern: it's about the journey, not just the finished result. It's a wonderful way to connect with nature and express your creativity in a three-dimensional way.

Whether you're building a "Fairy Farm" or a "Gnome Woodland," I hope this project brings as much joy to your heart as it does to mine. Are you joining the madness? I would love to see what you create! Be sure to share your photos in our community: it's always so inspiring to see how everyone puts their own unique spin on a project.

Keep on craftin', friends!

Warmly,
Anisa

Affiliate disclosure: This page contains affiliate links. If you shop through these links, I may earn a small commission at no extra cost to you. Thank you for supporting The Crafty Author!

Missouri Star Quilt Company AccuQuilt HTVRONT Sewing Machines Plus Fat Quarter Shop Amazon Ricoma

Quick & Easy Snappy Pouch: A Missouri Star Quilt Co Project Tutorial

May 18, 2026 By The Crafty Author

Quick & Easy Snappy Pouch Tutorial

Hello, friends! I am so thrilled you’ve stopped by the blog today. If you’ve been following along with me for a while, you know that there is nothing I love more than a project that is both practical and practically instant. There is something so incredibly satisfying about sitting down with a small stack of fabric and getting up an hour later with a finished, functional gift.

Today, we are talking about one of my absolute favorites from our friends over at Missouri Star Quilt Co: the Snappy Pouch!

This post is a special feature for our upcoming Sunday long-form video on May 17, 2026. I wanted to give you a head start on the details so you can have your fabric pulled and your sewing machine ready to go when the video drops. Trust me, once you make one of these, you’re going to want to make ten. Are you joining the madness? I certainly hope so!

What is a Snappy Pouch?

If you haven't seen these before, prepare to be delighted. A Snappy Pouch is a small fabric bag that uses a very clever secret ingredient to stay closed: metal measuring tape!

Yes, you read that right. By using short lengths of a standard hardware store tape measure, you create a "snap" closure that stays shut on its own but pops open with a gentle squeeze. It is a fantastic way to store earbuds, jewelry, sewing notions, or even those loose coins that always seem to disappear into the bottom of your handbag.

Finished handmade quilted snappy pouch

Why This Project is a Must-Try

As a mentor in this creative world, I am always looking for ways to help you build your confidence. Sometimes we get bogged down in massive, queen-sized quilts that take months (or years!) to finish. While those are beautiful, we all need those "quick wins" to keep our creative spirits high.

The Snappy Pouch is the ultimate quick win. It’s a great project for using up those precious fabric scraps you can’t bear to throw away, and it teaches you a bit about construction and "thinking outside the box" when it comes to materials.

"Quilting is about more than just blankets; it’s about the joy of creating something useful with your own two hands."

Materials You’ll Need

Before you dive in, let’s make sure you have your supplies gathered. Here is what I recommend for the best results:

  • Fabric: You’ll need two coordinating fabrics, one for the outside and one for the lining. Fat quarters are perfect for this!
  • Interfacing: To give the pouch a bit of structure, I love using a medium-weight fusible interfacing.
  • A Metal Tape Measure: A cheap 1-inch wide tape measure from the hardware store works best. (Pro tip: Wear gloves when cutting the tape, it can be sharp!)
  • Electrical Tape: To cover the cut ends of the metal tape so they don't poke through your fabric.
  • Your Sewing Machine: I’ll be using my trusty Bernina for the tutorial, but any machine that can handle a straight stitch will work beautifully.

The Bernina sewing machine ready for a new project

Step-by-Step Guidance (The Penny Way!)

While the full video tutorial will go live this Sunday, here is a little roadmap of the process to get your brain in "making mode."

1. Prep Your Fabric

Cut your exterior, lining, and interfacing to the size specified in the pattern. I like to fuse my interfacing to the wrong side of the exterior fabric first. It makes everything so much easier to handle. Isn't it fresh when the fabric feels crisp and ready to work?

2. The "Snap" Secret

This is the part that usually makes people nervous, but don't be! You’re going to cut two pieces of the metal tape measure. Important safety note: Use old scissors or wire cutters, don't use your good fabric shears! Once cut, wrap the ends in electrical tape. This is a teaching moment: always protect your stitches (and your fingers) from sharp edges!

3. Construction

You’ll sew your exterior and lining pieces together, leaving a casing for the tape measure pieces to slide into. It’s like making a tiny curtain rod pocket.

4. The Final Assembly

Once the "snaps" are inside, you’ll sew the side seams. Because we are working with a small space, I recommend using a walking foot if you have one, or just taking it nice and slow.

Get the Pattern & A Special Discount!

I am so happy to share that Missouri Star has provided a free pattern for this project. You can grab it right here:

Download the Free Snappy Pouch Pattern Here

But wait, it gets better! Because I love my Crafty Author community so much, there is a special discount that applies automatically at checkout when you use that link.

Please note: This discount is limited to the first 200 uses (one per person), so if you’ve been eyeing some new fabric or tools to go along with your pouch project, don't wait!

Sewing process showing fabric being fed through a machine

Personal Tips for Success

I’ve made dozens of these, and here are a few things I’ve learned along the way:

  • Fabric Choice: Choose a print that isn't too directional if it's your first time. It removes the stress of making sure the "birds aren't upside down" on one side of the pouch.
  • The Squeeze Test: Before you finish the final side seams, slide your tape measure pieces in and give them a squeeze. Make sure they are oriented the right way (the curve of the tape should face inward) so the pouch snaps shut properly.
  • Batch Sewing: Once you have the hang of it, cut out five or six at once. You can chain-piece these just like quilt blocks!

Join the Community

One of the best parts of being "The Crafty Author" is seeing what you create. When you finish your Snappy Pouch, please share it!

Also, a huge shoutout to the team at Missouri Star Quilt Co. They are such a light in the quilting community. Be sure to follow @missouriquiltco on social media for even more inspiration. They are constantly coming up with brilliant ways to make our lives more creative and fun.

If you’re looking for even more support, don't forget about The Crafty Author Clubhouse™. It’s our little corner of the internet where we do exclusive sew-alongs and dive deeper into techniques just like this one. We would love to have you!

Final Thoughts

I hope you’re as excited for Sunday’s video as I am. Projects like the Snappy Pouch remind me why I started sewing 30 years ago. It’s not just about the end product; it’s about the peace and joy we find in the process.

So, go ahead: click that link, get your pattern, and let’s get ready to sew something wonderful together.

Stay crafty, friends!

Anisa
Owner, The Crafty Author


Shop Our Partners

I only recommend products and shops that I truly love and use in my own studio. Support these wonderful businesses by shopping through the links below!

Affiliate disclosure: This page contains affiliate links. If you shop through these links, I may earn a small commission at no extra cost to you. Thank you for supporting The Crafty Author!

Magical Miniature Worlds: How to Create Enchanting Fairy and Gnome Gardens in Your Own Backyard

May 18, 2026 By The Crafty Author

A beautiful fairy garden in a vintage wheelbarrow

Hello, friends! I am so thrilled to welcome you back to my creative corner. Today, we are stepping away from the sewing machine for just a moment to bring a little bit of magic right into our backyards. If you have been following along with my journey, you know I absolutely love projects that combine creativity with a touch of whimsy: and what could be more whimsical than creating your very own miniature fairy or gnome garden?

In the summertime, I especially love tending to the gnome garden I created for my grandkids. There is something so satisfying about shrinking down your perspective and building a tiny world where the only limit is your imagination. Whether you are looking for a beautiful way to spend a sunny afternoon with the grandkids or you need a peaceful solo escape into a land of moss and tiny pebbles, these gardens are the perfect project. I’ve found that gardening with my hands is deeply therapeutic, very much like piecing together a fresh new quilt. And because Colorado is in a drought this year, I’m choosing to use high-quality artificial flowers instead of real ones in these little gardens so I can stay water-wise while still keeping everything beautiful.

Are you ready to create some magic? Let's dive in!

Watch the Tutorial

Finding the Perfect Container: Wheelbarrows, Wagons, and Pots

One of the best things about miniature gardens is that they can live almost anywhere. You don’t need a massive plot of land; in fact, some of the most enchanting gardens I’ve seen are tucked into cozy containers. The container you choose really sets the tone for the "story" you’re about to tell.

The Farmhouse Wheelbarrow

If you love that rustic, farmhouse aesthetic (much like the vibes in my quilt studio), an old metal or wooden wheelbarrow is the way to go. I love using wheelbarrows because they provide a wonderful sloped surface. You can create a "hillside" village where the fairies live at the top and a little meadow spreads out toward the handles. It’s charming, nostalgic, and makes a beautiful statement piece in any garden bed.

The Whimsical Wagon

For a look that is pure childhood joy, I highly recommend a vintage-style red wagon. Wagons are typically shallower, which makes them perfect for low-growing groundcovers like creeping thyme or Irish moss. A wagon garden feels like it’s ready to roll off on an adventure at any moment! It’s a great choice if you want to create a "camping" scene with tiny tents and a pebble fire ring.

The Classic Flower Pot

If you’re a beginner or have limited space, a classic terra cotta or ceramic flower pot is your best friend. You can even use a "broken" pot to create a tiered staircase effect: turning a gardening mishap into a masterpiece! It’s such a clever way to recycle and looks incredibly professional once it’s finished.

Repurposing Old Wagons and Containers

One of my favorite parts of this project is that your container absolutely does not need to be brand new. In fact, I think old wagons, weathered pots, wooden crates, and quirky found containers often add even more character and charm! You can frequently find vintage wagons or unique containers for a very low cost, or even free, on platforms like Facebook Marketplace or Nextdoor.

Repurposing what already exists makes this project feel even more sustainable and budget-friendly. If you love creating beautiful spaces without spending a fortune, this is such a satisfying way to do it. Keep your eyes open for pieces with good bones, add drainage if needed, and let their age and personality become part of the story you tell in your miniature garden.

Whimsical gnome garden in a red wagon

Gathering Your Supplies

Before we start planting, we need to gather our tiny treasures. I like to keep my supplies organized, much like I do with my vintage train case for sewing notions. Having everything laid out makes the process so much more enjoyable!

Here is what you’ll need:

  • A Container: Your wheelbarrow, wagon, or pot (ensure it has drainage!).
  • Potting Mix: A high-quality mix that drains well.
  • Tiny Plants: Look for "miniature" varieties (more on this below).
  • Moss and Groundcover: To act as your "grass."
  • Pebbles and Stones: For paths, patios, and "rivers."
  • Miniature Furniture: Tiny chairs, houses, and fences.
  • The Residents: Fairies, gnomes, or even tiny farm animals!

"The secret to a magical garden isn't how much you spend, but the tiny details that tell a story."

Miniature garden supplies and moss

Choosing Your Plants: The "Trees" and "Grass" of Your Tiny World

When selecting plants, think about scale. You want things that look like full-grown trees or lush meadows when viewed from a few inches away.

  • For "Trees": Dwarf conifers are my absolute favorite. They stay small and look exactly like tiny evergreens. You could also use a small rosemary or lavender plant for a Mediterranean-style fairy courtyard.
  • For "Grass": Irish moss (Sagina subulata) or Scotch moss is perfect because it is incredibly soft and bright green. Creeping thyme is another great option: plus, it smells heavenly when you brush against it!
  • For Texture: Succulents like Hens and Chicks are wonderful because they are hardy and come in beautiful soft pinks and greens that fit right into our Crafty Author color palette.

Step-by-Step: Building Your Magical World

Now for the fun part! Follow these simple steps to bring your garden to life.

1. Prepare Your Container

If you’re using an old metal wagon or wheelbarrow, make sure you drill a few drainage holes in the bottom. I like to line mine with a bit of landscape fabric or burlap to keep the soil from washing out. Fill it with your potting mix, leaving about an inch of space at the top.

2. Plan the Layout

Before you start digging, place your "big" items first. Where will the house go? Where will the main path lead? I like to use a small stick to draw "zones" in the dirt. It helps me visualize the flow of the garden before anything is permanent.

3. Plant Your "Anchor" Plants

Start with your tallest plants (your trees) toward the back or one side. This creates depth. Then, add your medium-sized plants. Gently tuck them into the soil and give them a little pat to make sure they’re cozy.

4. Create the Hardscape

This is where the magic really starts to happen! Lay down your pebble paths or a tiny patio made of flat stones. If you have an HTVRONT iEngrave, you can even engrave tiny wooden signs or "welcome" mats for your gnome friends!

5. Add the Details and Residents

Finally, place your furniture and figurines. I love adding a tiny bench under a "tree" or a little watering can near the house. These small touches make the garden feel lived-in and real.

Let It Glow: Adding Solar Lighting

If you really want to make your fairy or gnome garden feel magical, try illuminating it with solar lighting! Tiny solar-powered stakes or delicate string lights can completely transform your little world once the sun goes down.

I love how this simple touch turns the garden into a beautiful evening display without adding much fuss. Tuck a few miniature solar lights along the paths, around the house, or behind plants to create a soft glow that feels cozy, whimsical, and full of charm.

Arranging the tiny details with care

Maintenance: Keeping the Magic Alive

Caring for a miniature garden is surprisingly easy, but it does require a gentle touch.

  • Watering: Containers can dry out quickly, so check the soil daily. Use a spray bottle or a small watering can so you don't wash away your tiny paths!
  • Pruning: Just like a real garden, your tiny plants will grow. Don't be afraid to give them a "haircut" with some small snips to keep them in scale with your fairies.
  • Seasonal Changes: One of the joys of this project is updating it for the seasons. In the fall, I love adding tiny pumpkins, and in the winter, you can add a dusting of "snow" (white glitter or sand) and some tiny ornaments.

A classic broken pot fairy garden

Why I Love This Project

Creating these gardens is such a beautiful way to slow down. It reminds me of the patience required for a complex quilt pattern: it's about the journey, not just the finished result. It's a wonderful way to connect with nature and express your creativity in a three-dimensional way.

Whether you're building a "Fairy Farm" or a "Gnome Woodland," I hope this project brings as much joy to your heart as it does to mine. Are you joining the madness? I would love to see what you create! Be sure to share your photos in our community: it's always so inspiring to see how everyone puts their own unique spin on a project.

Keep on craftin', friends!

Warmly,
Anisa

Affiliate disclosure: This page contains affiliate links. If you shop through these links, I may earn a small commission at no extra cost to you. Thank you for supporting The Crafty Author!

Missouri Star Quilt Company AccuQuilt HTVRONT Sewing Machines Plus Fat Quarter Shop Amazon Ricoma

The Hidden Hero: Why Your Quilt Backing Deserves Just as Much Love as the Front

May 17, 2026 By The Crafty Author

A cozy, sun-drenched quilting studio with a soft, warm atmosphere. A beautifully handcrafted quilt is draped over a rustic wooden chair. One corner of the quilt is folded back to reveal a vibrant floral fabric backing.

Hello friends!

I am so thrilled you’re here today because we are going to talk about something that often gets pushed to the bottom of the "to-do" list: the quilt backing.

Now, I have an unpopular opinion to share with you all. I believe the back of your quilt deserves just as much love, if not more, than the front! I know, I know. We spend dozens (sometimes hundreds!) of hours meticulously piecing together the perfect quilt top. We obsess over the seam allowances, the points, and the color values. But then, when it comes time to finish it, many of us treat the backing like an afterthought.

But think about it this way: a stunning quilt with a boring, uninspired backing is like wrapping a spectacular birthday gift in old newspaper. Sure, the gift inside is amazing, but the presentation feels just a little bit… "meh."

Are you ready to stop settling for "good enough" and start creating quilts that are beautiful from front to back? Let’s dive into why the quilt backing is the hidden hero of your project and how you can choose the perfect one every time!

Watch: Quilt Backing Tips Video


Why the Backing is Actually the Star of the Show

When we talk about quilting for beginners, we usually focus on the "pretty" side. But the back of the quilt is actually the part that touches you! Whether you’re snuggling up on the couch or gifting a baby quilt to a new mom, that backing fabric is providing the texture, the warmth, and the comfort.

Anisa in her studio, smiling and surrounded by her creative tools, showing a warm and welcoming atmosphere.

Choosing a high-quality backing isn't just about aesthetics; it's about the feel of the finished product. As someone who has been quilting for over 30 years, I’ve learned that a thoughtful backing can take a project from "nice" to "heirloom-quality."

Plus, let’s be honest: sometimes the back is where we get to have the most fun! Since the back is one large canvas (or a few large pieces), you can play with scale and pattern in ways that might overwhelm a quilt top.


Creative Choices: To Match or to Contrast?

One of the most frequent questions I get in The Crafty Author Clubhouse™ is: "Should my backing match my front?"

The answer is: it’s totally up to you! But here are my two favorite ways to approach it:

1. The Seamless Blend

If you want the quilting itself to be the star, choose a backing that coordinates closely with the front. This creates a cohesive, sophisticated look where the texture of your stitches really pops. This is a classic choice for modern quilt patterns where minimalism is the goal.

2. The Wild Contrast

This is where I like to get a little adventurous! Why not use a bold, bright floral on the back of a monochromatic quilt? Or a fun, whimsical print on the back of a traditional pattern? It’s like a secret surprise every time you turn the quilt over.

"Your quilt back is the secret garden of your project, a place where you can be as bold and whimsical as you want without worrying about matching every single seam."


Choosing Your Fabric: The Big Three

When you're learning how to quilt, the fabric aisle can feel a bit overwhelming. Let’s break down the three most popular options for quilt backings so you can choose the one that’s right for your next project.

A close-up of soft minky and wide-back fabrics in soft tones of pink and cream, highlighting their cozy textures.

1. Wide-Back Cotton (The Easy Path)

If you want to save time and avoid the headache of piecing, wide-back cotton is your best friend. These fabrics come in widths of 108 inches or more, meaning you can often cover your entire quilt with one solid piece of fabric.

  • Pros: No seams, no pattern matching, and it looks incredibly professional.
  • Cons: Fewer design options than standard 44-inch fabric.

2. Minky and Cuddle Fabrics (The Snuggle Factor)

Oh, how I love a minky back! If you want your quilt to be the softest thing in the house, this is the way to go. It’s perfect for baby quilts and lap blankets.

  • Pros: Unbelievably soft and very forgiving of minor quilting imperfections.
  • Cons: It can be slippery and stretchy. Use plenty of pins (or spray baste!) to keep it in place while you work.

3. Pieced Backs (The Creative Choice)

Got a lot of scraps left over from your quilt top? Use them! A pieced back is a wonderful way to use up your "fabric crumbs" and create a "two-sided" quilt. I love using my scrap quilt series techniques to make the back just as interesting as the front.

  • Pros: Budget-friendly, sustainable, and totally unique.
  • Cons: Takes more time and requires careful measuring to make sure everything stays square.

A modern pieced quilt back with a bold center stripe, demonstrating a creative way to use scraps.


Tips for a Perfect Finish

Are you joining the madness and trying a creative backing for the first time? Here are a few "pro-tips" to keep in mind:

  • The 4-Inch Rule: Always, always make sure your backing is at least 4 inches larger than your quilt top on all sides. If your quilt is 60" x 60", your backing should be at least 68" x 68". This gives you a safety margin for shifting and is essential if you're sending your quilt to a longarmer.
  • Square It Up: Before you start basting, make sure your backing is square. If the edges are wonky, you’re much more likely to end up with puckers on the back.
  • Press Your Seams Open: If you are piecing your back, press those long seams open to reduce bulk. Your sewing machine (and your longarmer!) will thank you.

Anisa holding a bundle of beautiful fabrics, looking inspired and ready to start a new project.


Let's Get Creative Together!

Friends, I hope this encourages you to look at your next quilt backing with fresh eyes. It’s not just a "cover" for the batting: it’s an opportunity to add more personality, more comfort, and more "you" to your work.

I’d love to hear from you! Do you prefer the convenience of a wide-back, or are you a fan of the "scrap-busting" pieced back? Tell me in the comments, or come share your latest finish with us in our community!

Quilting is such a beautiful journey, and I’m so glad we’re on it together. Until next time, happy stitching!

Warmly,

Anisa


Shop Our Partners

Affiliate disclosure: This page contains affiliate links. If you shop through these links, I may earn a small commission at no extra cost to you. Thank you for supporting The Crafty Author!

Quick & Easy Snappy Pouch: A Missouri Star Quilt Co Project Tutorial

May 17, 2026 By The Crafty Author

Quick & Easy Snappy Pouch Tutorial

Hello, friends! I am so thrilled you’ve stopped by the blog today. If you’ve been following along with me for a while, you know that there is nothing I love more than a project that is both practical and practically instant. There is something so incredibly satisfying about sitting down with a small stack of fabric and getting up an hour later with a finished, functional gift.

Today, we are talking about one of my absolute favorites from our friends over at Missouri Star Quilt Co: the Snappy Pouch!

This post is a special feature for our upcoming Sunday long-form video on May 17, 2026. I wanted to give you a head start on the details so you can have your fabric pulled and your sewing machine ready to go when the video drops. Trust me, once you make one of these, you’re going to want to make ten. Are you joining the madness? I certainly hope so!

What is a Snappy Pouch?

If you haven't seen these before, prepare to be delighted. A Snappy Pouch is a small fabric bag that uses a very clever secret ingredient to stay closed: metal measuring tape!

Yes, you read that right. By using short lengths of a standard hardware store tape measure, you create a "snap" closure that stays shut on its own but pops open with a gentle squeeze. It is a fantastic way to store earbuds, jewelry, sewing notions, or even those loose coins that always seem to disappear into the bottom of your handbag.

A beautiful collection of handmade snappy pouches in floral fabrics

Why This Project is a Must-Try

As a mentor in this creative world, I am always looking for ways to help you build your confidence. Sometimes we get bogged down in massive, queen-sized quilts that take months (or years!) to finish. While those are beautiful, we all need those "quick wins" to keep our creative spirits high.

The Snappy Pouch is the ultimate quick win. It’s a great project for using up those precious fabric scraps you can’t bear to throw away, and it teaches you a bit about construction and "thinking outside the box" when it comes to materials.

"Quilting is about more than just blankets; it’s about the joy of creating something useful with your own two hands."

Materials You’ll Need

Before you dive in, let’s make sure you have your supplies gathered. Here is what I recommend for the best results:

  • Fabric: You’ll need two coordinating fabrics, one for the outside and one for the lining. Fat quarters are perfect for this!
  • Interfacing: To give the pouch a bit of structure, I love using a medium-weight fusible interfacing.
  • A Metal Tape Measure: A cheap 1-inch wide tape measure from the hardware store works best. (Pro tip: Wear gloves when cutting the tape, it can be sharp!)
  • Electrical Tape: To cover the cut ends of the metal tape so they don't poke through your fabric.
  • Your Sewing Machine: I’ll be using my trusty Bernina for the tutorial, but any machine that can handle a straight stitch will work beautifully.

The Bernina sewing machine ready for a new project

Step-by-Step Guidance (The Penny Way!)

While the full video tutorial will go live this Sunday, here is a little roadmap of the process to get your brain in "making mode."

1. Prep Your Fabric

Cut your exterior, lining, and interfacing to the size specified in the pattern. I like to fuse my interfacing to the wrong side of the exterior fabric first. It makes everything so much easier to handle. Isn't it fresh when the fabric feels crisp and ready to work?

2. The "Snap" Secret

This is the part that usually makes people nervous, but don't be! You’re going to cut two pieces of the metal tape measure. Important safety note: Use old scissors or wire cutters, don't use your good fabric shears! Once cut, wrap the ends in electrical tape. This is a teaching moment: always protect your stitches (and your fingers) from sharp edges!

3. Construction

You’ll sew your exterior and lining pieces together, leaving a casing for the tape measure pieces to slide into. It’s like making a tiny curtain rod pocket.

4. The Final Assembly

Once the "snaps" are inside, you’ll sew the side seams. Because we are working with a small space, I recommend using a walking foot if you have one, or just taking it nice and slow.

Get the Pattern & A Special Discount!

I am so happy to share that Missouri Star has provided a free pattern for this project. You can grab it right here:

Download the Free Snappy Pouch Pattern Here

But wait, it gets better! Because I love my Crafty Author community so much, there is a special discount that applies automatically at checkout when you use that link.

Please note: This discount is limited to the first 200 uses (one per person), so if you’ve been eyeing some new fabric or tools to go along with your pouch project, don't wait!

Sewing process showing fabric being fed through a machine

Personal Tips for Success

I’ve made dozens of these, and here are a few things I’ve learned along the way:

  • Fabric Choice: Choose a print that isn't too directional if it's your first time. It removes the stress of making sure the "birds aren't upside down" on one side of the pouch.
  • The Squeeze Test: Before you finish the final side seams, slide your tape measure pieces in and give them a squeeze. Make sure they are oriented the right way (the curve of the tape should face inward) so the pouch snaps shut properly.
  • Batch Sewing: Once you have the hang of it, cut out five or six at once. You can chain-piece these just like quilt blocks!

Join the Community

One of the best parts of being "The Crafty Author" is seeing what you create. When you finish your Snappy Pouch, please share it!

Also, a huge shoutout to the team at Missouri Star Quilt Co. They are such a light in the quilting community. Be sure to follow @missouriquiltco on social media for even more inspiration. They are constantly coming up with brilliant ways to make our lives more creative and fun.

If you’re looking for even more support, don't forget about The Crafty Author Clubhouse™. It’s our little corner of the internet where we do exclusive sew-alongs and dive deeper into techniques just like this one. We would love to have you!

Final Thoughts

I hope you’re as excited for Sunday’s video as I am. Projects like the Snappy Pouch remind me why I started sewing 30 years ago. It’s not just about the end product; it’s about the peace and joy we find in the process.

So, go ahead: click that link, get your pattern, and let’s get ready to sew something wonderful together.

Stay crafty, friends!

Anisa
Owner, The Crafty Author


Shop Our Partners

I only recommend products and shops that I truly love and use in my own studio. Support these wonderful businesses by shopping through the links below!

Partner Image Shop Link
Missouri Star Quilt Company Missouri Star Shop Now
AccuQuilt AccuQuilt Shop Now
HTVRONT HTVRONT Shop Now
Sewing Machines Plus Sewing Machines Plus Shop Now
Fat Quarter Shop Fat Quarter Shop Shop Now
Shop My Amazon Store Amazon Shop Now
Ricoma Ricoma Shop Now

Affiliate disclosure: This page contains affiliate links. If you shop through these links, I may earn a small commission at no extra cost to you. Thank you for supporting The Crafty Author!

Modern Quilt Patterns: 5 Designs That Will Make You Look Like a Pro

May 15, 2026 By The Crafty Author

Modern geometric quilt design with bold negative space in aqua, coral, purple, mint, cream, and black accents

Hello there, friends! I am so thrilled you’re here today because we are diving into one of my absolute favorite topics: modern quilt patterns. If you’ve been following along with my journey here at The Crafty Author, you know that while I have a deep, deep love for the traditional blocks we all grew up with, there is something just so fresh and exciting about the modern quilting movement.

I remember when I first started quilting over 30 years ago. Everything was very structured, very traditional, and: let’s be honest: sometimes a little bit intimidating for a beginner! But one of the things I love most about teaching modern quilting is helping the modern maker take those complex-looking techniques and break them down into simple, approachable steps. The modern quilting world has opened up so many doors. It’s all about breaking the rules (or at least bending them a little!) and creating something that feels uniquely you.

Are you ready to stop feeling like a "newbie" and start making quilts that look like they belong in a high-end boutique? I promise you, with these five designs, you’re going to look like an absolute pro, even if you just finished your very first project last week!

What Exactly Makes a Quilt "Modern"?

Before we get into the patterns, let's talk about the "vibe." When I say "modern quilt patterns," I’m usually talking about a few specific design elements that set them apart from the heirlooms our grandmothers made.

  • Minimalism: This is the "less is more" philosophy. Instead of every inch of the fabric being covered in busy patterns, modern quilts often use "negative space" (usually a solid neutral background) to let the design breathe.
  • Bold Colors: Forget the muted calicos of the 80s! We’re talking vibrant teals, deep navies, mustard yellows, and even crisp blacks and whites.
  • Geometric Shapes: Think big, bold lines, triangles, and asymmetrical layouts.
  • Non-Traditional Layouts: Sometimes we leave the borders off or put the "star" of the show in the bottom corner instead of right in the middle.

The best part? These elements actually make the quilting process easier for beginners. Because modern designs often rely on larger pieces of fabric and simpler shapes, you spend less time fussing over tiny corners and more time actually finishing your quilt. That is exactly why I love helping the modern maker turn complex-looking ideas into simple, doable steps. How satisfying is that?


1. The Modern Log Cabin: A Fresh Twist on a Classic

Modern sampler quilt top in aqua, coral, purple, and mint

The Log Cabin is probably the most iconic quilt block in history, but have you ever tried a modern version?
By using asymmetrical "logs" or placing your blocks in a non-traditional way, you create a look that is totally high-fashion.

I love this design because it’s incredibly forgiving. If your strips aren't perfectly uniform, it often just adds to the "improv" feel of a modern quilt. For a pro look, try using a solid cream background and then popping in just one or two blocks with a really vibrant, floral print. It’s a great way to showcase those "favorite" fabrics you've been saving in your stash! If you're looking for a great place to start with strip-style piecing, my Strip Quilt Series is a wonderful resource for mastering these techniques.

2. The Ninja Star: Bold, Sharp, and Stunning

The Ninja Star (or a modern take on the Friendship Star) is all about those clean, sharp lines. What makes it look "pro" is the use of high-contrast colors. Imagine a crisp white background with stars made of bold navy and bright yellow. It practically jumps off the bed!

The secret to looking like a professional here is in the pressing. I always tell my students: "Press like your project depends on it!" Using a good heat press or a heavy steam iron makes those seams lay perfectly flat, which is the hallmark of a professional quilter.

3. The Sparkle Quilt: Modern Geometric Lines

Modern sampler quilt top in aqua, coral, purple, and mint

If you love a good zig-zag but want something more sophisticated than a standard chevron, the Sparkle pattern is for you.
It uses vertical rows to create a shimmering, geometric effect. The reason this works so well for beginners is that it eliminates those pesky "Y-seams" that can be so frustrating when you’re just starting out.

To make this design look truly modern, try using an "ombré" effect. Start with a light color at the top and gradually work your way down to a darker shade of the same hue. It’s an easy trick that makes everyone think you spent weeks planning out the color theory!

4. The Quarter Log Cabin: Minimalist Magic

Modern sampler quilt top in aqua, coral, purple, and mint

If you want a quilt that looks like it belongs in a modern art gallery, the Quarter Log Cabin is your best friend.
Instead of building the "logs" all the way around a center square, you only build them on two sides.

This creates a beautiful, sweeping motion across the quilt top. I highly recommend using just three different fabrics for this: perhaps two solids and one bold geometric print. Keeping the color palette limited is a pro secret for making a quilt look intentional and expensive. I've used similar techniques in my Big Spools Quilt project, which is another fantastic example of how simple shapes can make a huge impact.

5. The Perfect Placement: Showcasing Your Style

Modern sampler quilt top in aqua, coral, purple, and mint

Sometimes, the most "pro" thing you can do is let the fabric do the work for you.
The "Perfect Placement" style is a highly repetitive pattern: think simple squares or rectangles: that is designed specifically to show off a specific fabric collection.

This is perfect for those "fussy cutting" moments where you want to highlight a specific character or floral motif in the center of every block. By framing these beautiful prints with a solid border, you create a clean, modern grid that looks sophisticated and organized.


My Top Tips for Modern Quilting Success

Are you feeling inspired yet? I hope so! Before you run off to your sewing room, let me share a few "mentor" tips to help you get that professional finish:

  1. Don't Overthink Your Colors: If you’re nervous about picking colors, look at the "selvage" of your favorite fabric (that’s the edge with the little color dots). The designers have already done the hard work of picking colors that match: just follow their lead!
  2. Invest in Good Tools: You don't need everything in the store, but a sharp rotary cutter and a clear acrylic ruler will change your life. Trust me, straight cuts are 90% of the battle.
  3. Embrace the Imperfections: Here is a little secret… even after 30 years, my points don't always match perfectly. And you know what? Once the quilt is washed and crinkly and being used to snuggle on the couch, no one will ever notice!
  4. Join a Community: Quilting is so much more fun when you have friends to cheer you on. If you want more hands-on help, come join us over at The Crafty Author Clubhouse™ (COMING SOON!). We love seeing what everyone is working on!

"A quilt isn't just a blanket; it's a hug you can keep. Modern or traditional, the love you stitch into it is what truly matters."

Shop Our Partners

Click the images below to shop my favorite fabrics and tools from the partners I trust!

Missouri Star Quilt Company


I am so excited to see which of these modern patterns you decide to try first! Whether you go for the bold Ninja Stars or the minimalist Quarter Log Cabin, just remember to have fun with it. There are no "quilt police" here: just a community of makers who can't wait to see your creativity shine.

Are you joining the modern quilting madness with me? Leave a comment below and let me know which design is calling your name!

Happy stitching,

Anisa
Owner, The Crafty Author

  • « Go to Previous Page
  • Page 1
  • Page 2
  • Page 3
  • Page 4
  • Interim pages omitted …
  • Page 20
  • Go to Next Page »

Primary Sidebar

FOLLOW ME ON SOCIAL MEDIA

  • Facebook
  • Twitter
  • Instagram
  • Pinterest
  • YouTube

Find quilting fabric and quilting supplies for your project at Fat Quarter Shop

SUBSCRIBE TO MY BLOG POSTS

SEARCH PAST PROJECTS BY DATE

SEARCH FOR PROJECTS BY NAME

Privacy & Cookies: This site uses cookies. By continuing to use this website, you agree to their use.

To find out more, including how to control cookies, see here: Cookie Policy
  • HOME
  • BLOG
  • QUILT SERIES
  • THE CRAFTY AUTHOR™ CLUBHOUSE
  • SHOP THE QUILTED TEE
Copyright © 2026 Crafty Author