
Hello, friends! I am so thrilled to have you here today. Pull up a chair, grab a warm mug of your favorite tea, and let’s chat for a bit.
This page contains affiliate links. If you shop through these links, I may earn a small commission at no extra cost to you.
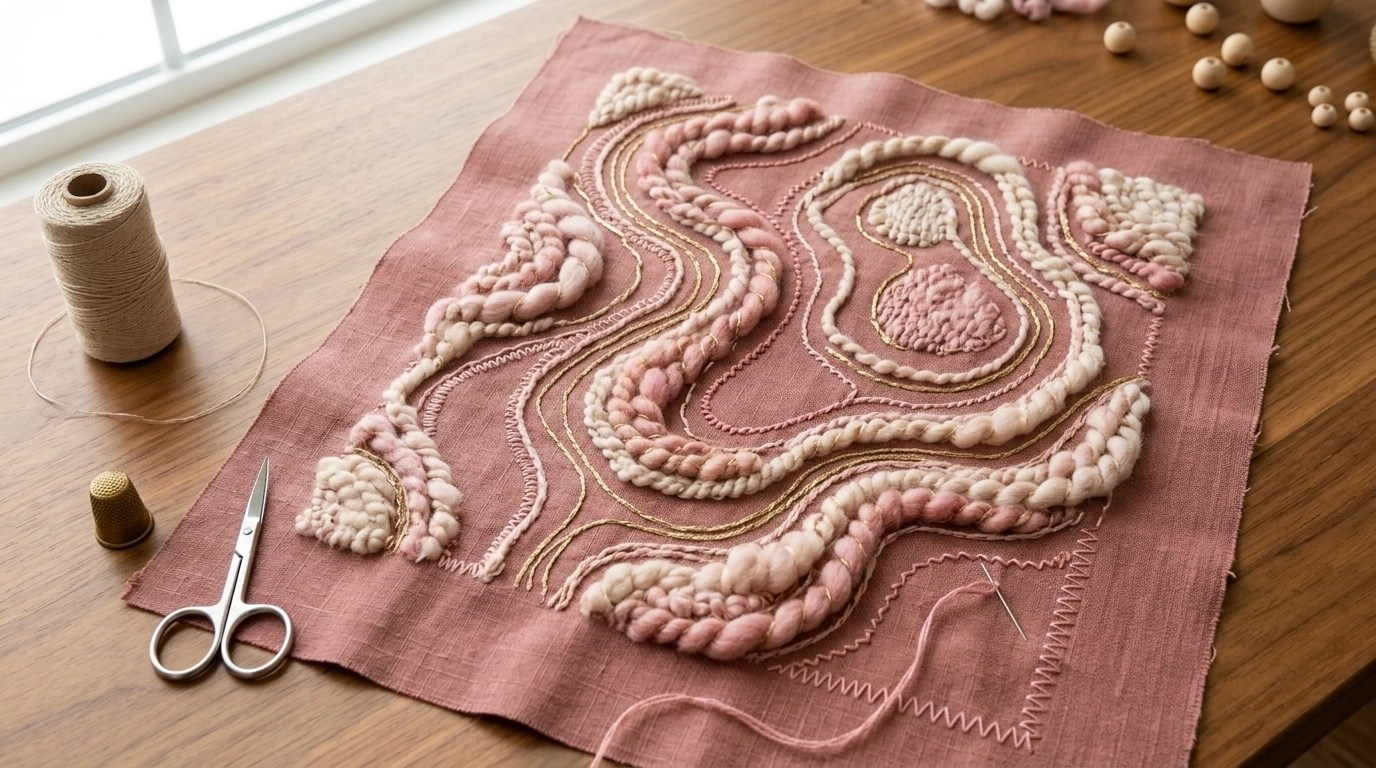
Do you ever feel like the world is moving just a little too fast? We live in an era of "instant everything", from two-hour grocery deliveries to fast-fashion shirts that cost less than a latte. It feels like we are constantly being rushed toward the finish line, doesn't it? But here in our sewing rooms, something magical happens. We choose to slow down. We choose the path that takes time, and honestly, that is a beautiful rebellion!
Today, I want to kick off our new series, The Philosophy of the Stitch, by talking about why we spend hundreds of hours on a single quilt. Why do we choose the "slow path"?
The Beautiful Rebellion Against "Instant"
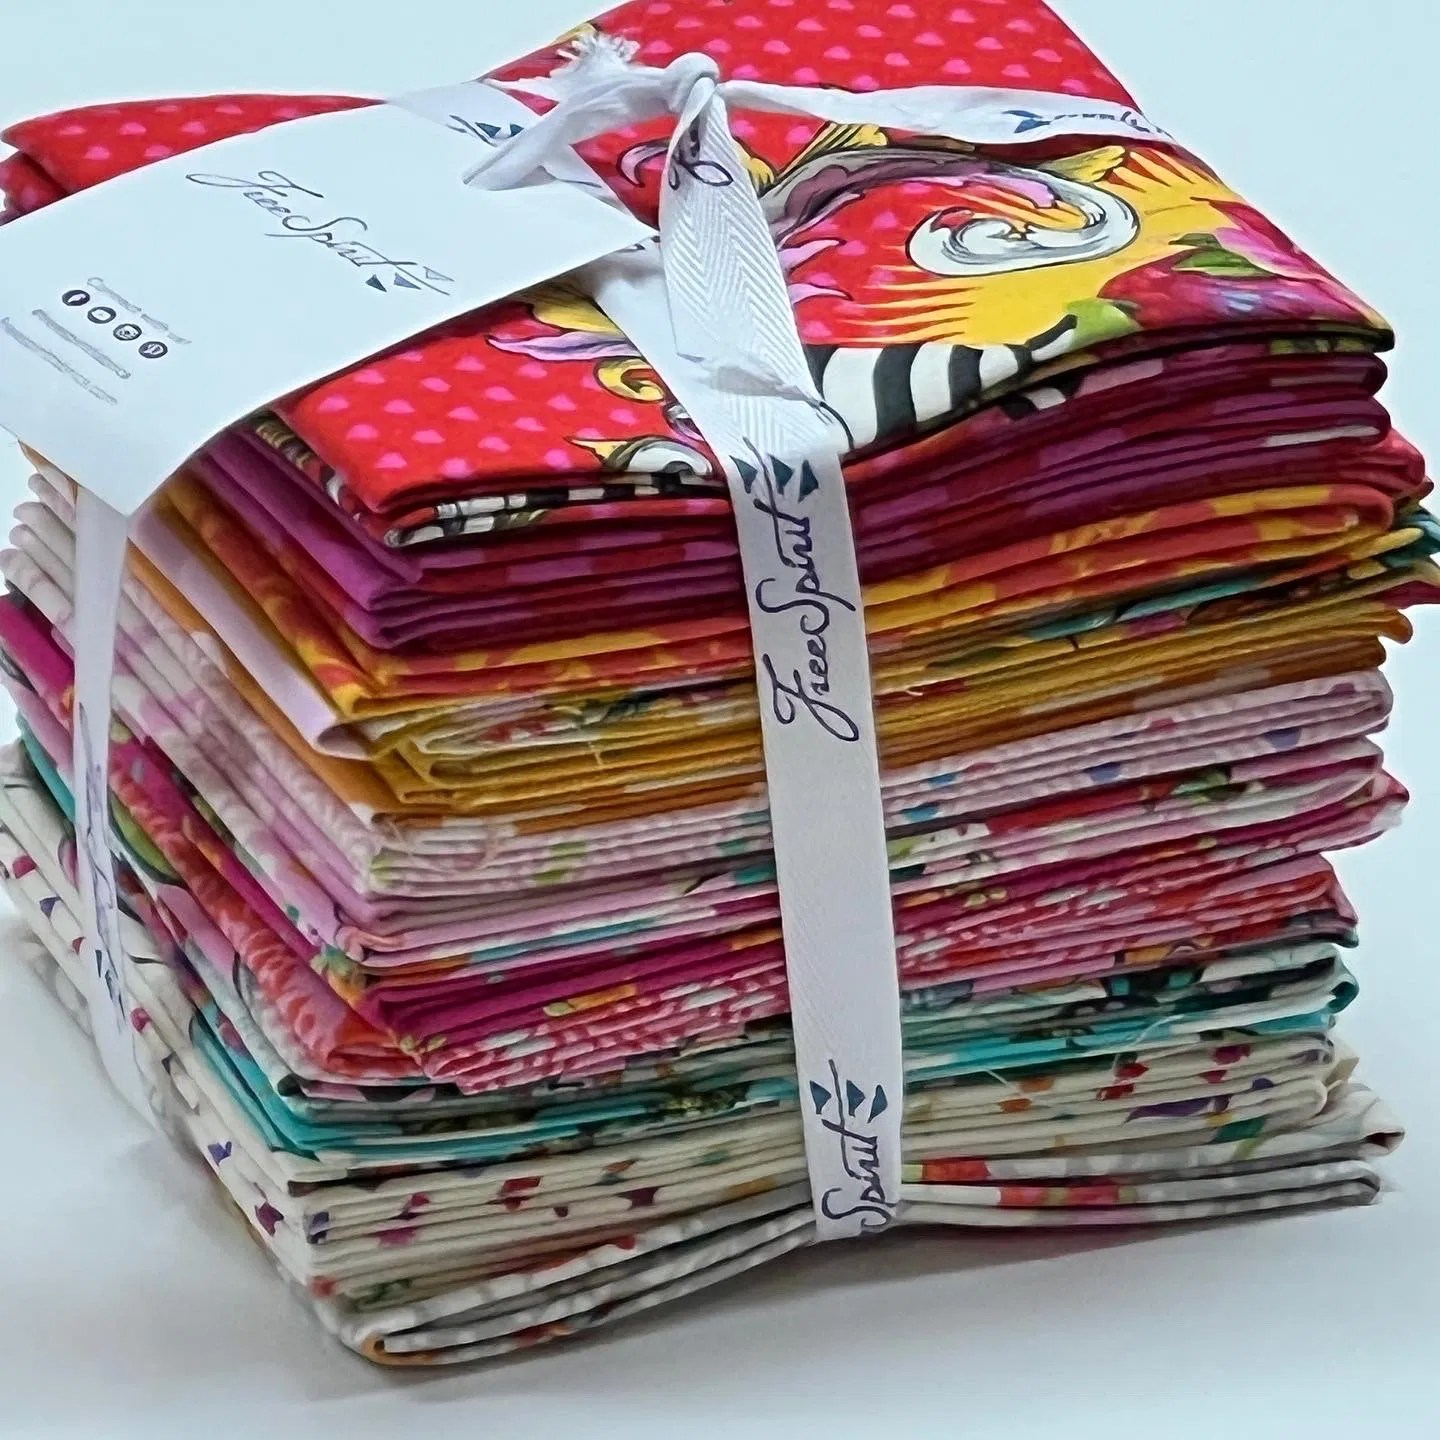
In a world that prizes speed above all else, sitting down to piece together a quilt is a radical act. Think about it! You could go to a big-box store and buy a blanket in five minutes. Instead, you spend weeks selecting the perfect fabrics, days cutting them into precise shapes, and months, sometimes years, stitching them back together.
This is what we call Slow Crafting. It isn't just about the final product; it’s about the intentional, mindful journey we take to get there. When we quilt, we are saying "no" to the disposable, "make-it-fast" culture. We are saying that some things are worth the wait. We are creating heirlooms that will last for generations, not just for a season. Isn't that a satisfying thought?

Every Stitch is a Meditation
Have you ever noticed how your breathing changes when you start to sew? Whether you are working on your Handi Quilter Longarm or sitting on the couch with a needle and thread, there is a rhythm to it. Push, pull. In, out.
This rhythmic movement is a form of meditation. As the needle moves through the fabric, the mental chatter begins to quiet. The "to-do" lists and the worries of the day seem to fade into the background. Every stitch carries weight, not just the weight of the thread, but the weight of your presence and your peace.
"Slow crafting allows us to connect with our inner selves, transforming a simple hobby into a healing, mindful practice."
When we choose the slow path, we aren't just making a quilt; we are making space for ourselves. We are giving ourselves the "gift of time." In our fast-paced lives, that is one of the most precious gifts we can receive!
The Weight of Time and Love
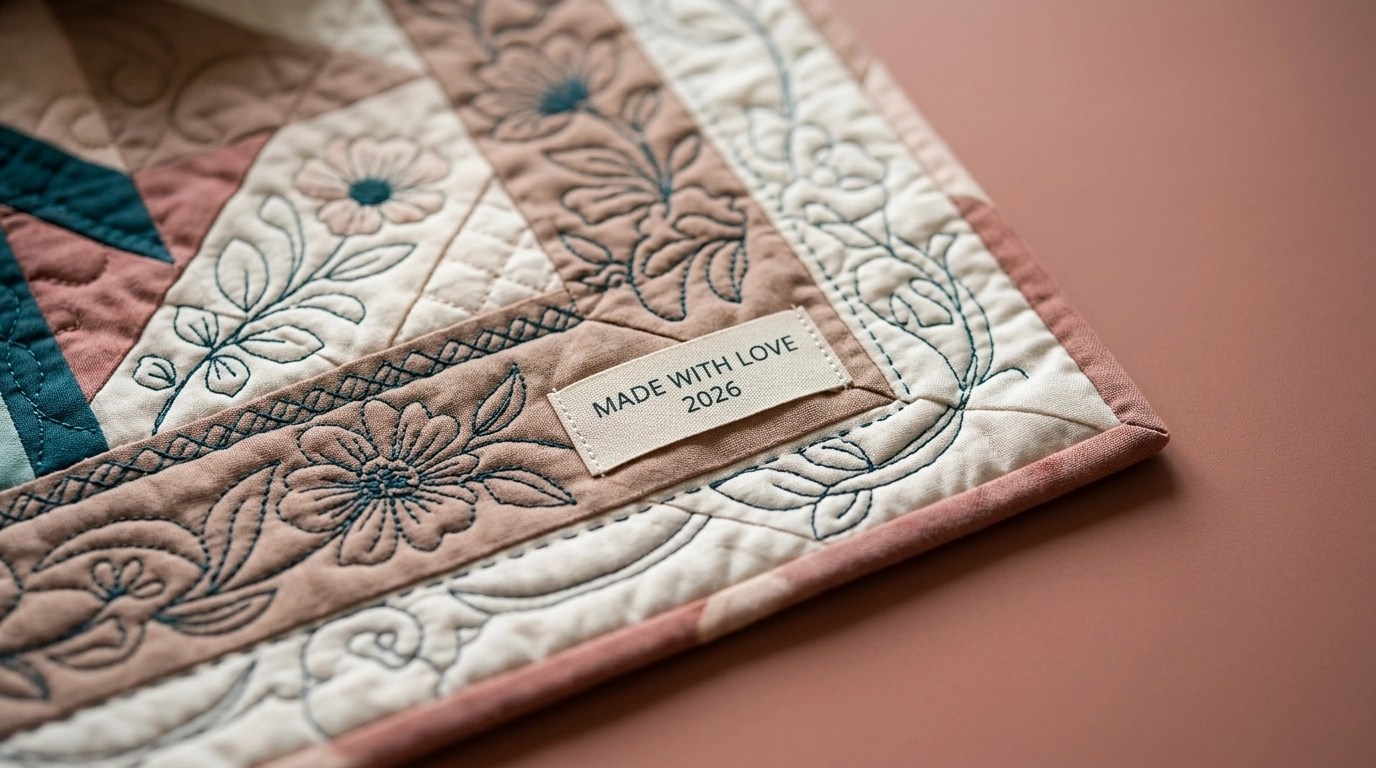
I often think about the "weight" of a finished quilt. It’s heavy, isn't it? It has the physical weight of the cotton batting and the layers of fabric. But it also carries the weight of every hour you spent on it.
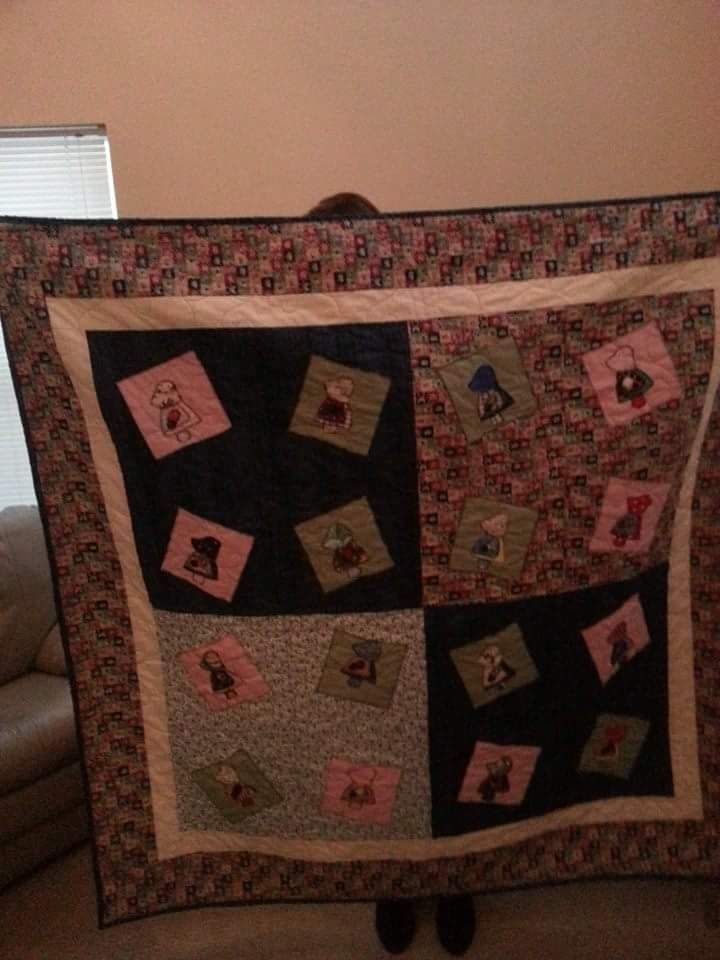
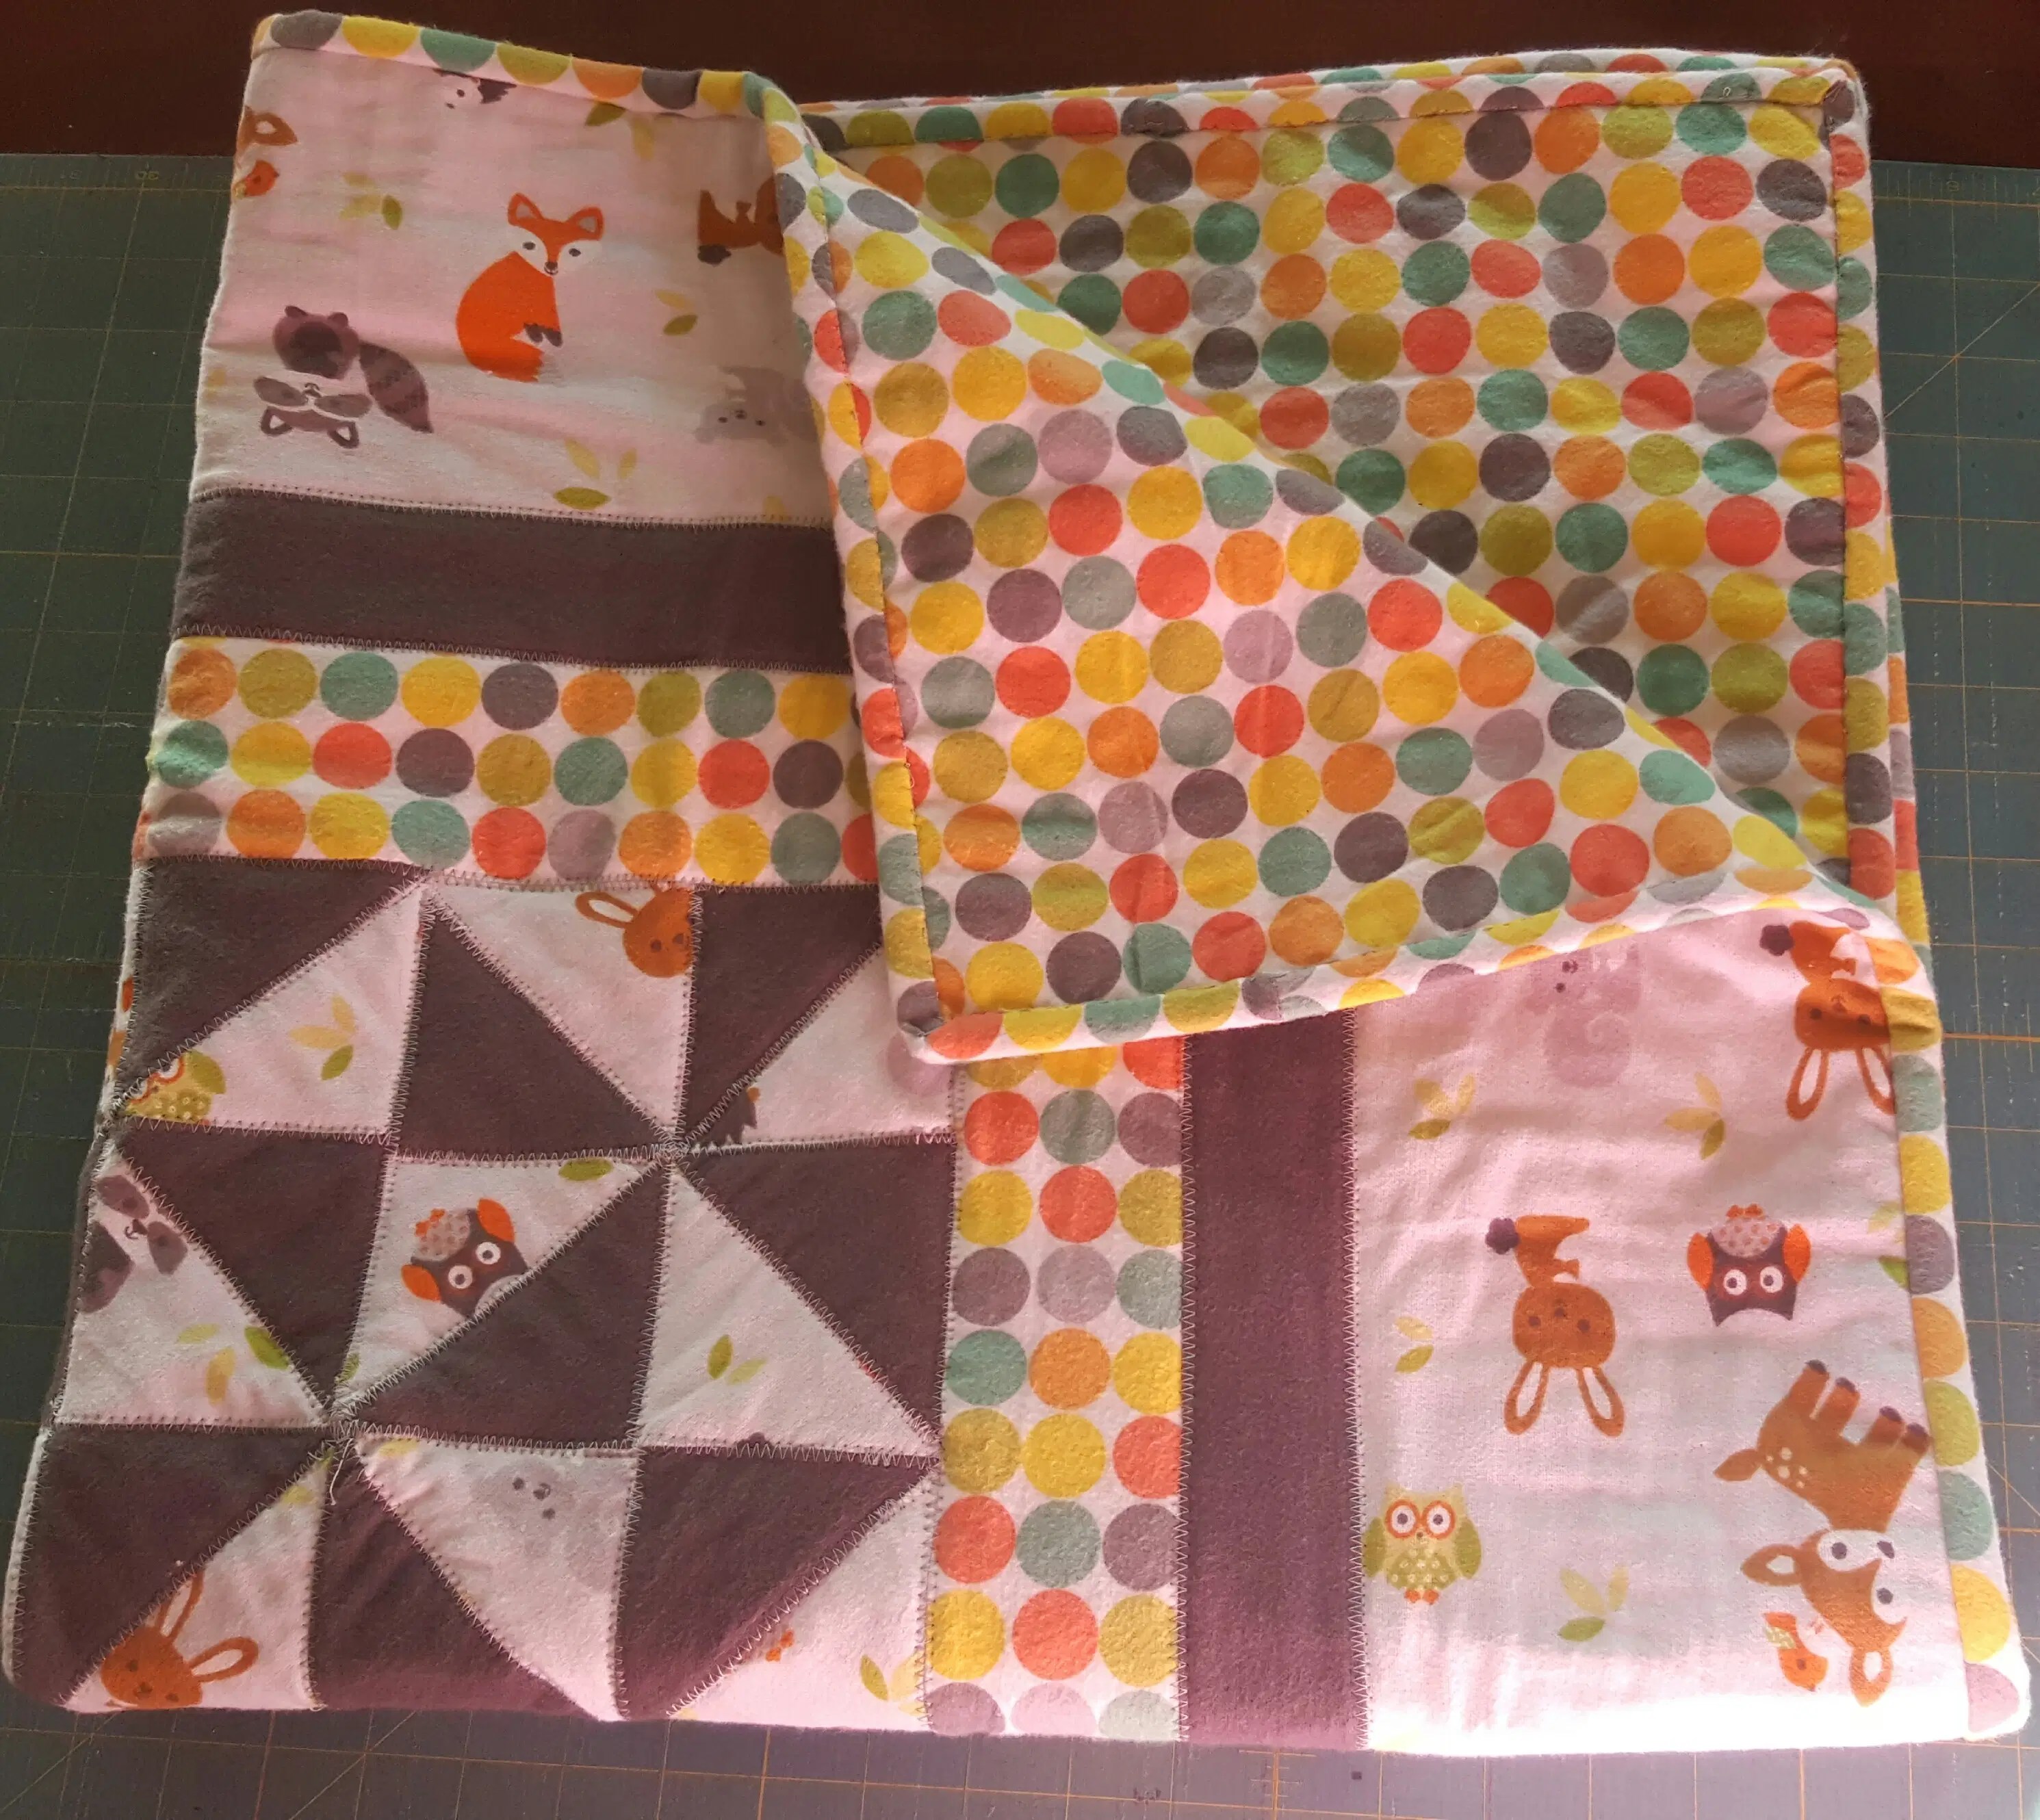
Think about our Sunbonnet Sampler Quilt. Each of those appliqué blocks represents a moment in time, a quiet evening, a rainy afternoon, or a conversation with a friend. When you wrap someone in a handmade quilt, you aren't just giving them warmth; you are wrapping them in the hours of love you poured into every seam.
Finding Your Rhythm
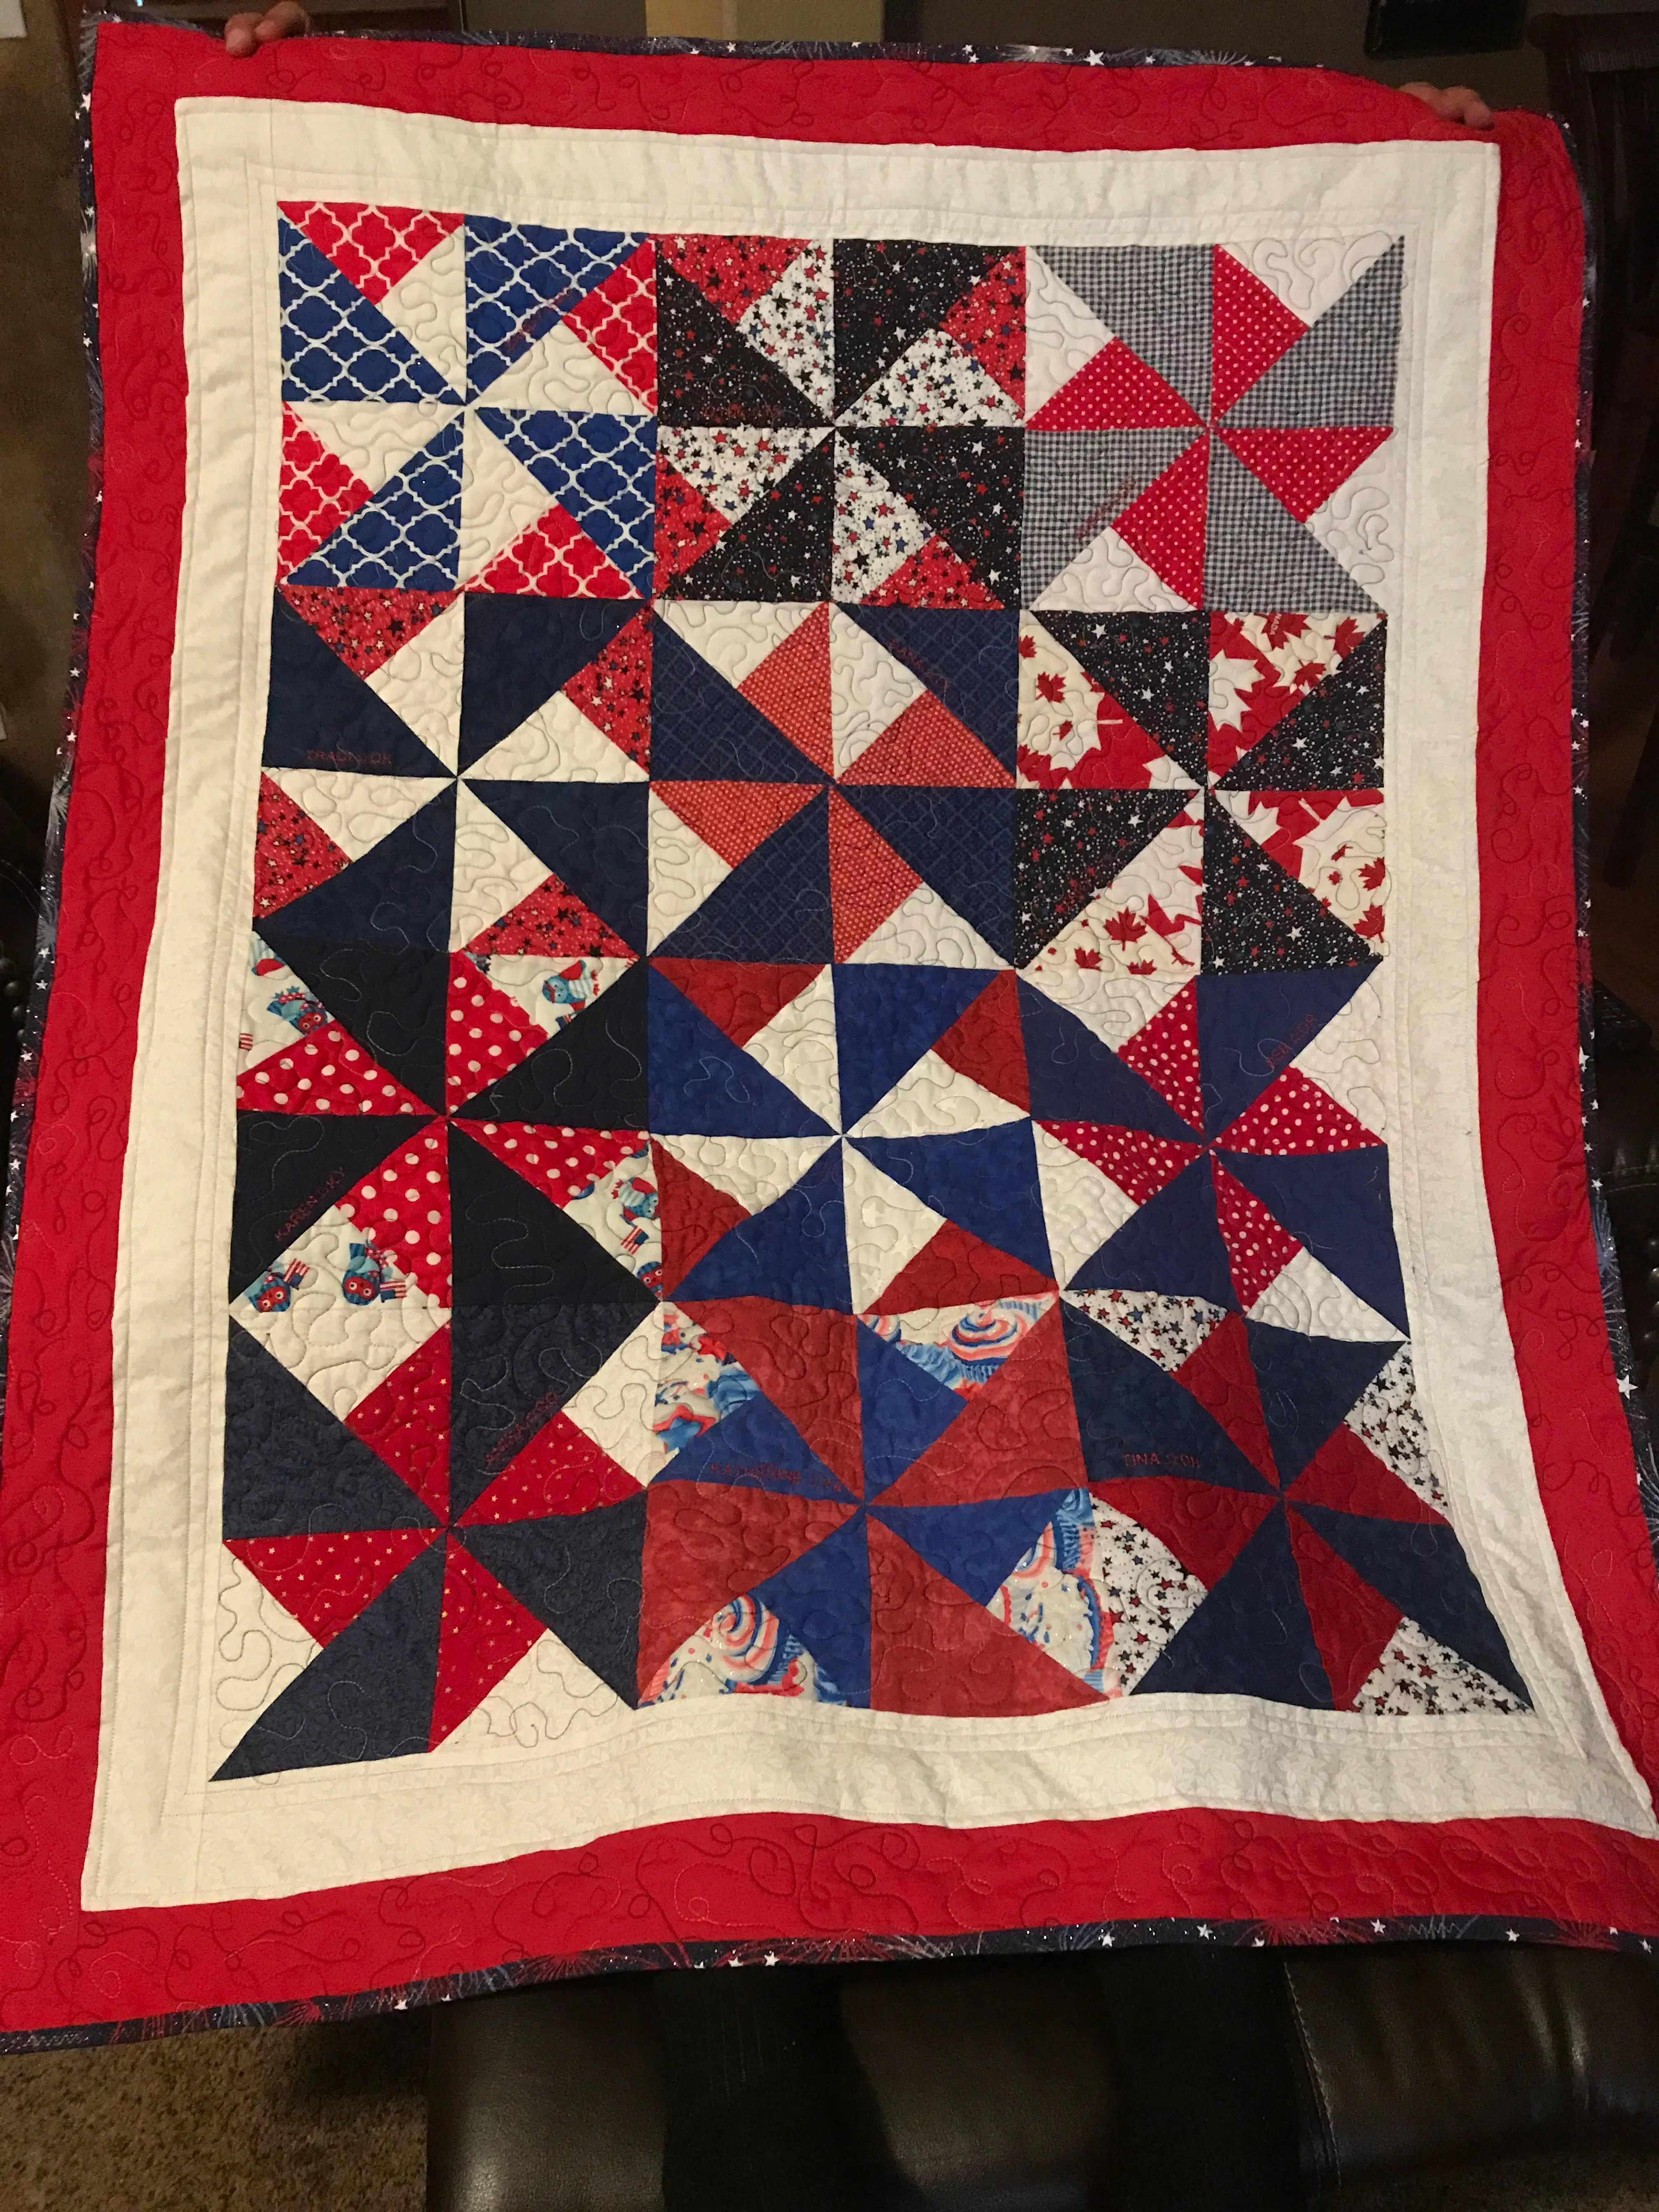
Are you a beginner who feels overwhelmed by the process? Or perhaps you’re an experienced maker looking to reconnect with the joy of the craft? I want to encourage you to embrace the slow. Don't worry about how long it takes to finish that Pinwheel block. Focus on the feel of the fabric, the sound of the machine, and the satisfaction of a well-placed stitch.
We are so conditioned to look for the "shortcut," but in quilting, the long way is often where the most joy is found. Are you ready to join the madness and celebrate the slow path with me?

Join Our Creative Community
If you love this philosophy of mindful making, you are going to love what we have planned! We are building a special place where we can celebrate these slow-crafting moments together.
Keep an eye out for The Crafty Author Clubhouse™ (COMING SOON!). It will be a place for exclusive sew-alongs, deeper tutorials, and a community of makers who truly understand the "weight of a stitch." I can't wait to share it with you!
Shop Our Partners


Shop Missouri Star Quilt Company
Shop Fat Quarter Shop
Final Thoughts
Friends, I hope this encourages you to look at your next project a little differently. Don't rush through it! Savor the process. Feel the weight of those stitches. You are creating something beautiful, and you are doing it one slow, intentional step at a time.
What is one project that taught you the most about patience? I’d love to hear your stories in the comments below!
Until next time, keep crafting with heart!
Warmly,
Anisa
The Crafty Author


