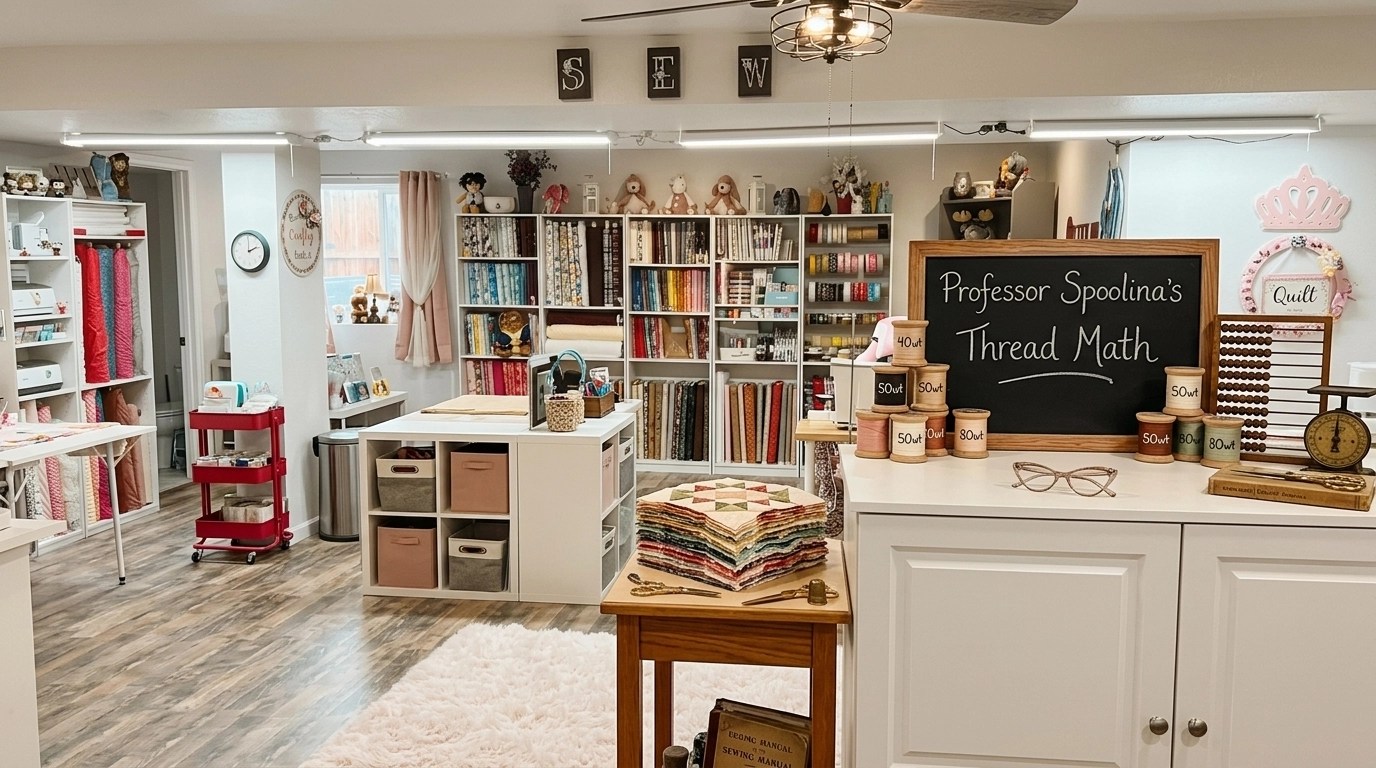
Hello, my creative friends! Class is officially in session! 🎓🧵
If you’ve been following along over on my Instagram, you know that I’ve had a very special guest visiting the studio lately. I’m thrilled to introduce you (or re-introduce you!) to the one and only Professor Spoolina. She’s our favorite blue-hued "Threadologist," with her sweet face, pink bow, and trusty handbag, and she has a very important lesson for us today, all while reminding us to keep on craftin’.
Are you ready to tackle the mystery of Thread Math?
I know, I know, the word "math" can make some of us want to run for the nearest fabric stash and hide! But I promise, Professor Spoolina and her bright blue spool-self are the stars of this lesson and make it absolutely painless. Understanding thread weight is one of those "lightbulb moments" that takes you from a frustrated beginner to a confident maker. It’s the secret sauce to flatter seams, invisible appliqué, and quilting that truly pops!
So, grab your favorite mug of tea (or coffee!), settle into your sewing chair, and let’s dive into the wonderful, slightly backwards world of thread weights!
The "Backwards" Logic of Thread Math

Before we look at the specific spools, we have to understand the Professor’s first rule of Thread Math: The higher the number, the thinner the thread.
Wait, what? I told you it was a little backwards!
Professor Spoolina explains it like this: in true blue-threadologist fashion, thread weight (often labeled as "wt") is calculated by how many miles of that thread it takes to weigh 2.2 pounds.
- If it only takes 7.5 miles to reach 2.2 pounds, that thread is thick and heavy.
- If it takes 50 miles to reach 2.2 pounds, that thread is micro-fine and light.
Think of it like a race! The thinner the thread, the further it can go. Isn't that a satisfying way to remember it? Now that we have the logic down, let's look at which weight you should reach for when you're sitting at your sewing machine.
80wt & 100wt: The "Now You See Me, Now You Don't" Threads
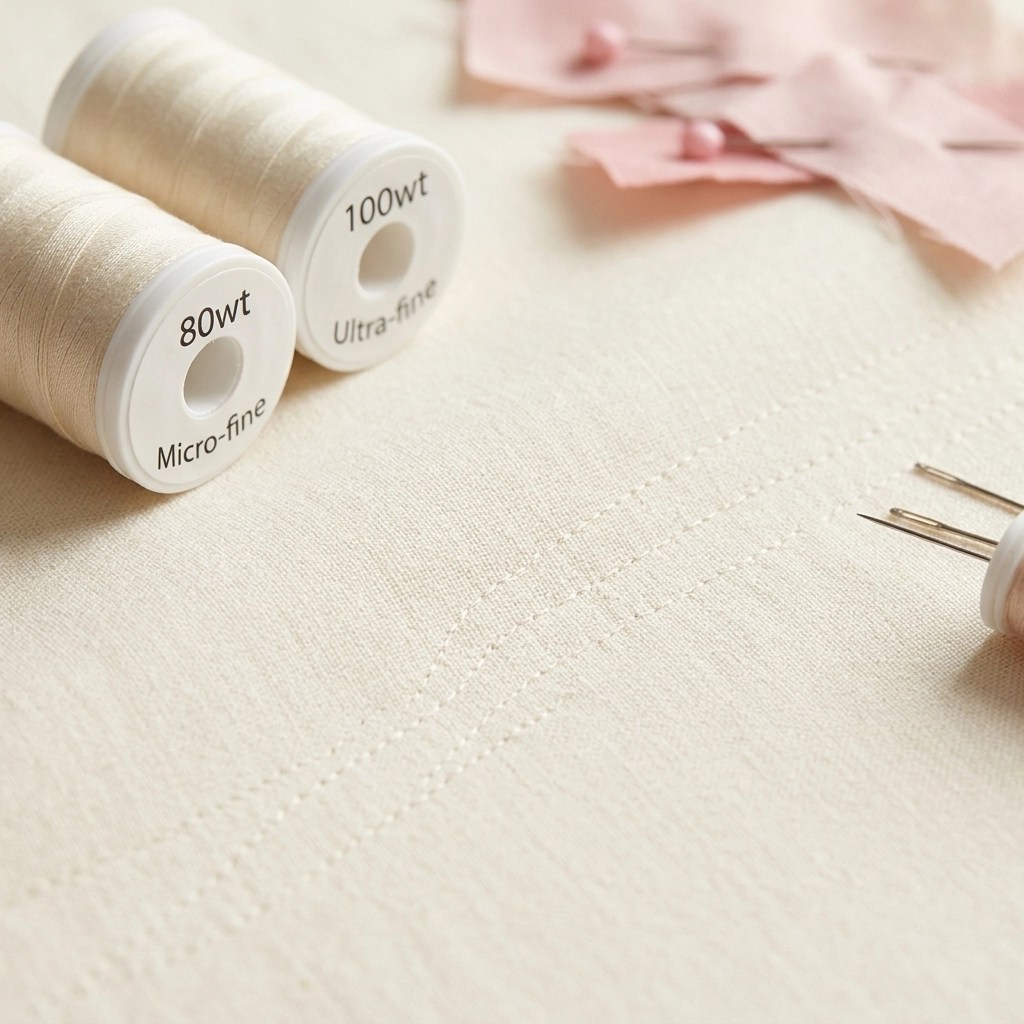
Starting at the top of our "miles race" are the 80wt and 100wt threads. These are the supermodels of the thread world, tall, thin, and incredibly delicate!
When to use them:
- Invisible Appliqué: If you love hand or machine appliqué and want your stitches to disappear into the fabric, this is your best friend.
- Fine English Paper Piecing (EPP): It allows your fabric edges to butt up perfectly without a bulky thread "bump" in the middle.
- Micro-Quilting: When you want to add incredible detail to a quilt but don't want the thread to distract from the design.
Professor Spoolina’s Tip: Because this thread is so fine, you’ll want to use a smaller needle, like a 70/10 or even a 60/8. This prevents the needle from leaving large "potholes" in your beautiful fabric!
50wt: The "Gold Standard" of Piecing

If you were to peek into my sewing room (or the Crafty Author Studio), you would see rows and rows of 50wt thread. In the quilting world, this is our "Goldilocks" thread, it's just right for almost everything!
Why we love it:
- The Perfect Seam: It’s thin enough that it doesn't take up space in your seam allowance. This means your quilt blocks will actually measure what they’re supposed to! (Hello, precision!)
- Strength: It’s surprisingly strong for its size, making it perfect for the "wear and tear" a well-loved quilt goes through.
- Versatility: You can piece with it, and you can quilt with it if you want your stitches to blend into the background.
Pro-Tip: I always recommend high-quality cotton 50wt thread from friends like Missouri Star Quilt Company or Fat Quarter Shop. It produces less lint, which keeps your machine happy and humming! Pair this with an 80/12 needle for a match made in heaven.
40wt: The "Show-Off" Thread
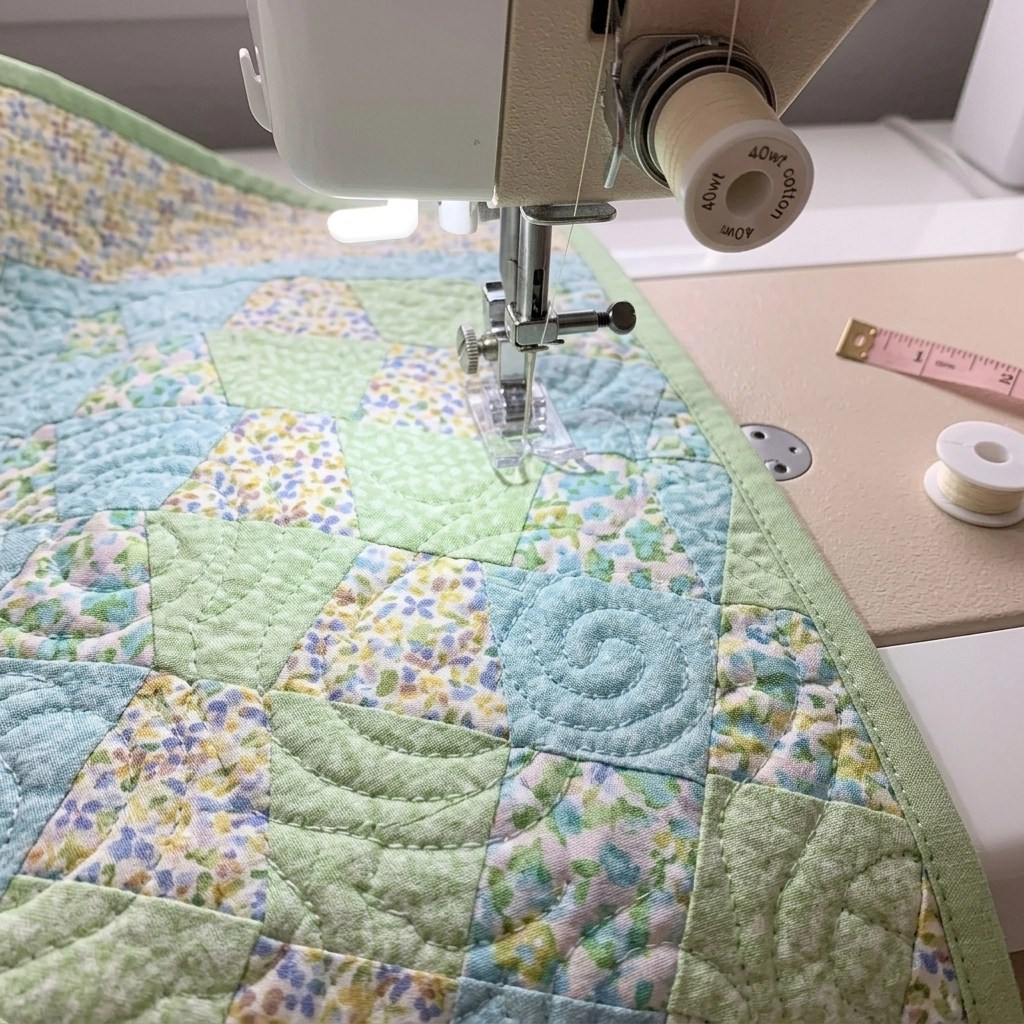
Now we’re getting into the threads that like a little attention! 40wt thread is slightly thicker than 50wt, and it’s specifically designed to be noticed.
When to use it:
- Machine Quilting: This is the most popular weight for quilting your "sandwich." It’s thick enough to show off your beautiful swirls and loops, giving your quilt that lovely dimensional texture.
- Decorative Stitching: If your machine has those fun "fancy" stitches, 40wt makes them look bold and beautiful.
- Machine Embroidery: Most embroidery designs are digitized specifically for 40wt thread.
Professor Spoolina’s Tip: Since this thread is a bit beefier, give it some room! Move up to a 90/14 needle to ensure the thread can pass through the eye without fraying or breaking. Your machine will thank you!
12wt: The "Bold & Brave" Accent
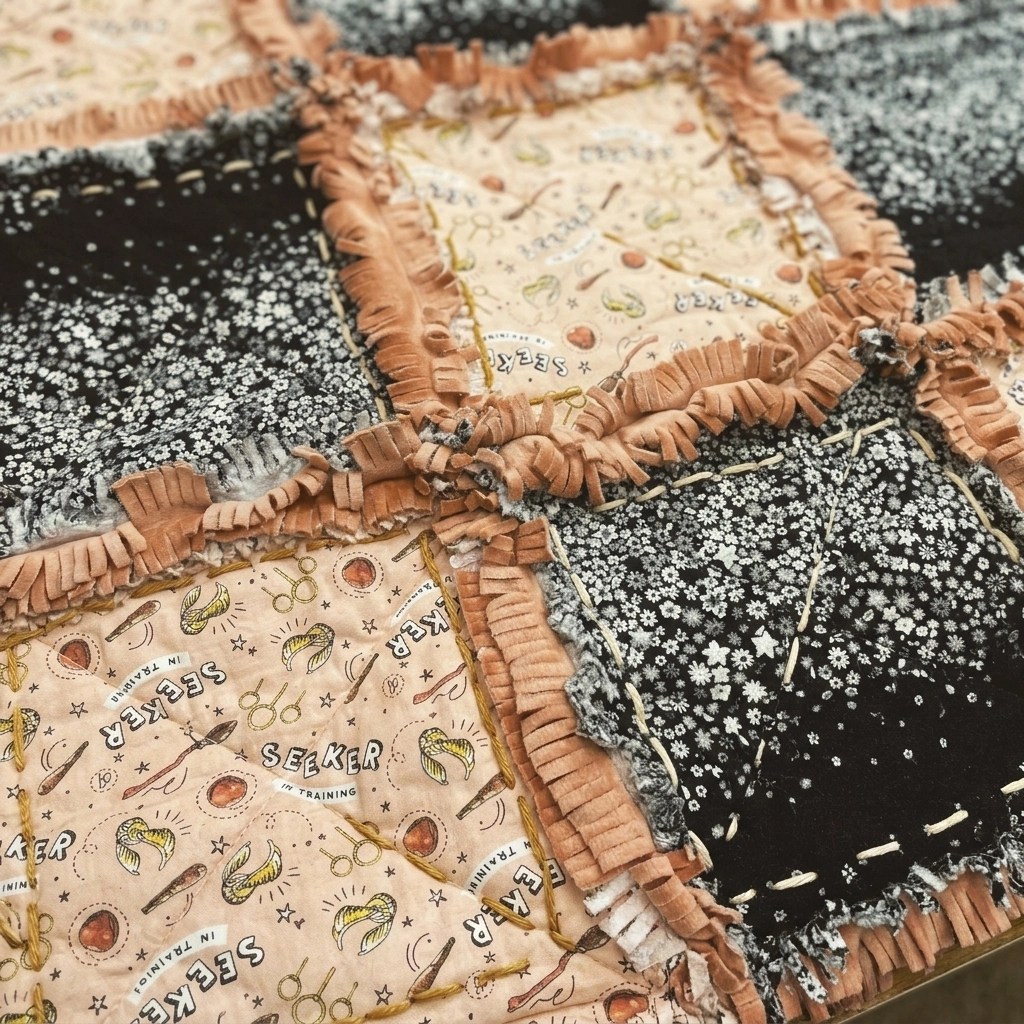
Finally, we have the heavyweight champion: 12wt thread. This thread isn't here to play, it's here to make a statement! It’s about as thick as perle cotton, and it is absolutely stunning.
Best uses for 12wt:
- Big-Stitch Hand Quilting: This is a huge trend right now! Use a contrasting 12wt thread to make large, visible hand stitches. It adds a wonderful "handcrafted" and modern look to any project, like my Scrap Quilt Series.
- Bold Machine Accents: You can use this in your machine for topstitching or decorative accents.
- Binding: Using 12wt for a "big stitch" finish on your binding adds a professional, designer touch.
Important Note: 12wt is very thick! If you’re using it in your machine, you might need to use it only in the top (with 50wt in the bobbin) and loosen your tension significantly. And definitely reach for a 100/16 Topstitch needle!
Professor Spoolina’s Quick Reference Cheat Sheet
Are you feeling like a Thread Math genius yet? I’ve put together this handy table so you can pin it, save it, or print it for your sewing room!
| Thread Weight | Look | Best Use | Needle Size |
|---|---|---|---|
| 80wt – 100wt | Micro-fine | Invisible appliqué, EPP | 70/10 or 60/8 |
| 50wt | Gold Standard | Piecing, subtle quilting | 80/12 |
| 40wt | Visible | Machine quilting, embroidery | 90/14 |
| 12wt | Bold/Heavy | Big-stitch hand quilting, accents | 100/16 or Hand needle |
Why Does It Matter?
You might be wondering, "Anisa, can't I just use whatever is on sale?"
Well, you could, but using the right thread weight is like using the right tool for any job. It removes the overwhelm! Using a thread that's too thick for piecing can make your blocks come out too small. Using a thread that's too thin for quilting might mean your stitches get lost in the fluff of the batting.
When we match our thread to our task, the whole process becomes so much more satisfying and fresh. Plus, your finished projects will have that professional "sparkle" that we all love!
"Thread is the heartbeat of your quilt. Choose the weight that makes your heart beat a little faster!" , Professor Spoolina
Are You Joining the Madness?
I am so thrilled to share these "Thread Math" lessons with you. Whether you're working on a Quilt-As-You-Go Table Runner or just starting your journey with a beginner sewing machine, knowing your threads will make you a better, more confident maker.
Now, I want to hear from you! What is your go-to thread weight? Are you a "blend-in" 50wt kind of quilter, or are you ready to try some "bold" 12wt hand quilting? Leave a comment below and let’s chat!
And don't forget, for even more exclusive tutorials and deep dives into the world of quilting, come join us in The Crafty Author Clubhouse™! We have so much fun in there, and Professor Spoolina might just make another guest appearance.
Shop Our Partners
If you're ready to stock your sewing room with tools, fabric, and crafty favorites, here are a few of our trusted partners I recommend checking out:
Click on any photo below to start shopping your favorite crafty essentials!


Keep on craftin', my friends!
Or, as Professor Spoolina would say, keep on craftin’!
Warmly,
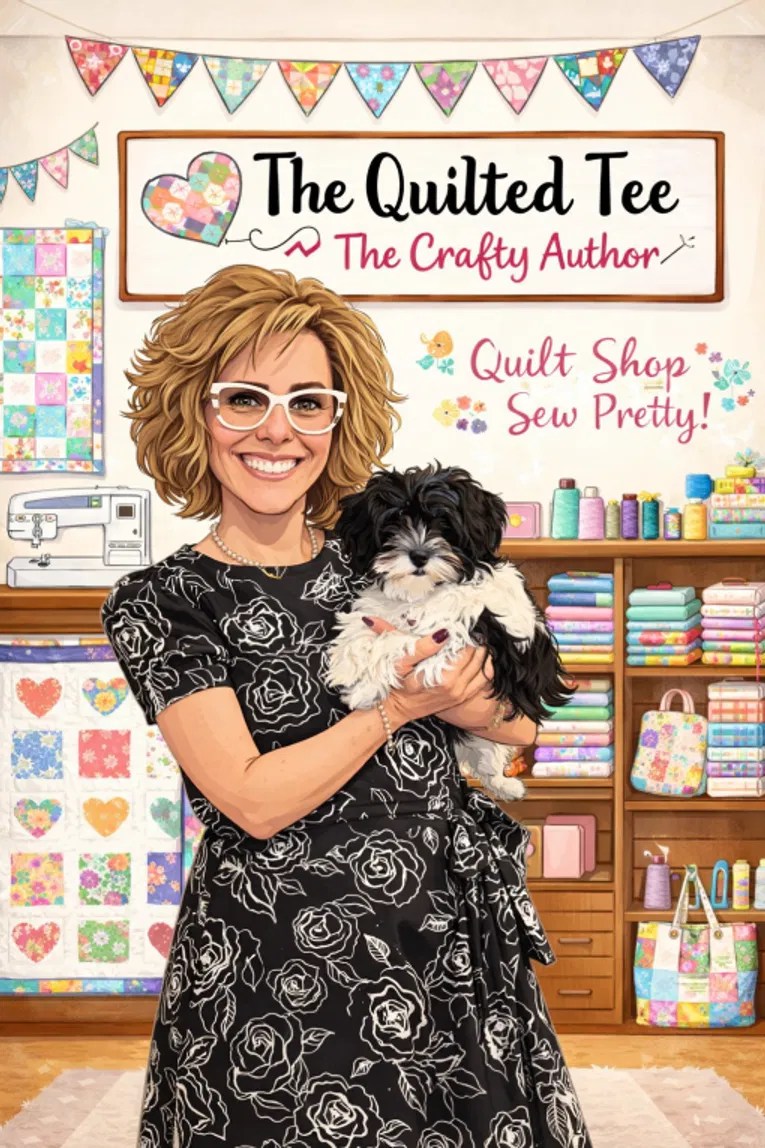
Anisa 🧵✨
Owner, The Crafty Author


